Guides
DIY Dreamcatcher
This week, Elle, one of our own, got creative in the office! Follow her DIY guide below to building an awesome dreamcatcher... Having come from Native American culture, dreamcatchers were made to ensure the people sleeping under them received nothing but good dreams, the bad dreams being caught in its web. Today, I will be showing you my version of how to make a dreamcatcher – this is only one of hundreds of designs!
![featured image for [object Object]](/_next/image?url=https%3A%2F%2Fimages.prismic.io%2Ftrs-storefront%2F1c888033-8a0c-44c7-a8d5-7f26d7998923_blog_diy-dreamcatcher.jpg%3Fauto%3Dcompress%2Cformat&w=3840&q=75)
The Reject Shop
Last updated
31 Jul 2023
What you will need:
- The Craft Stall Dreamcatcher Kit, which can be found at The Reject Shop for $8
- A pair of scissors
- A binder clip
- Patience
- Time
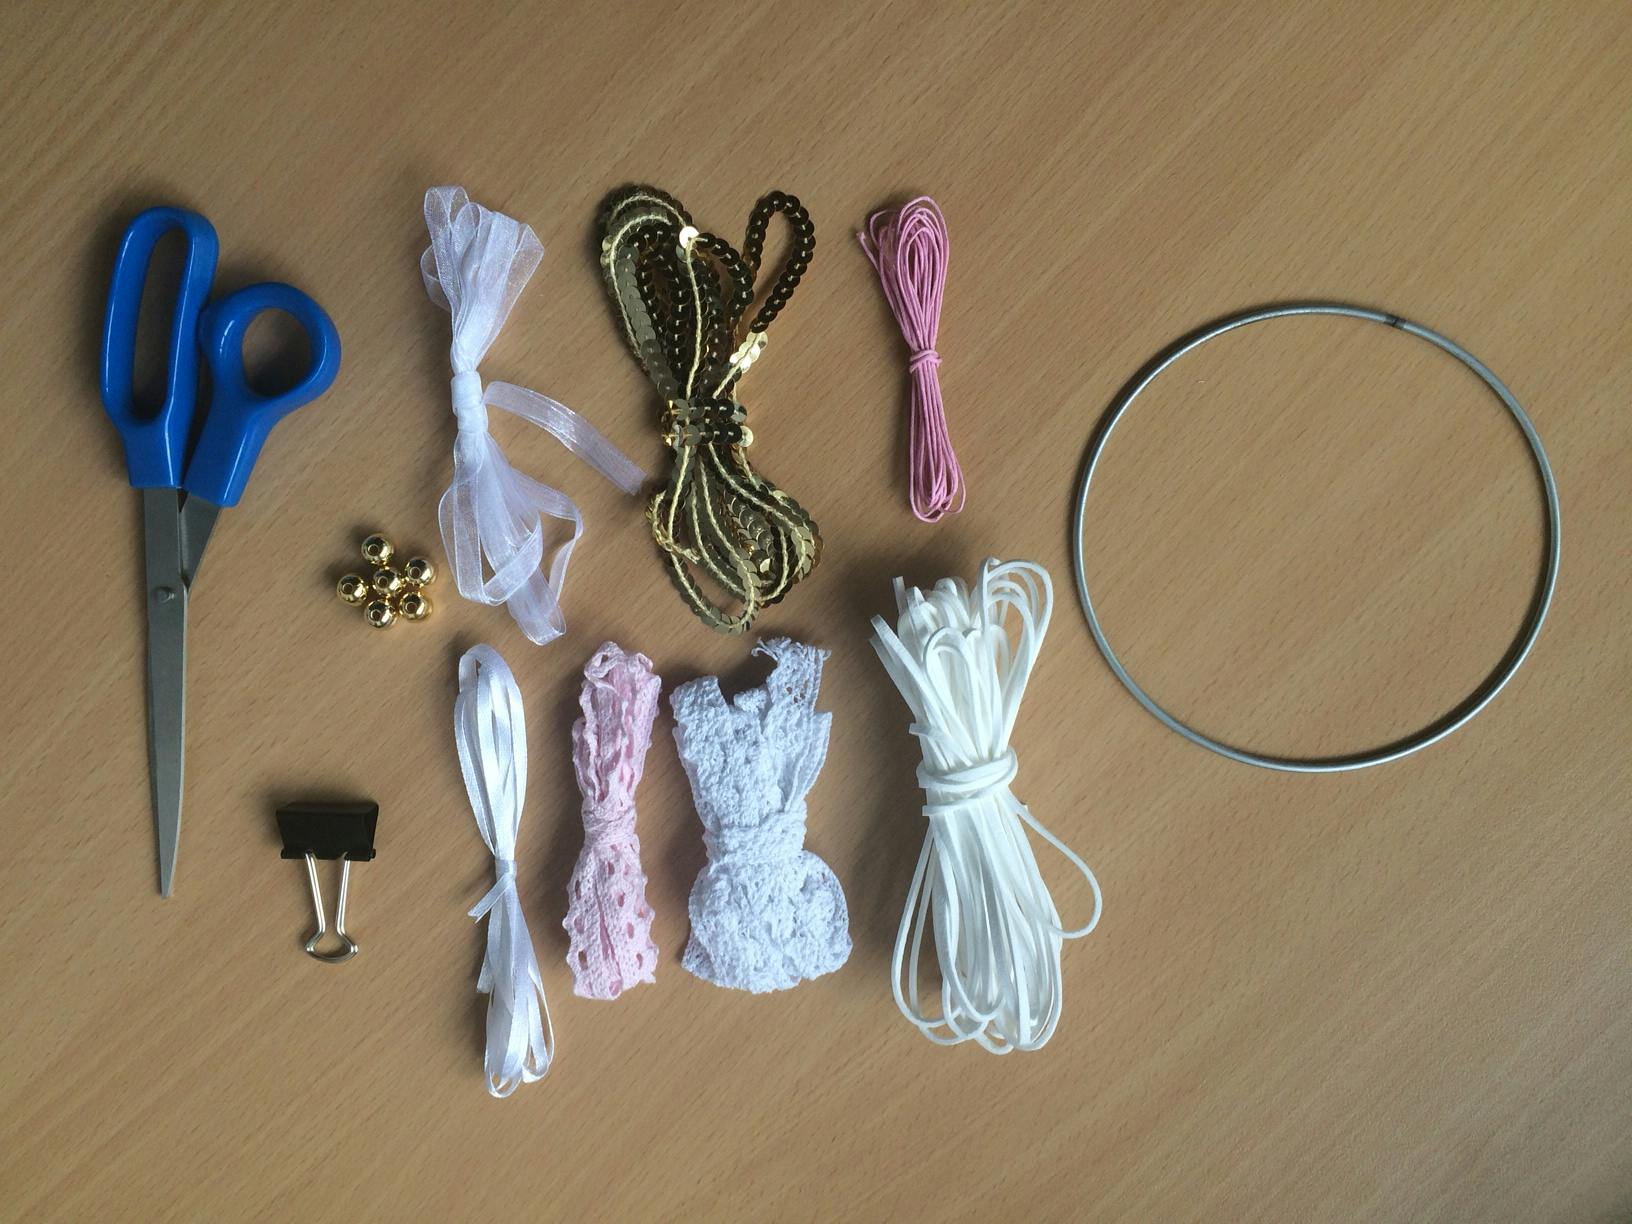
I will be using the pink and white kit for this tutorial, however you may use whichever kit you like and follow the same process.
Let’s get creative!
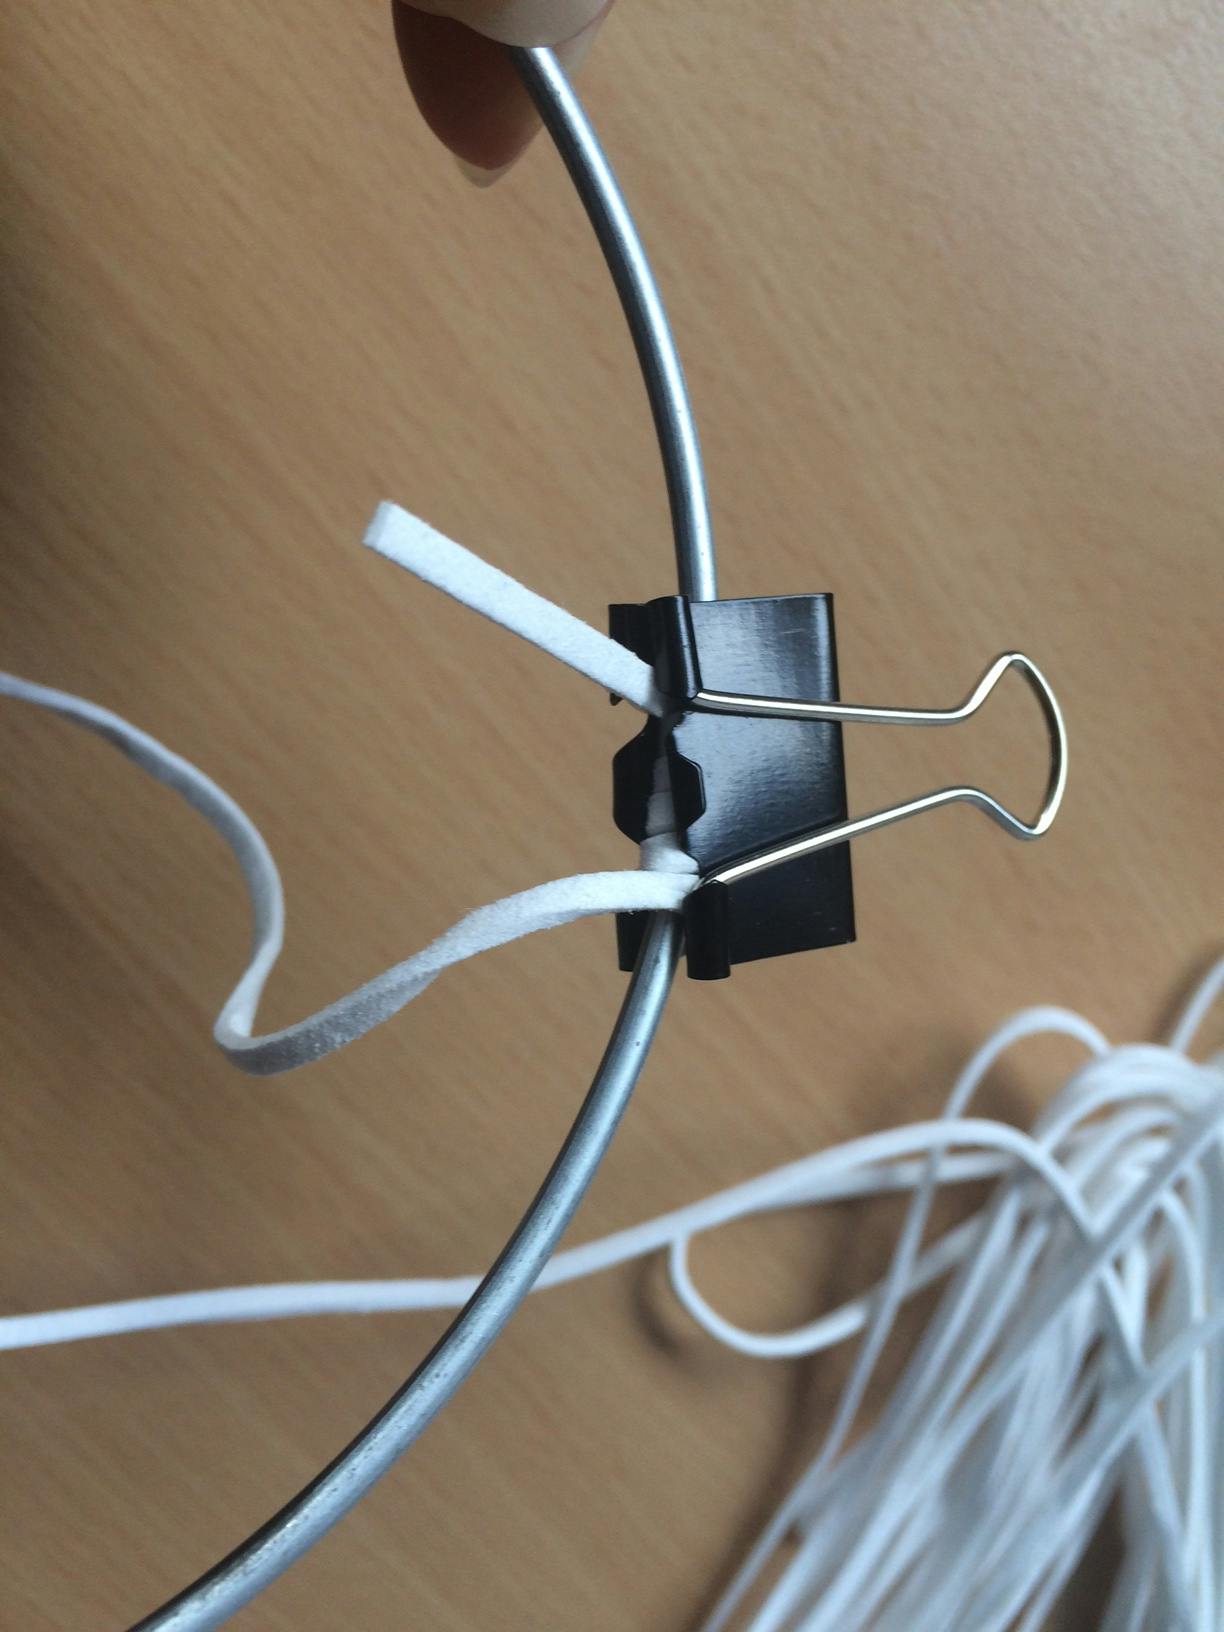
1. The first step is to wrap the white leather cord around the hoop. Do this a few times, and then hold in place with the binder clip. This will make it easier for you to complete!
2. Continue to wrap the cord around the entire hoop, making sure it’s wrapped evenly and tightly
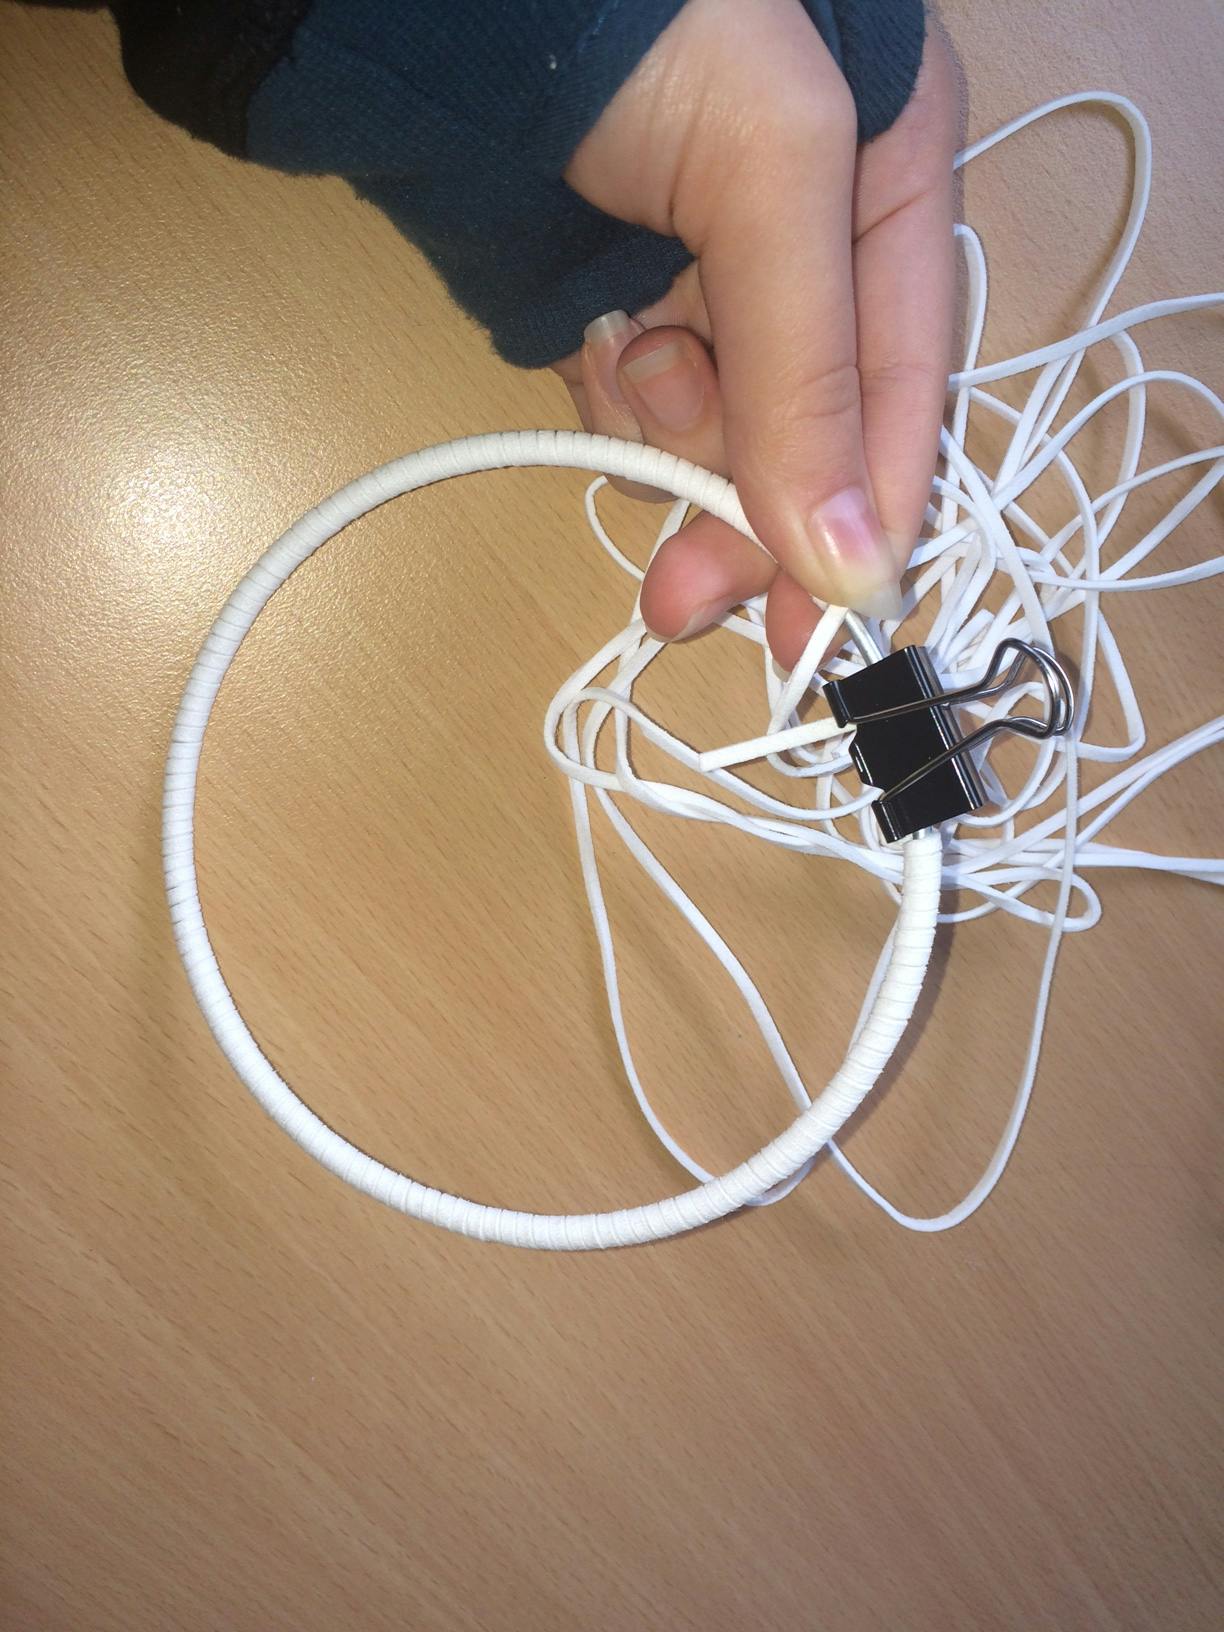
3. Once you get to the end, remove the clip and tighten the cord around the hoop further, ensuring there are no gaps

4. Make a double knot with the two ends of the cord – this will be at the base of our dreamcatcher
5. Cut off any excess cord
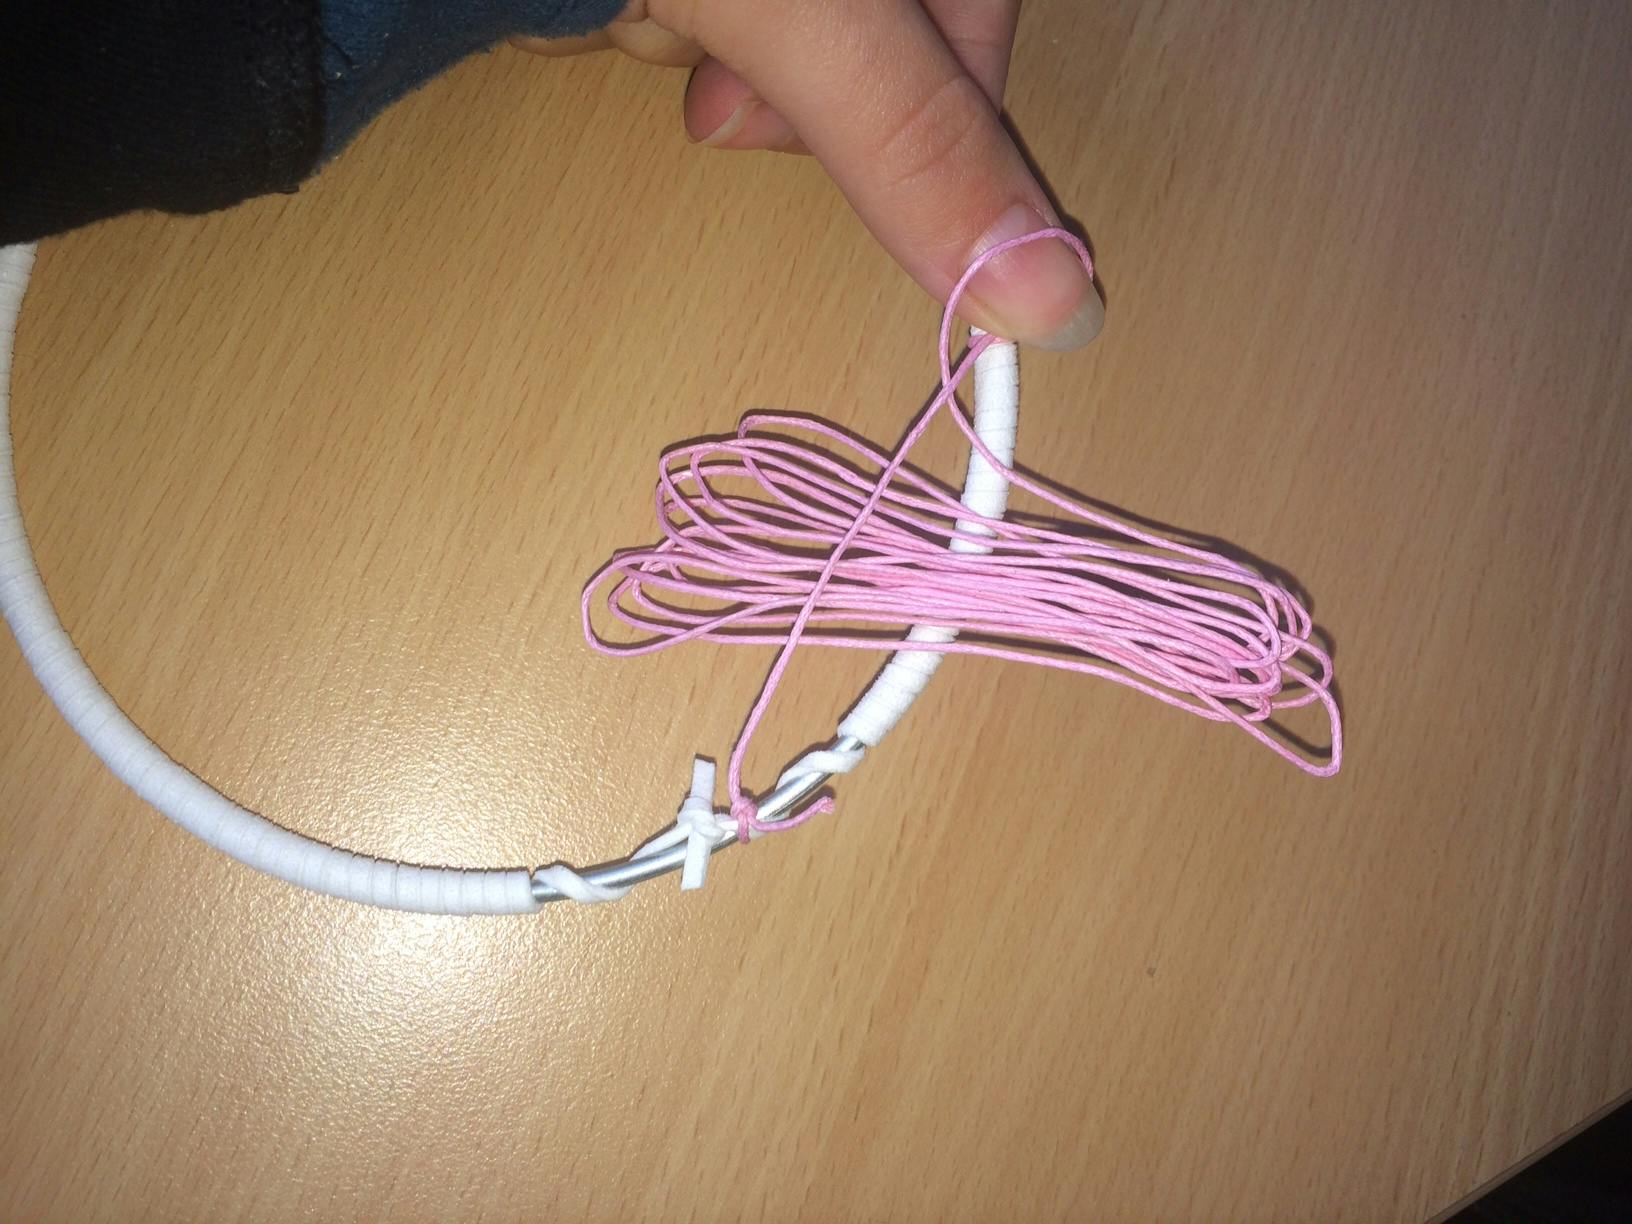
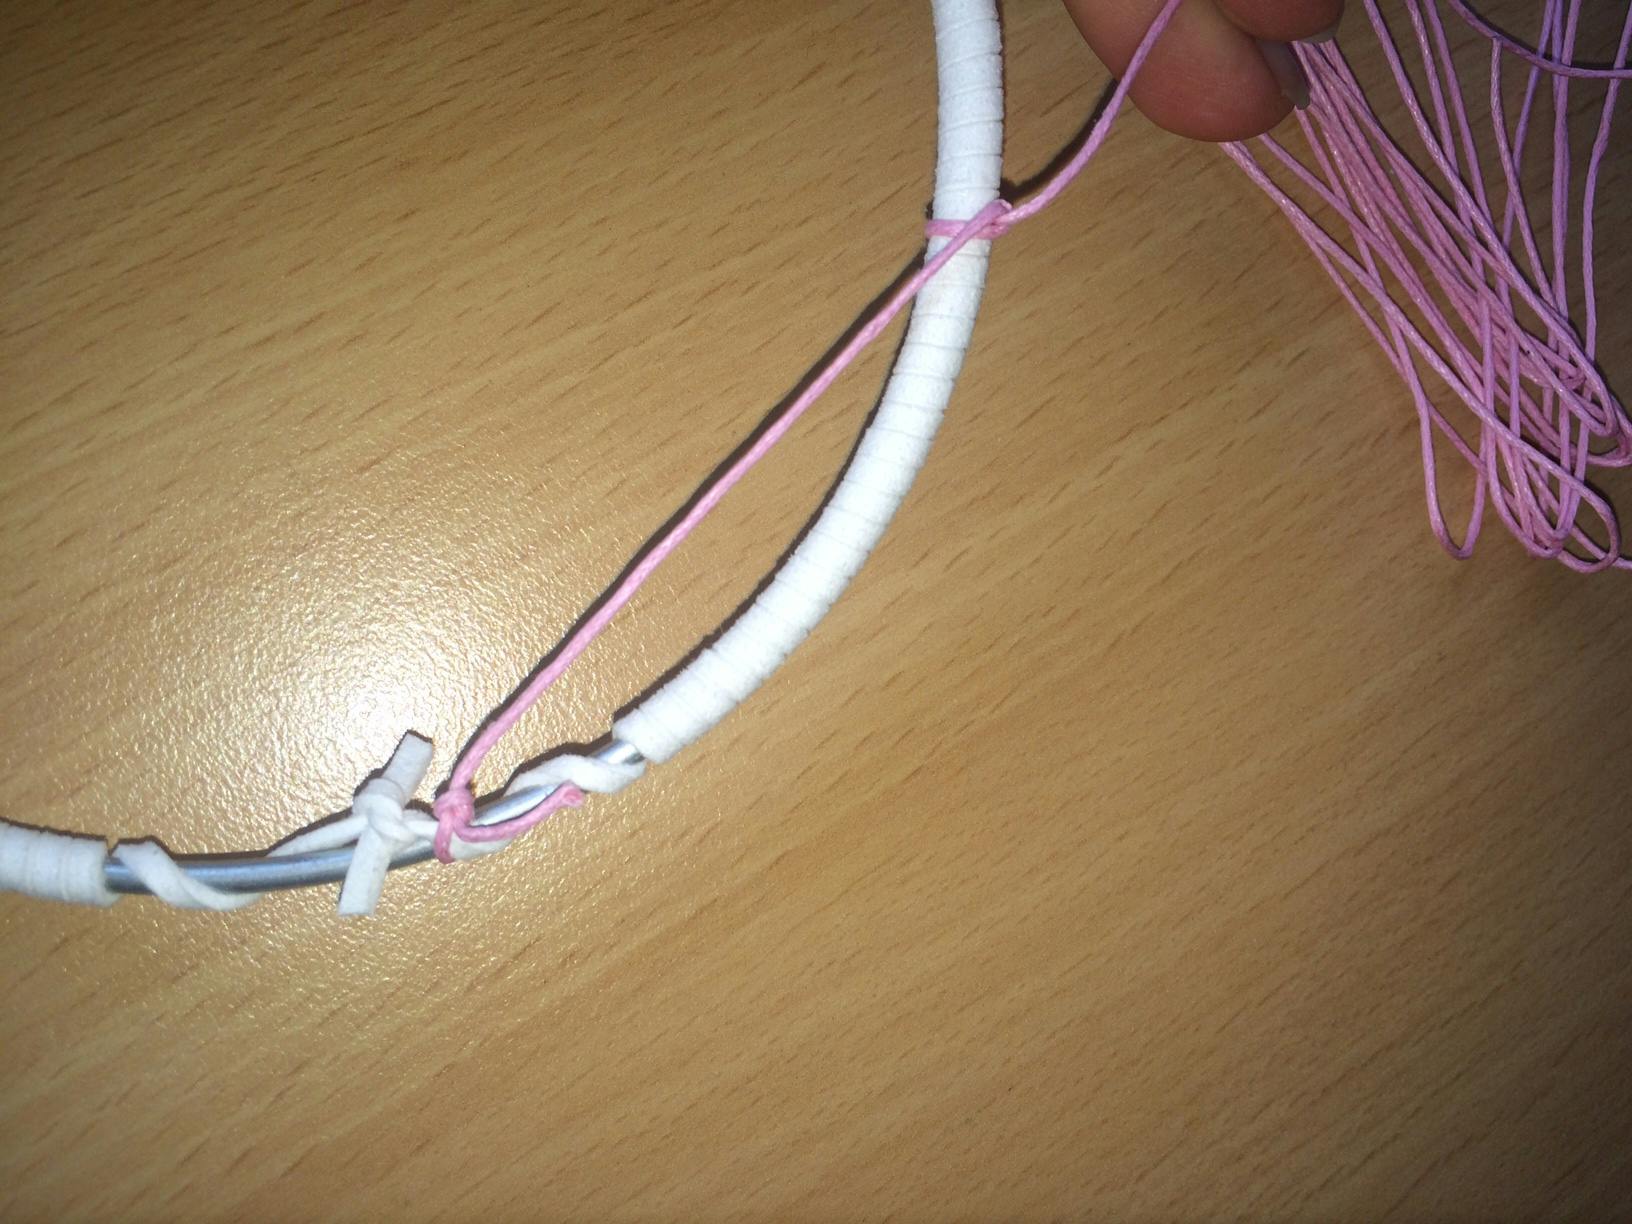
6. Next, we’re going to use our pink string – this will create our web. Tie a double knot right next to the first knot on the hoop


7. Measure even points around the hoop – I’ve decided on 6 points
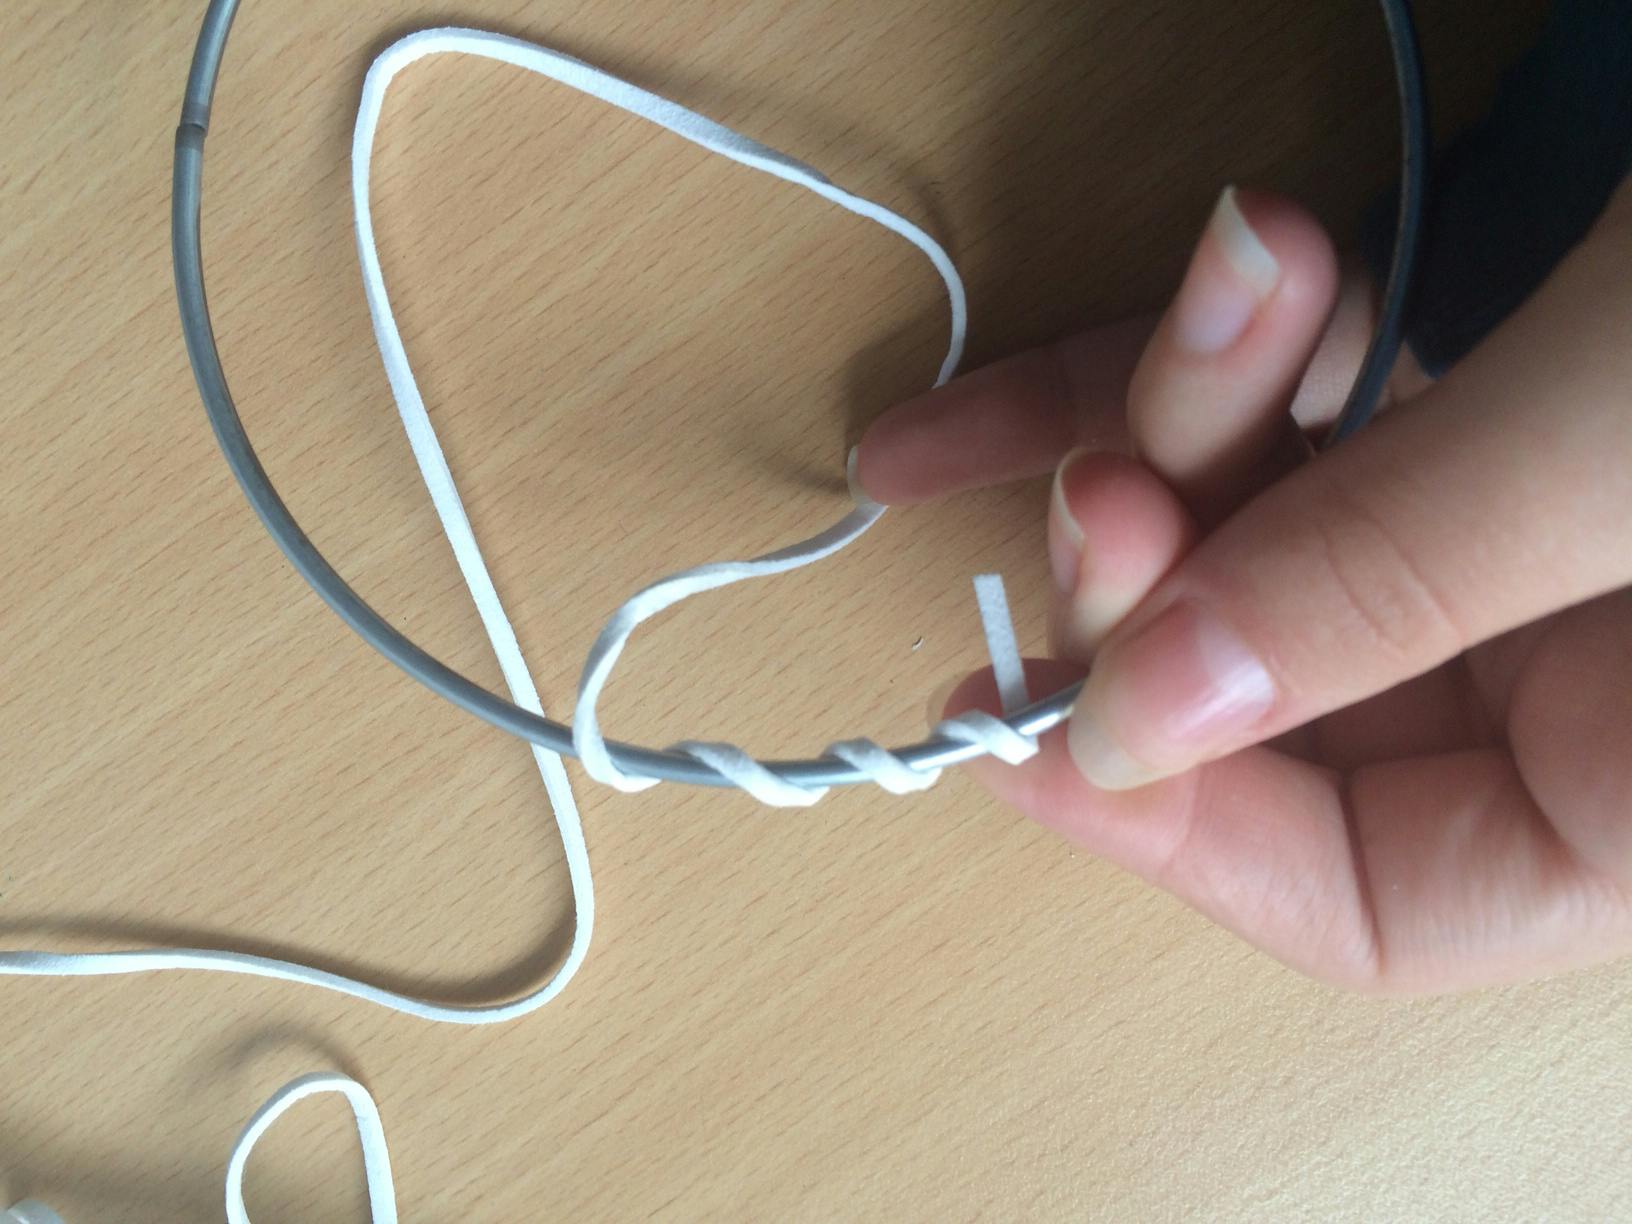
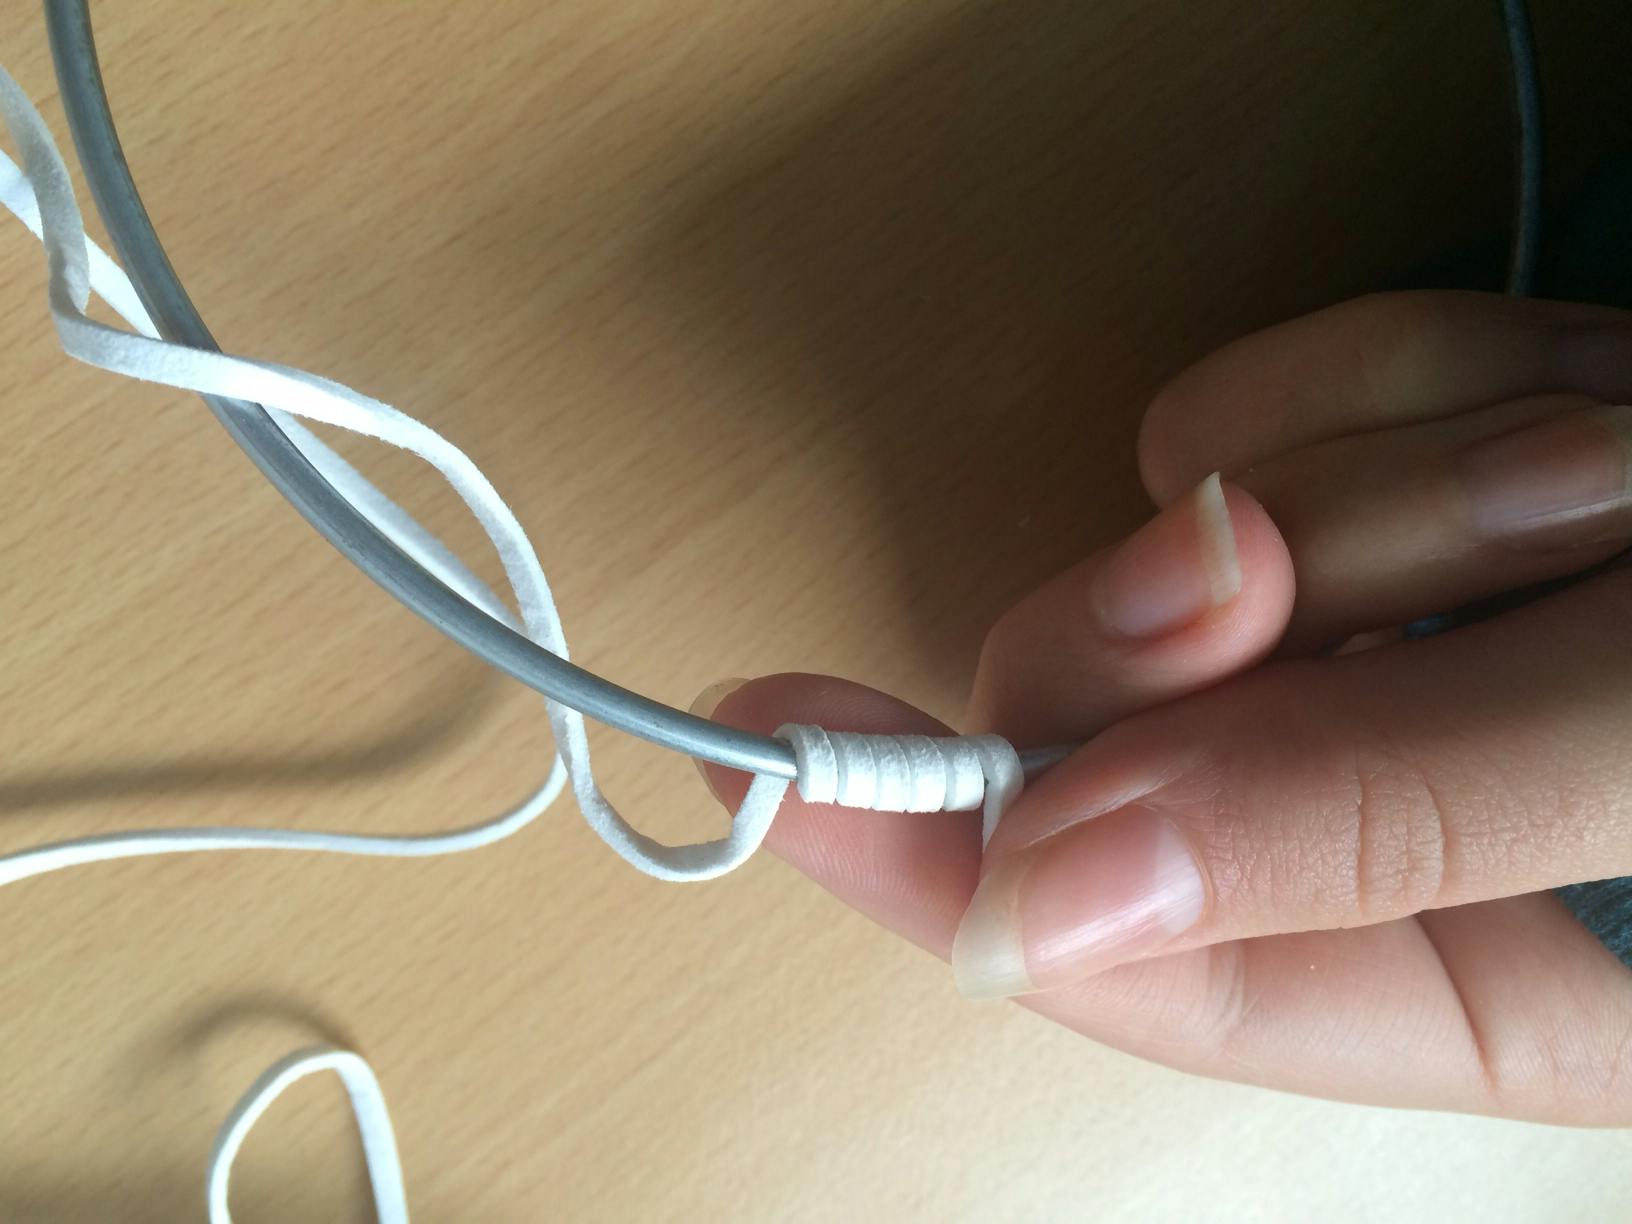
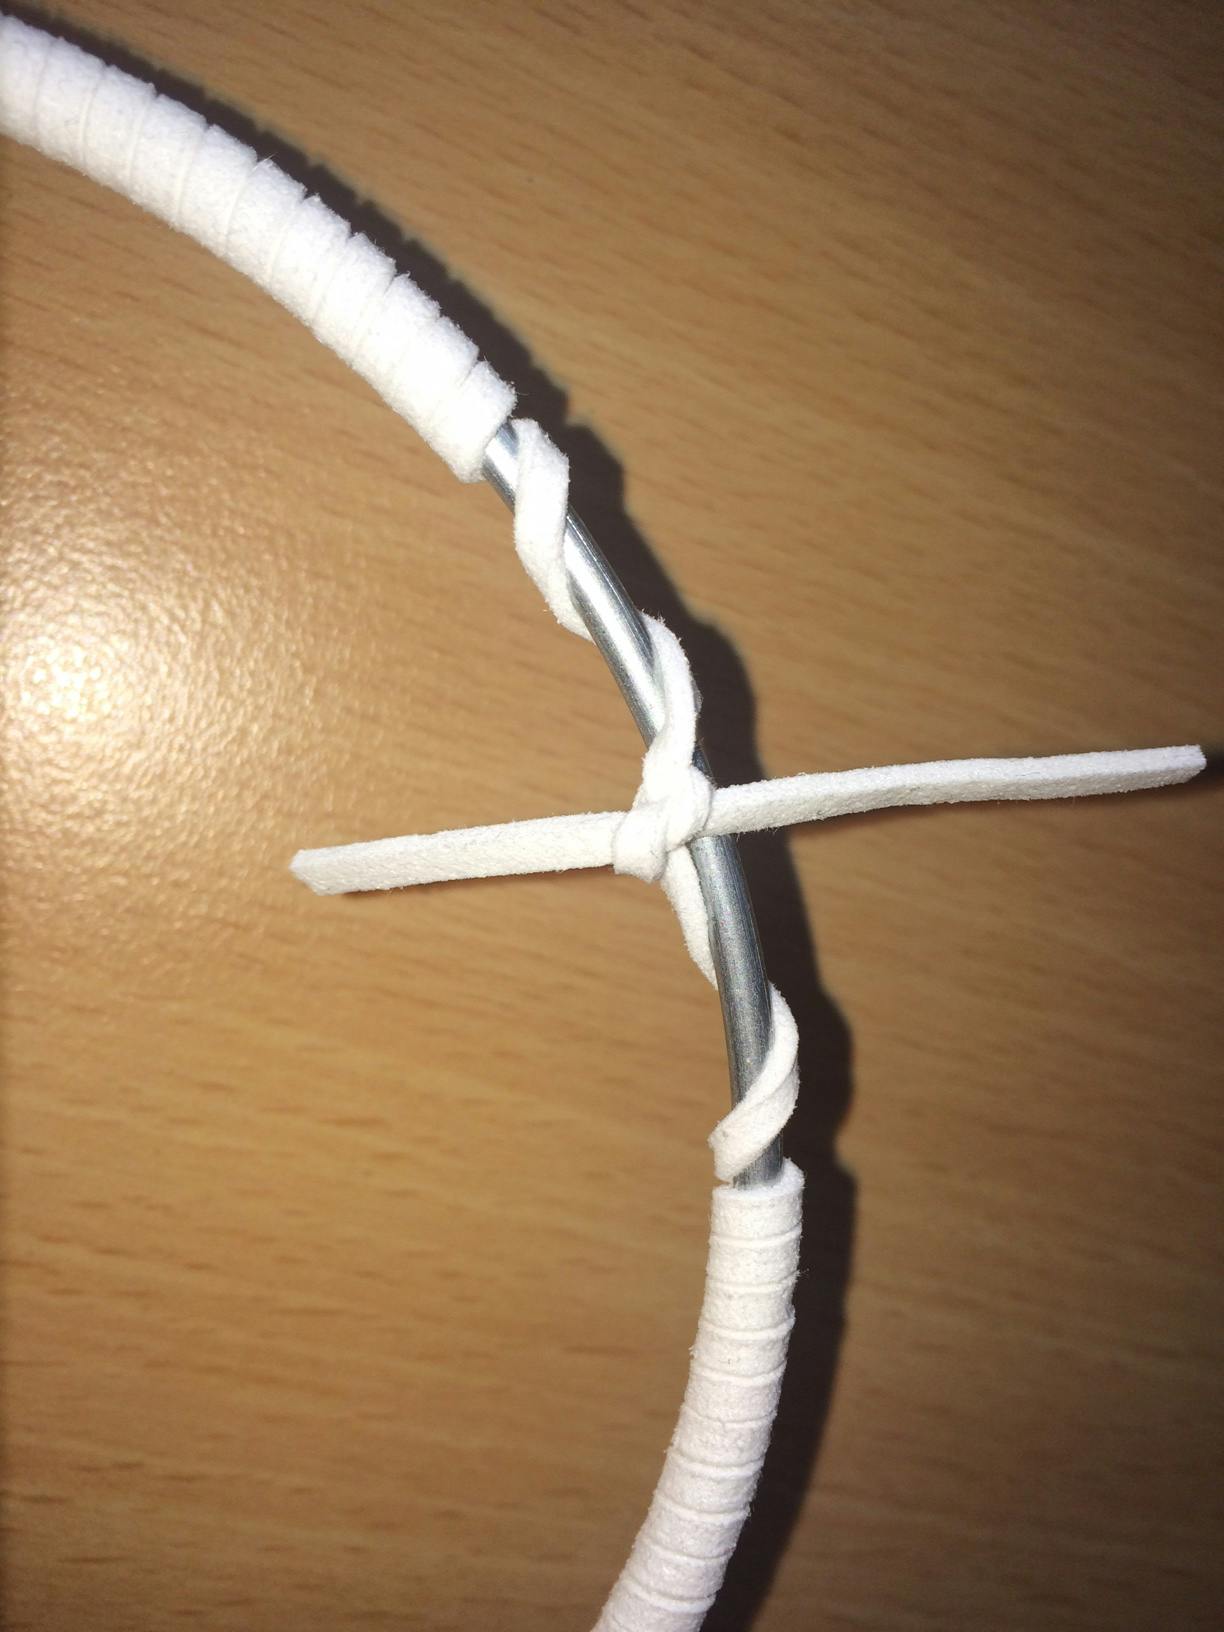
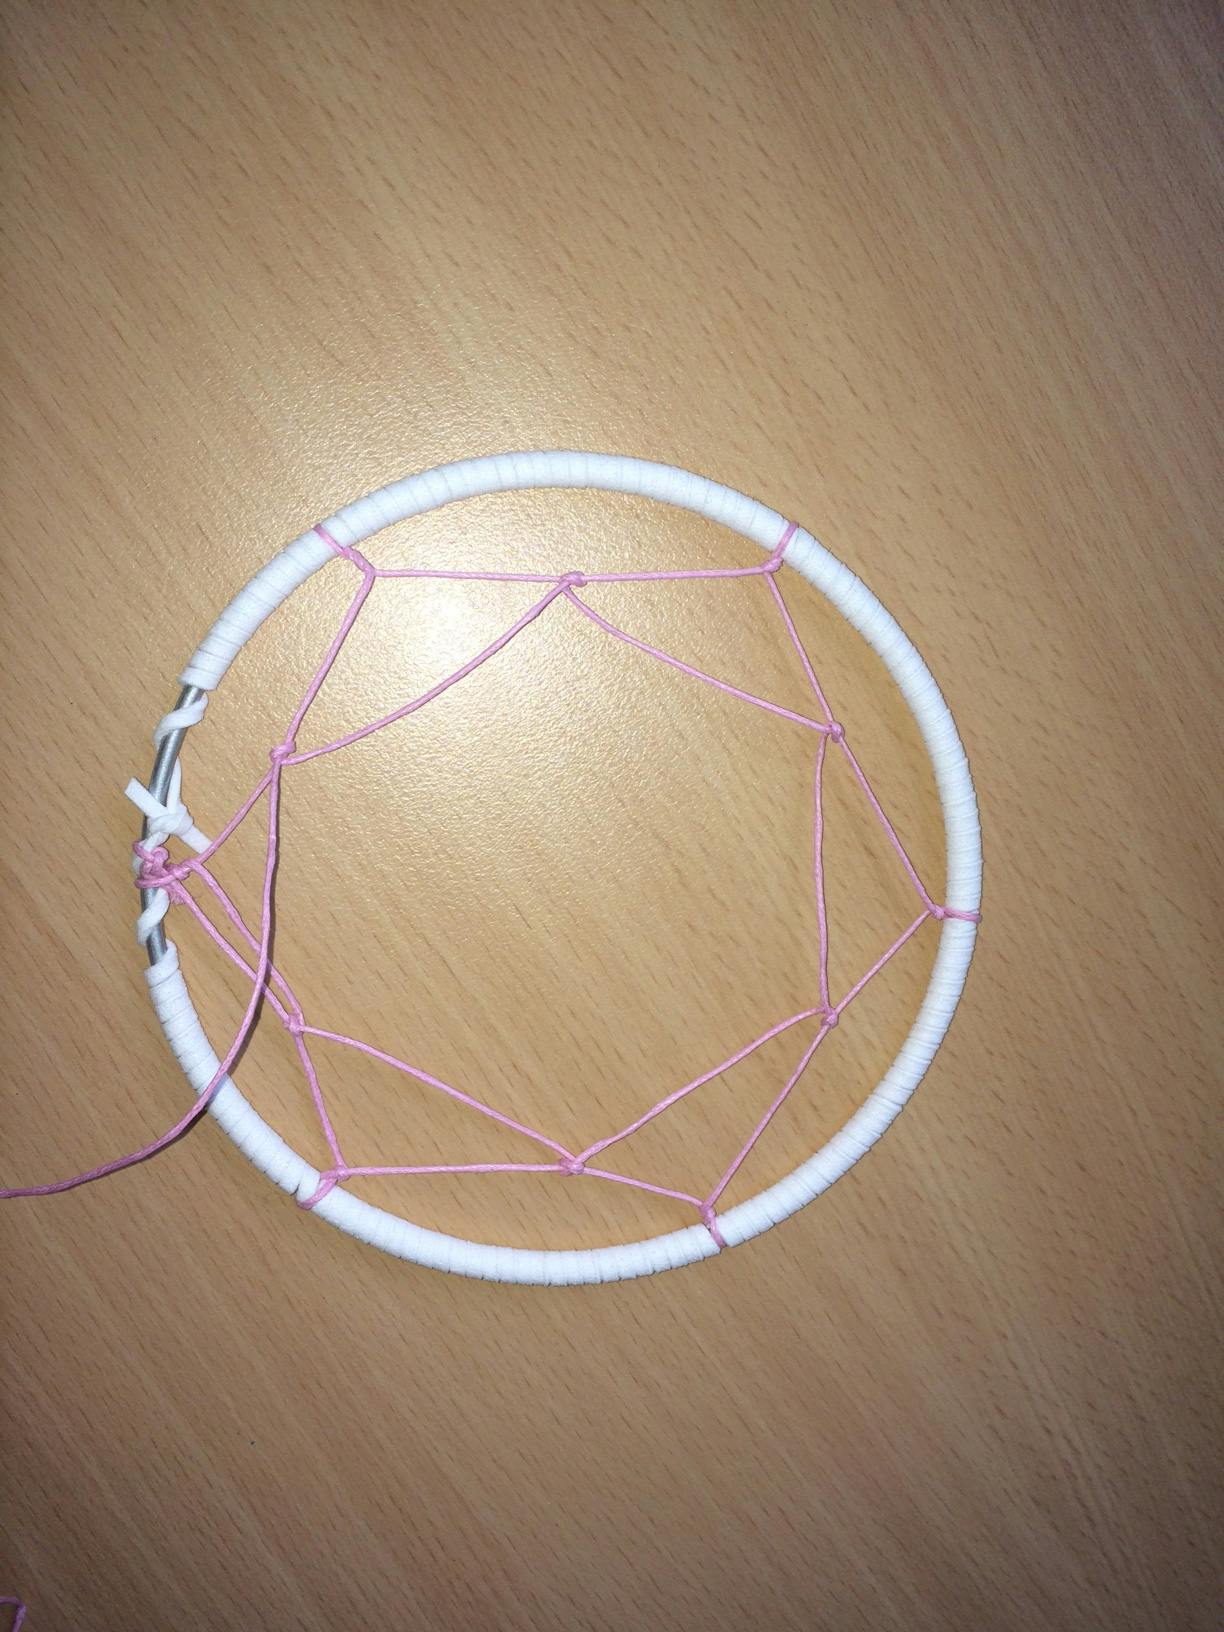
8. We will be using the same stitch throughout the entire process, so follow carefully! Wrap the string around the hoop at your first point, then back through the hole you just formed. It should look something like this:

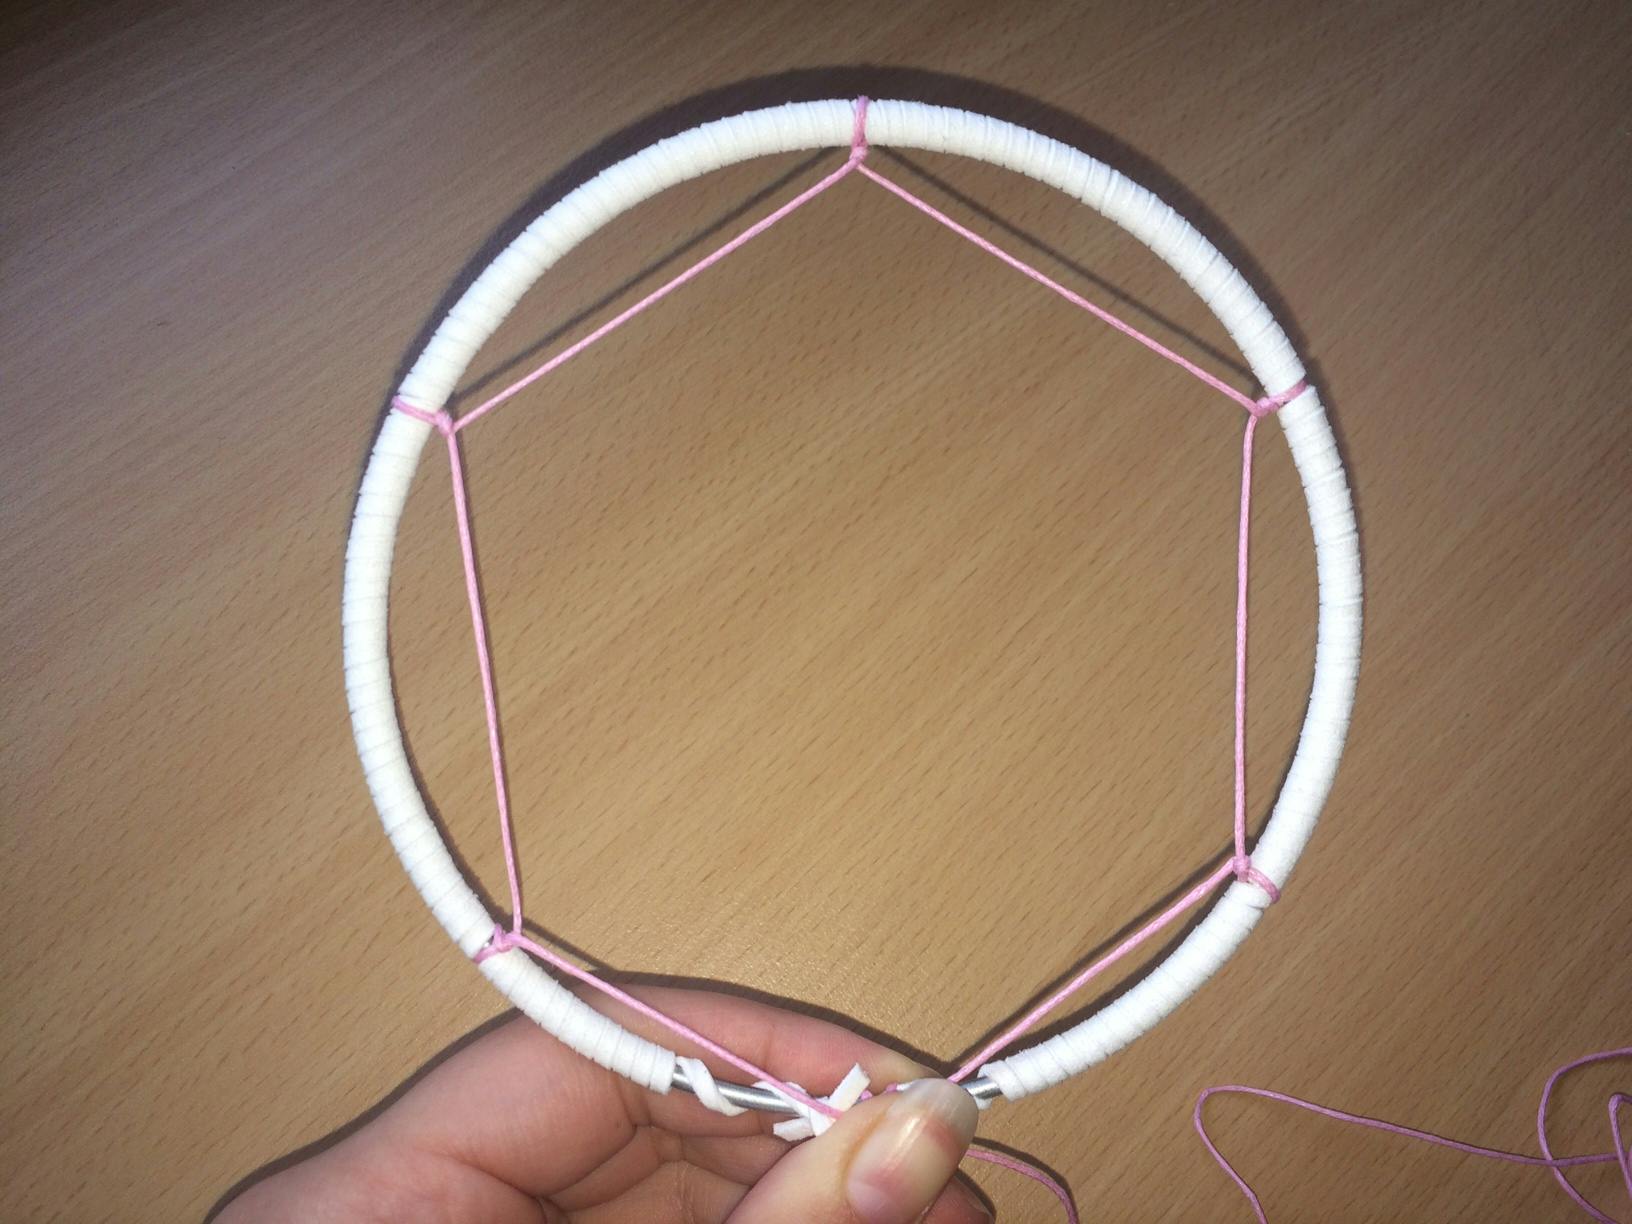
9. Follow this process at all points, until you’ve gone around the entire hoop

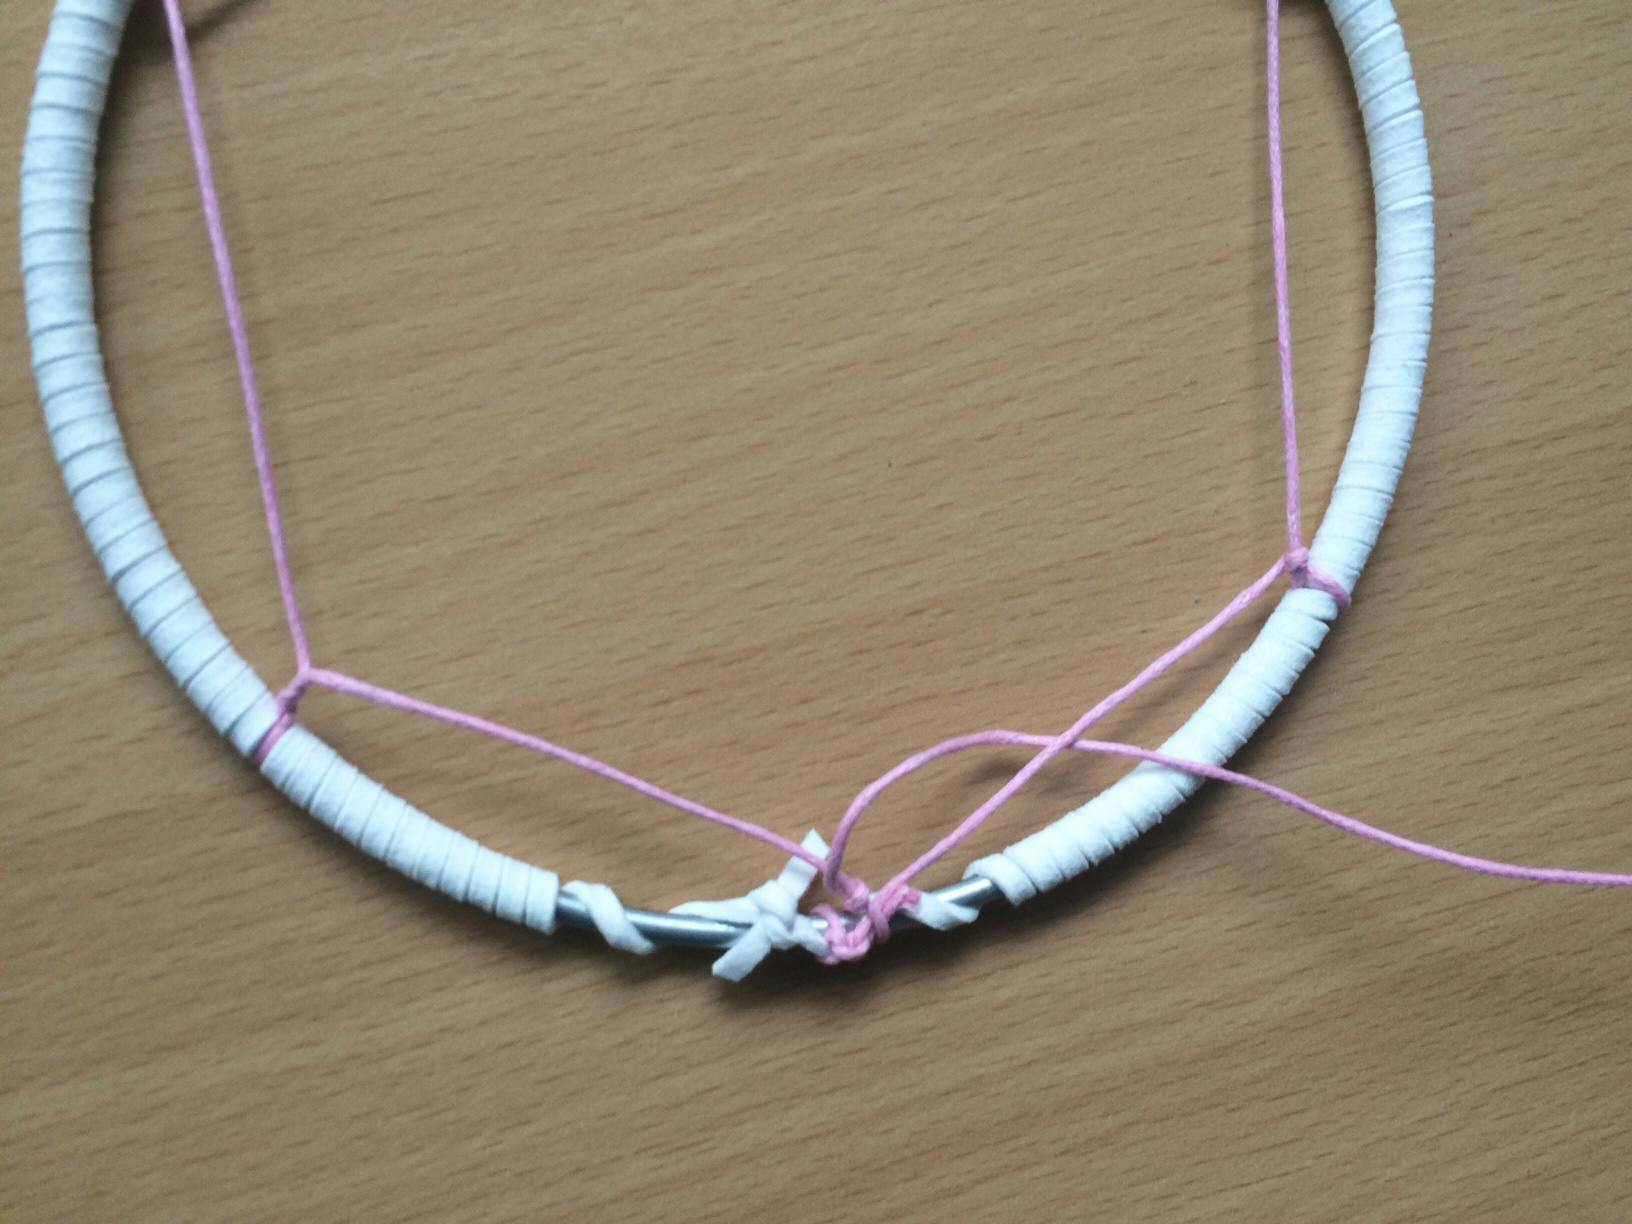
10. Once you’re back at the start, we’re going to start weaving our second layer. We are going to follow exactly the same process, only this time we will be wrapping our string around the first layer we just created. We will do this by finding the middle point of our first two knots, and looping our string around the same way – this time bringing the string around the string from the first layer, and then through the hole we just created. Continue until you reach the start again
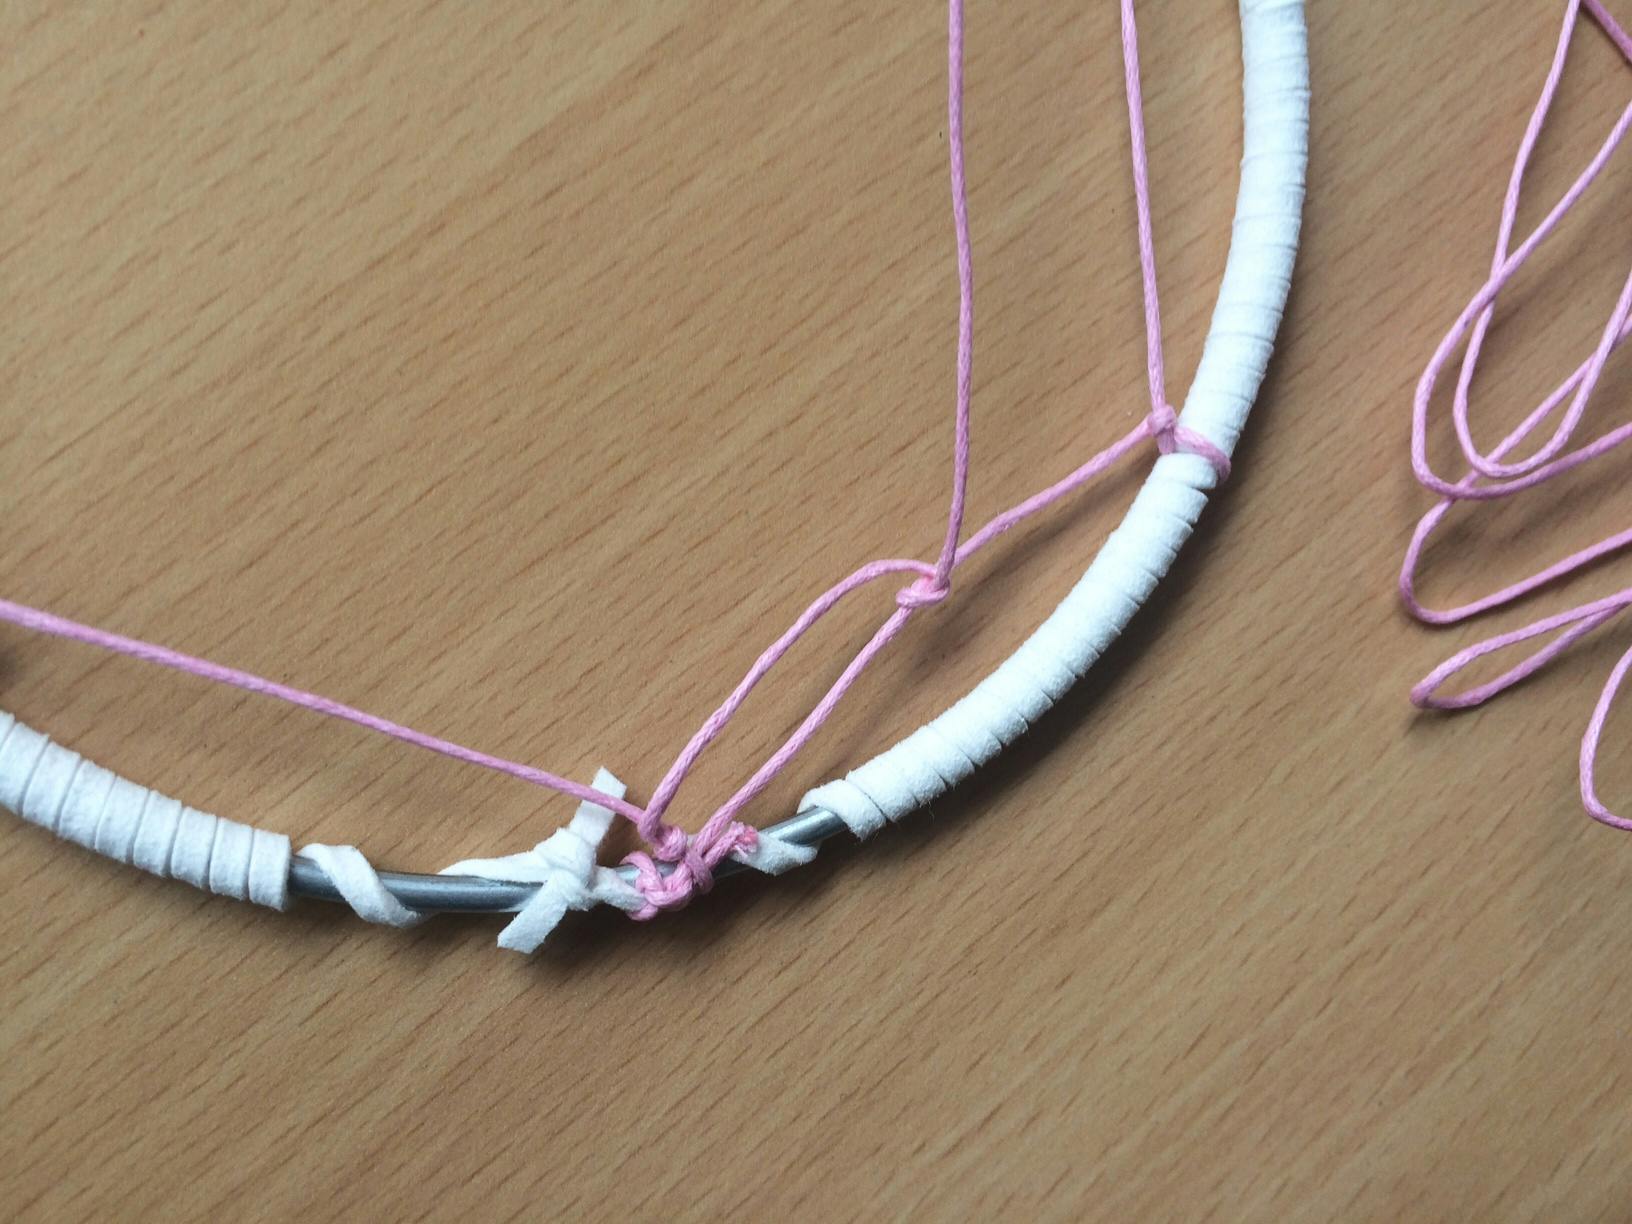
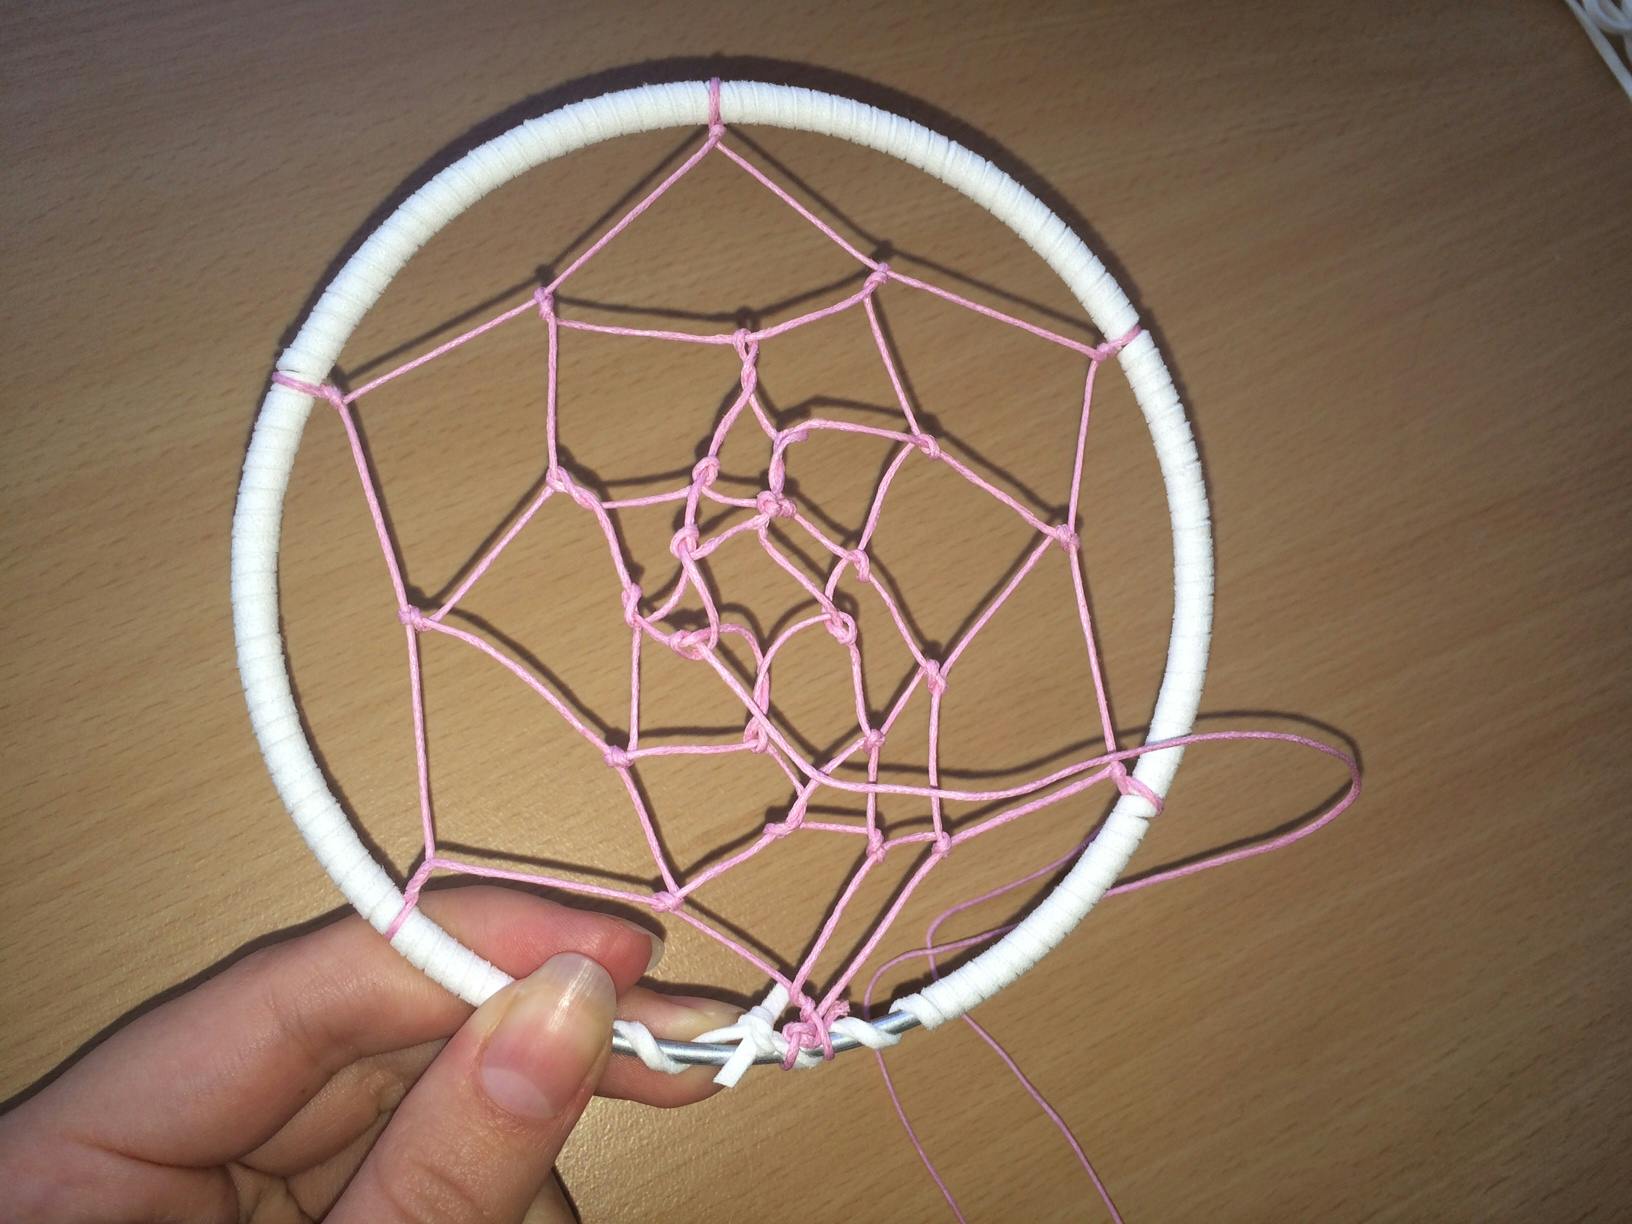
11. At this point you should start to see your web taking shape. Now that you’ve finished the first two layers, you’re going to continue working your way towards the center, placing your new knots in between the previous layer. Continue with these steps until you almost reach the center of the dreamcatcher


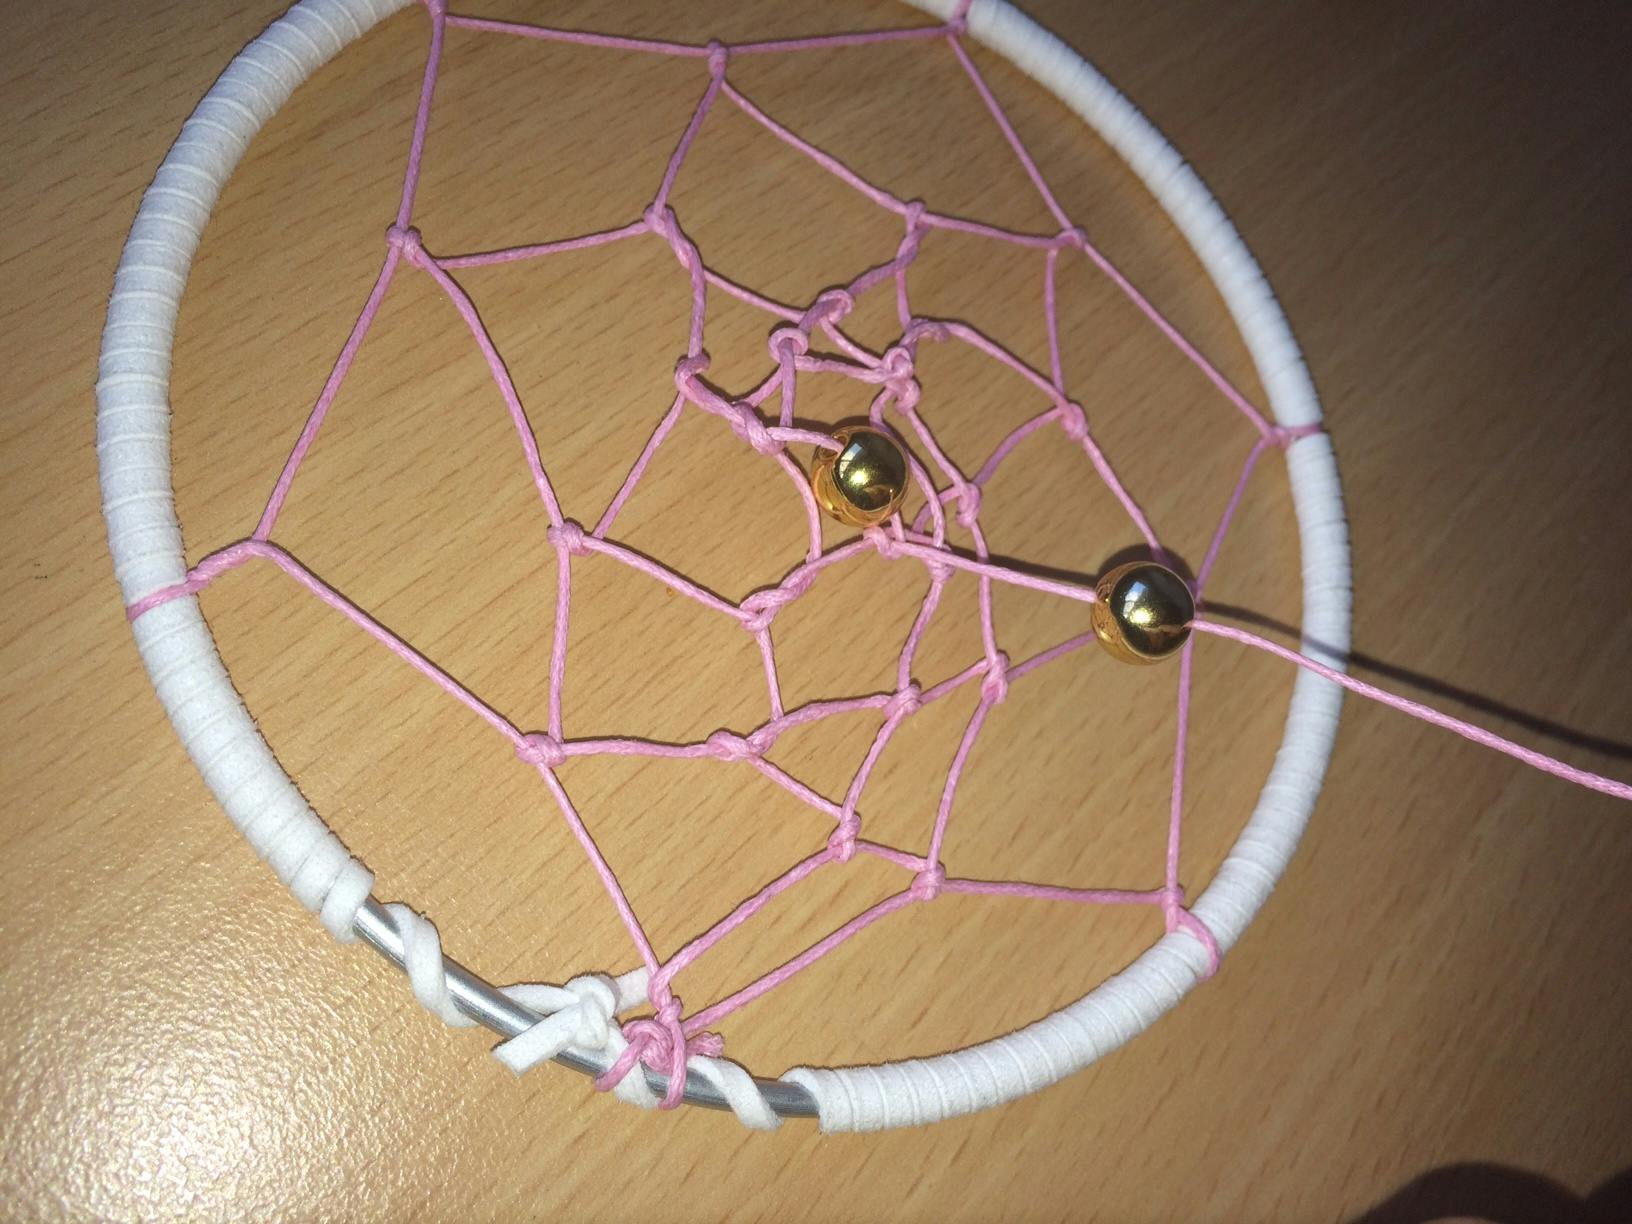
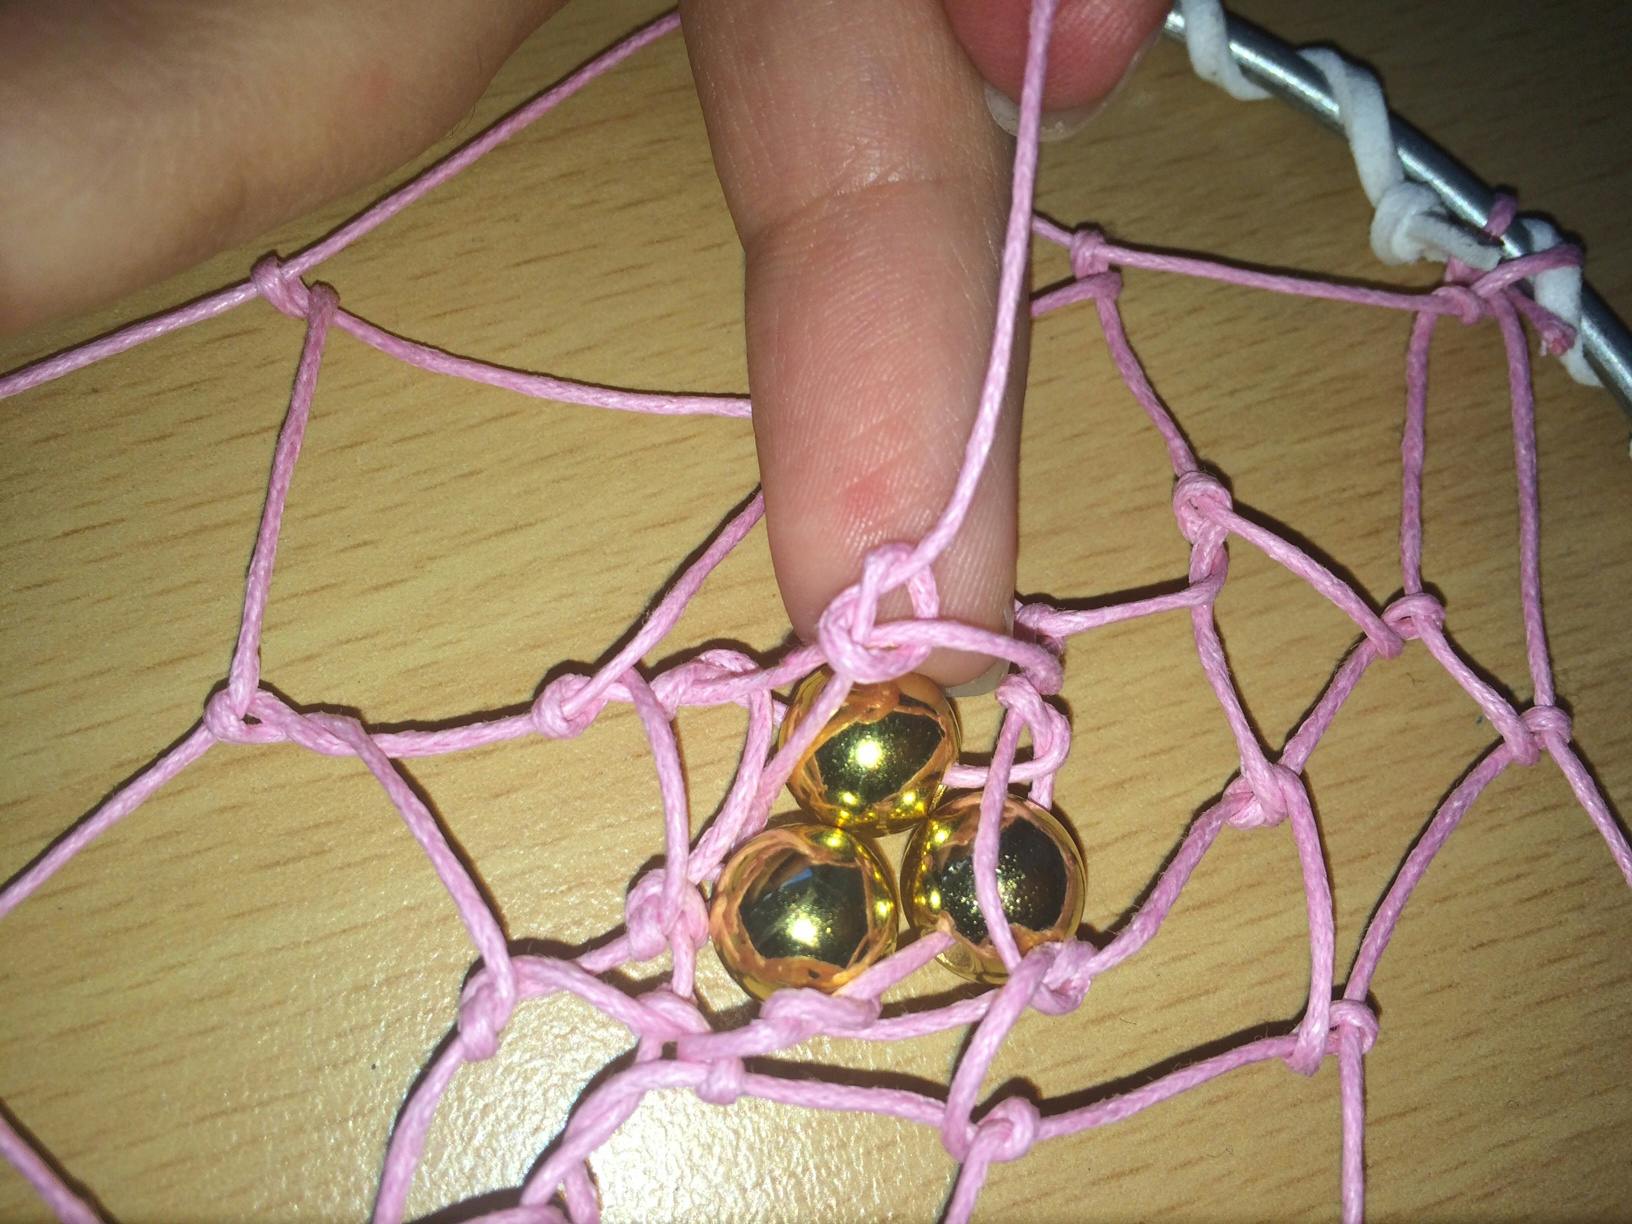
12. When weaving the last layer, I decided to put the gold beads from the kit into the center. I strung one bead on, and then made a knot the way I had previously done. I then strung another bead, made a knot, and finally strung the last bead. Keep in mind that the beads can be placed throughout your entire dreamcatcher if you want

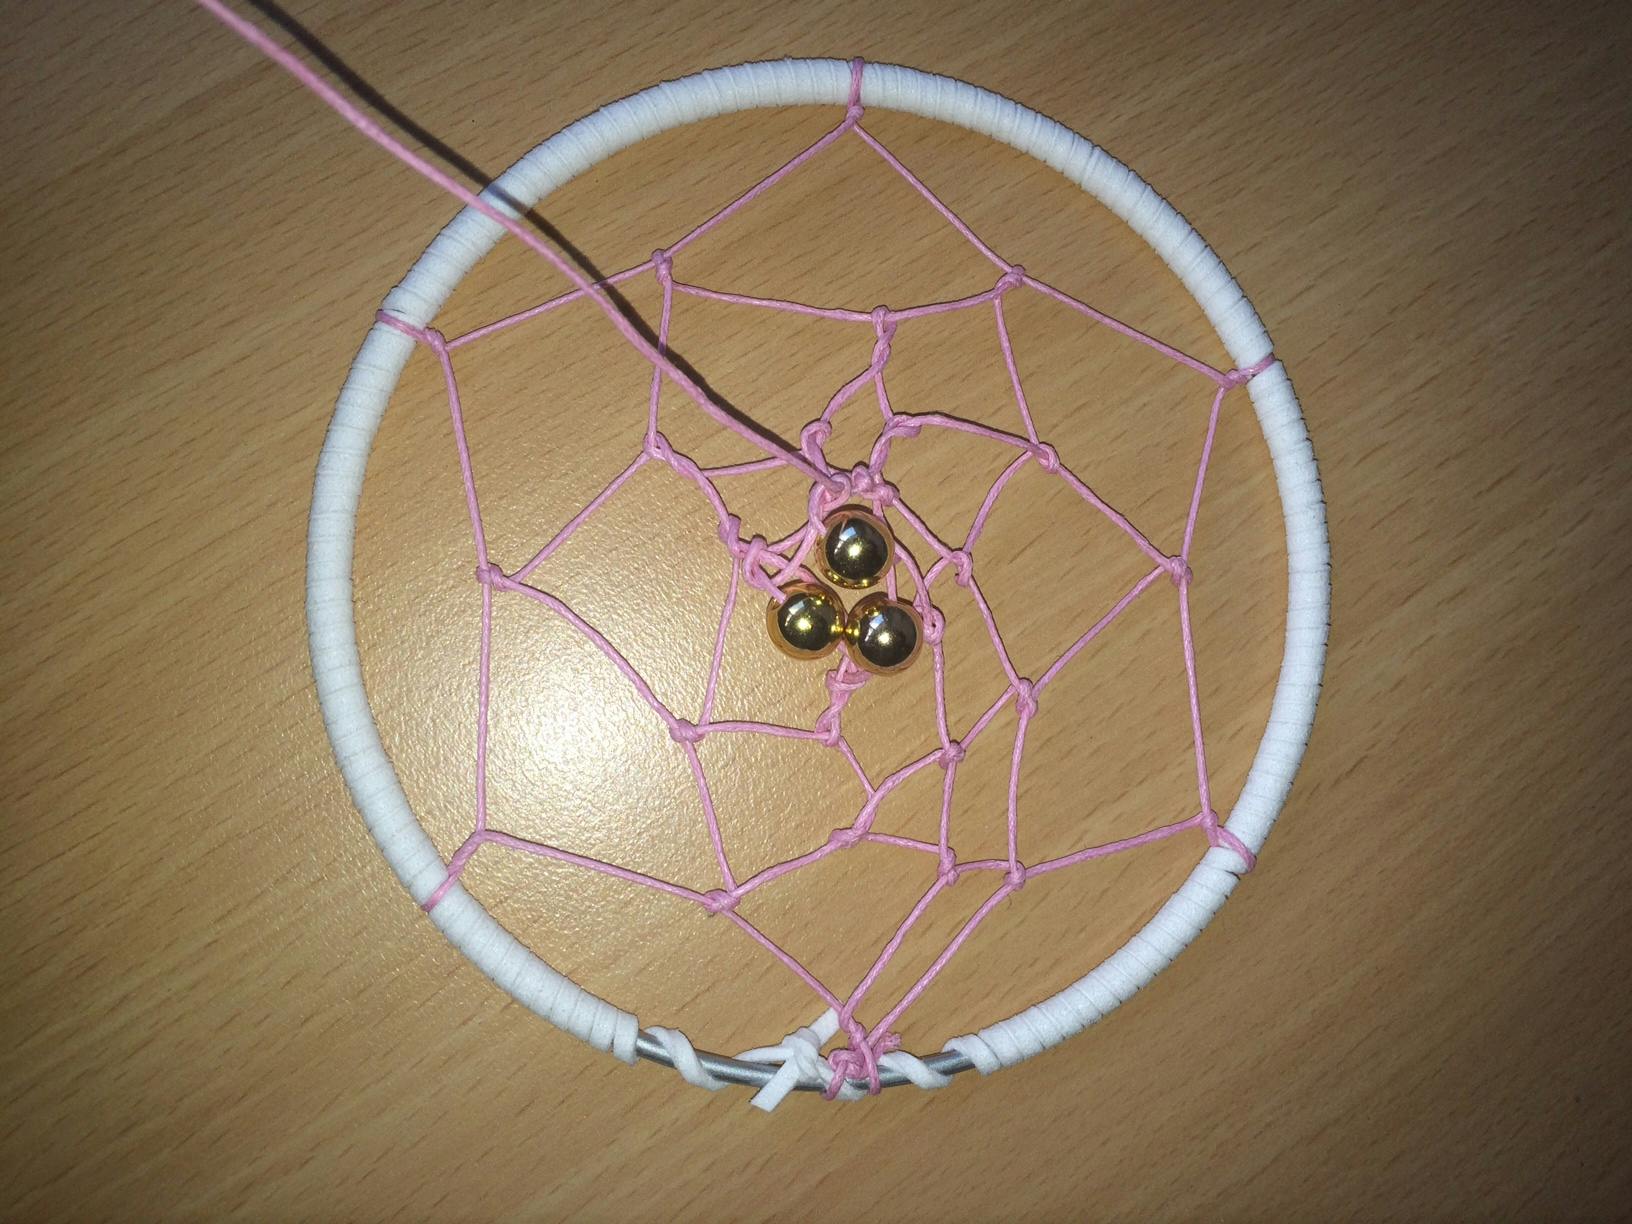
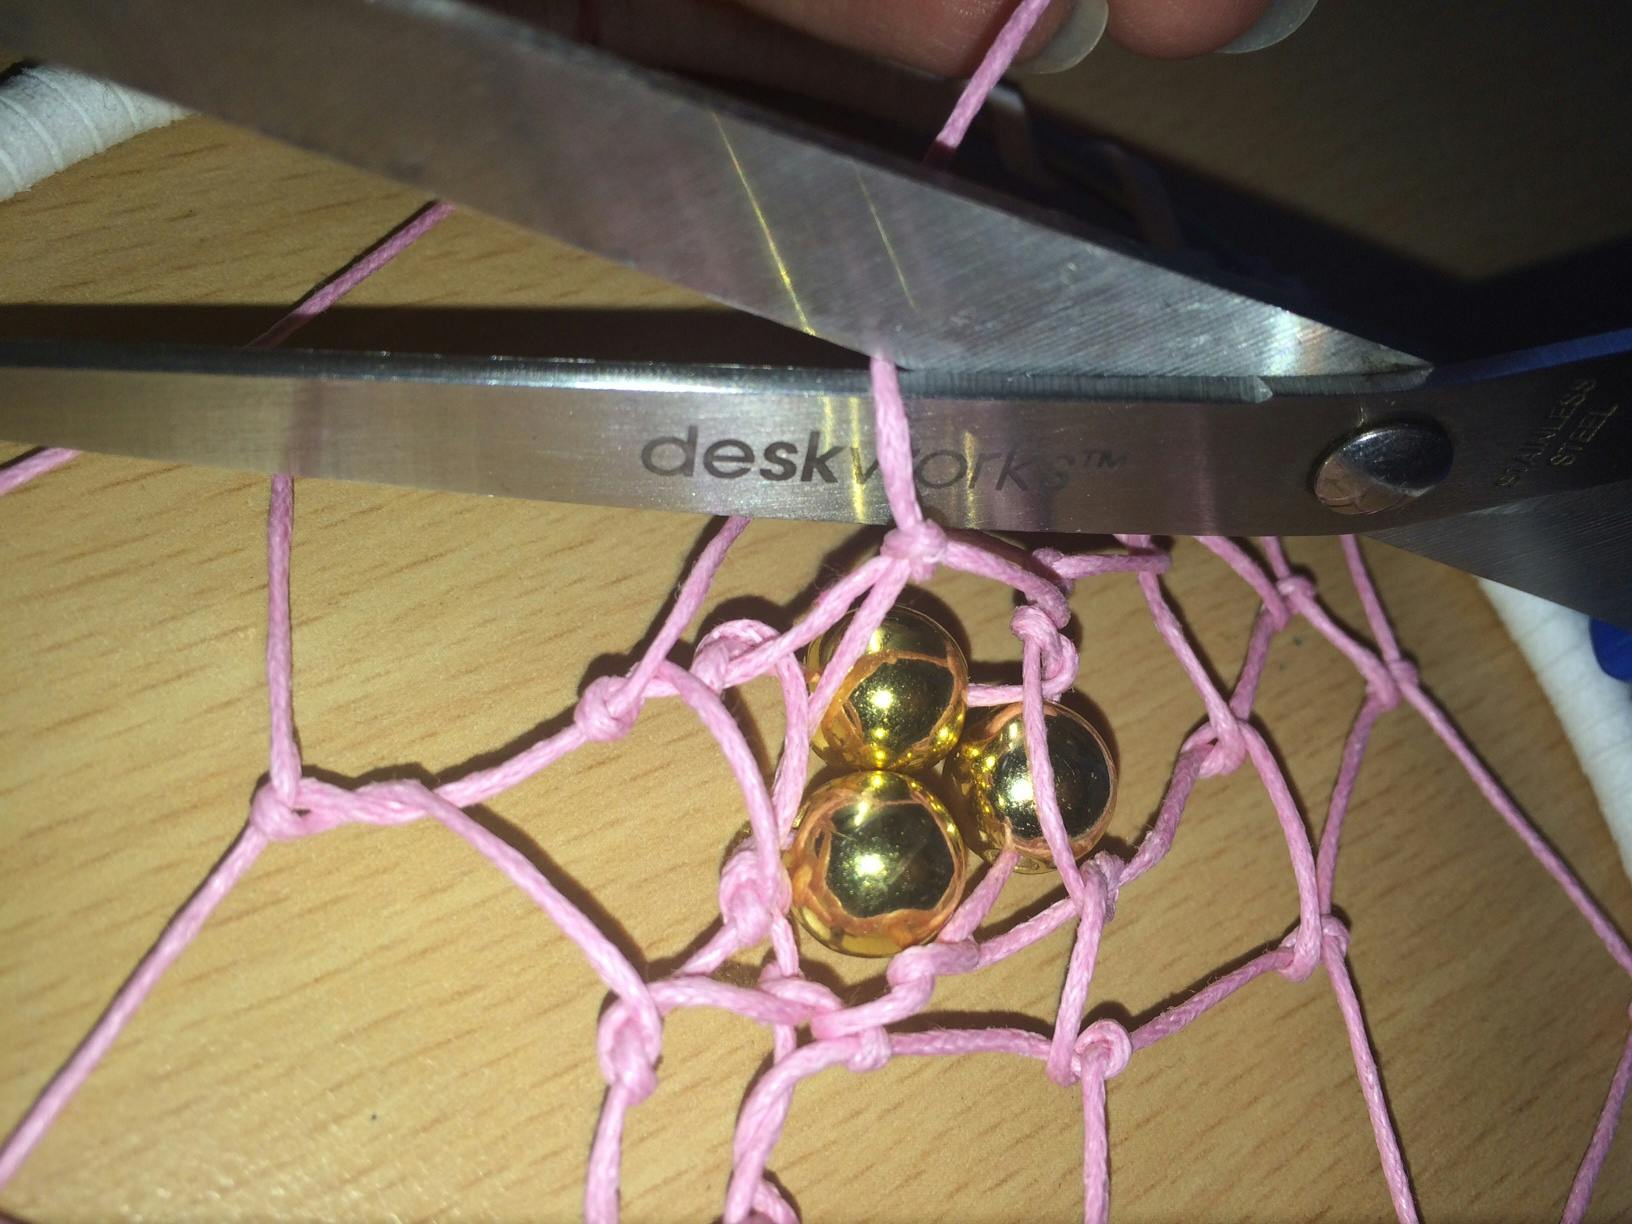
13. Once the web has been completed with the beads, knot off the end your string at the back of the dreamcatcher, and trim it off
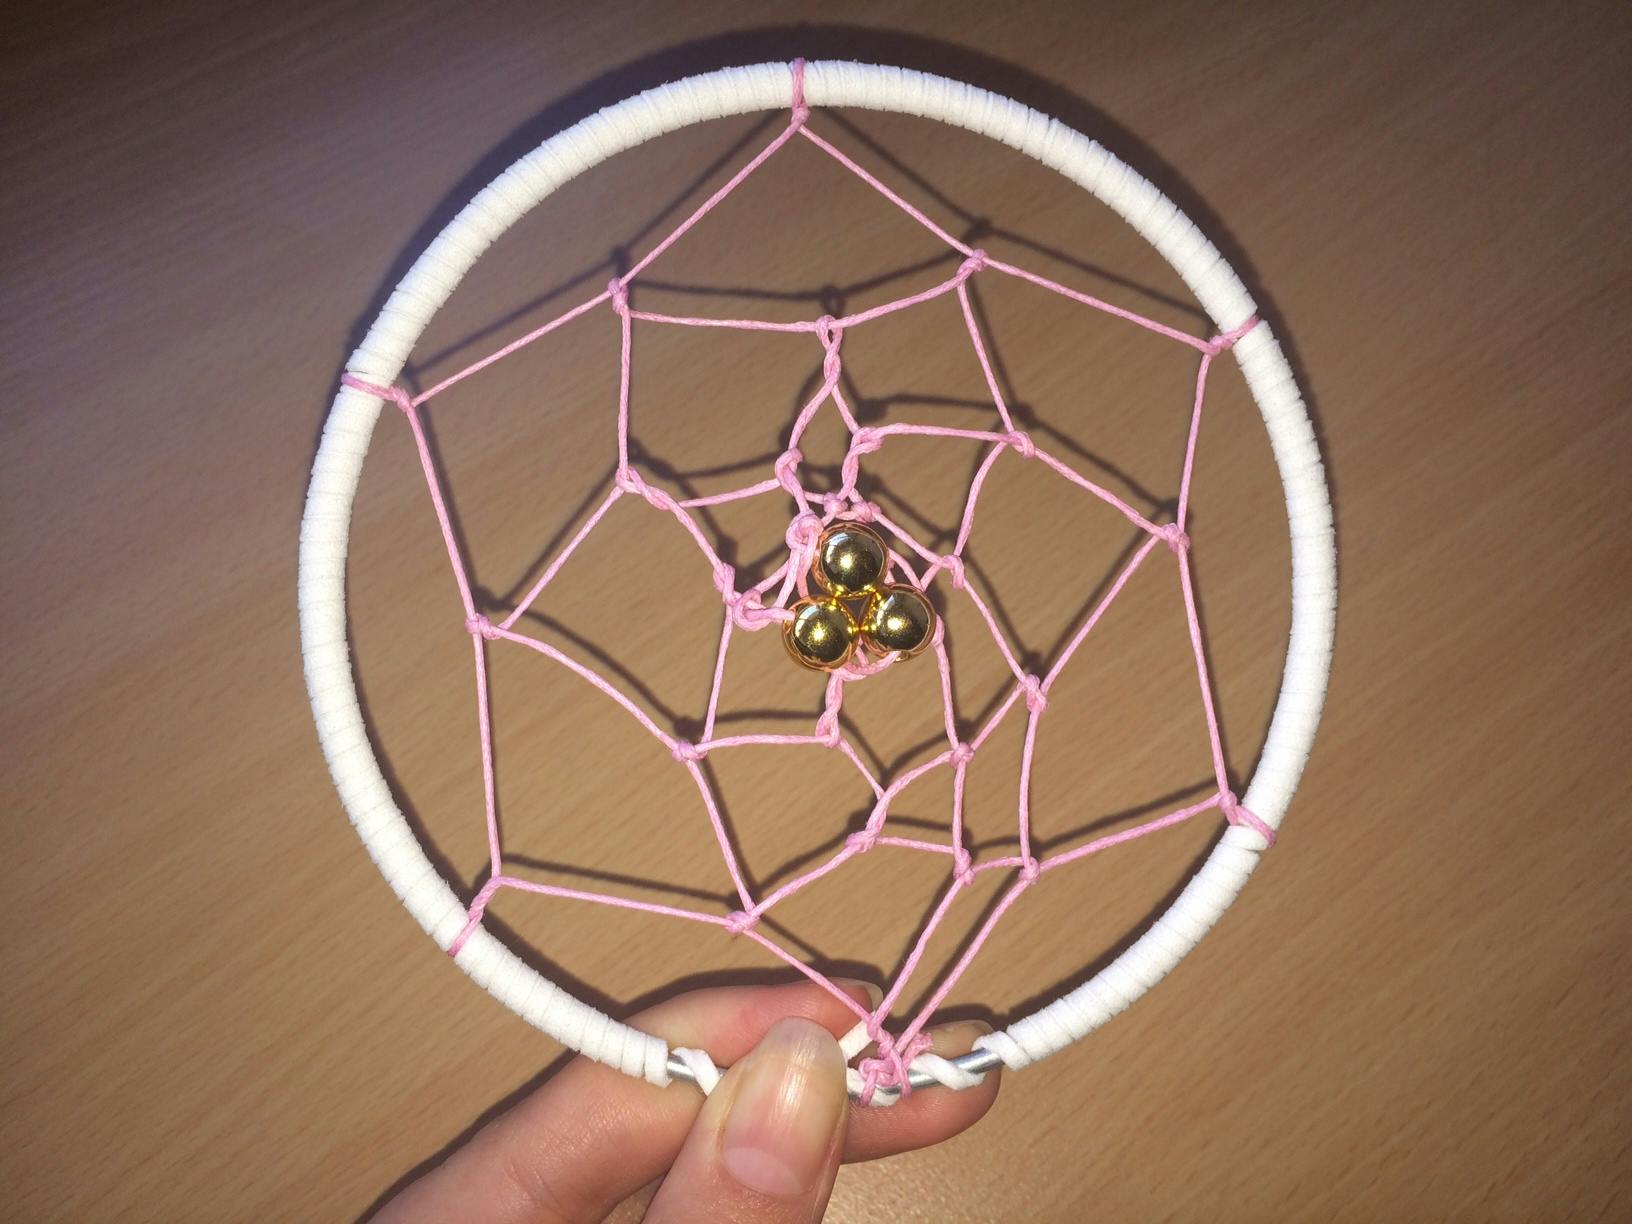
You’ve just created the web of your dreamcatcher! Now to decorate.
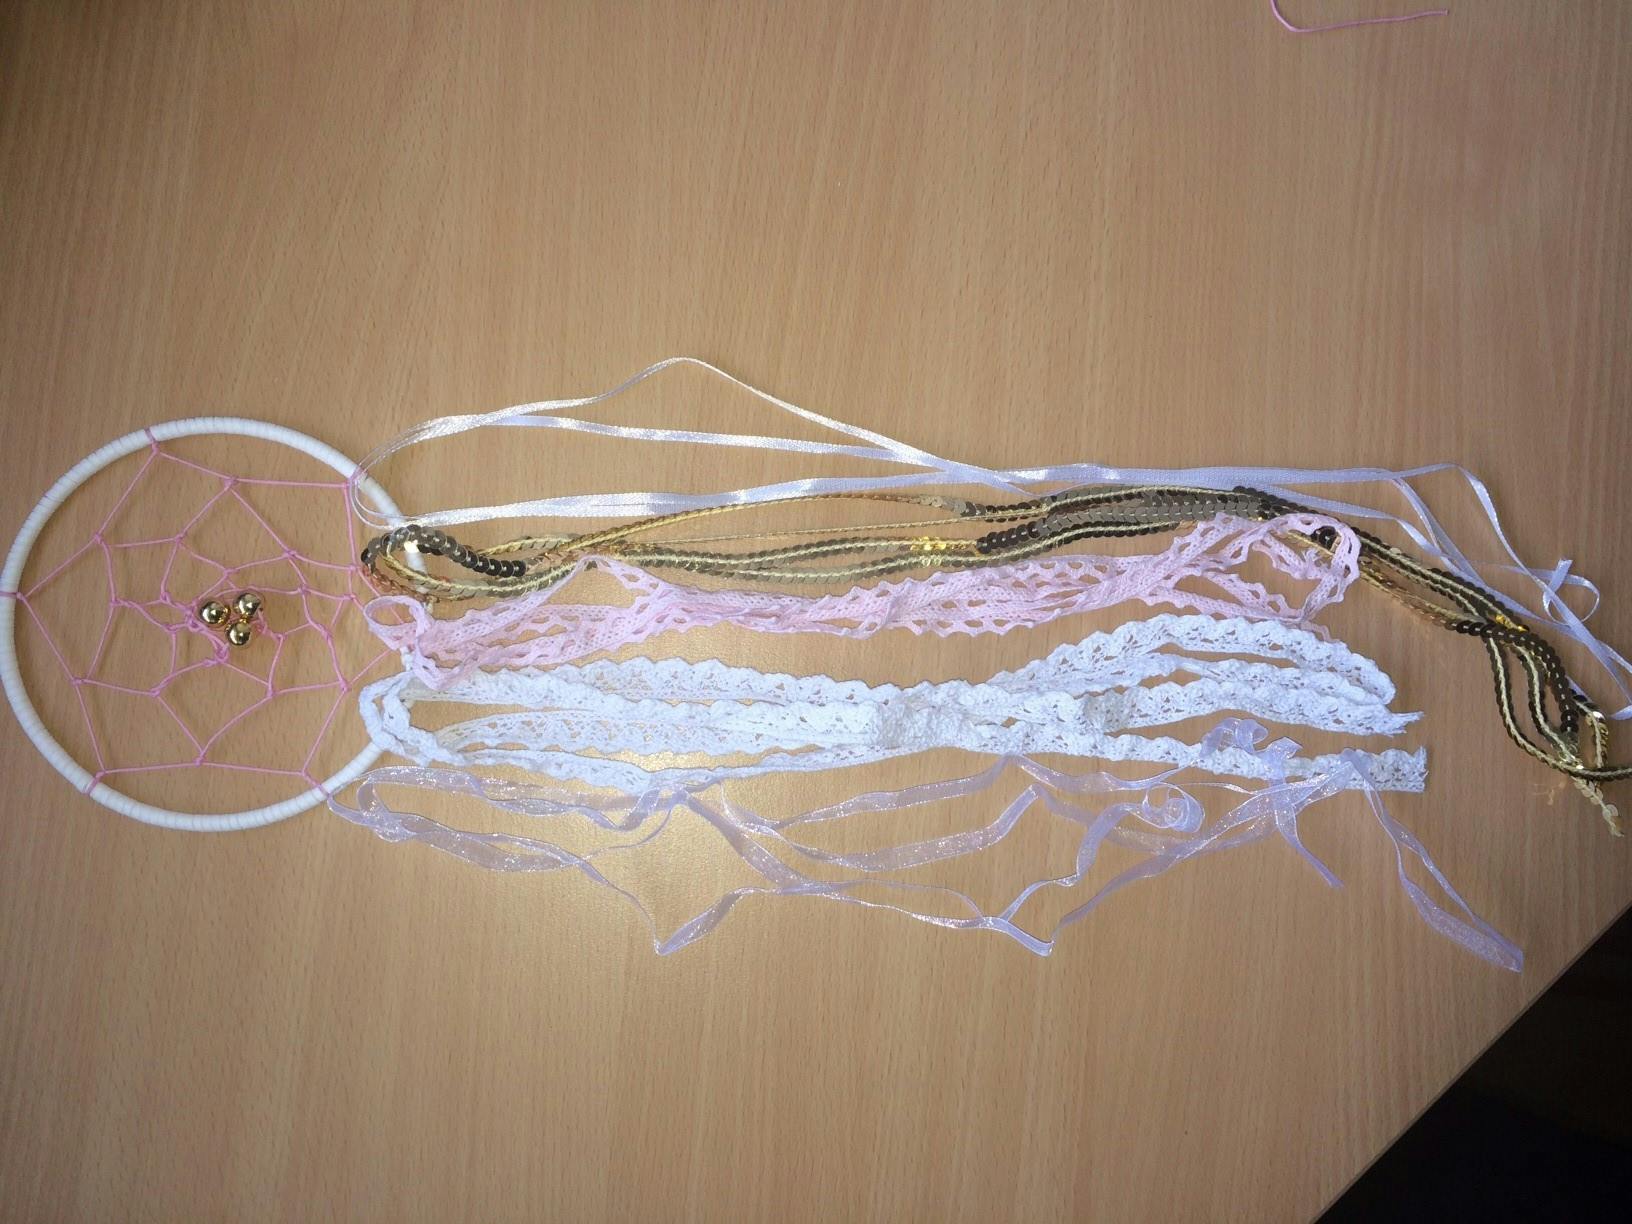
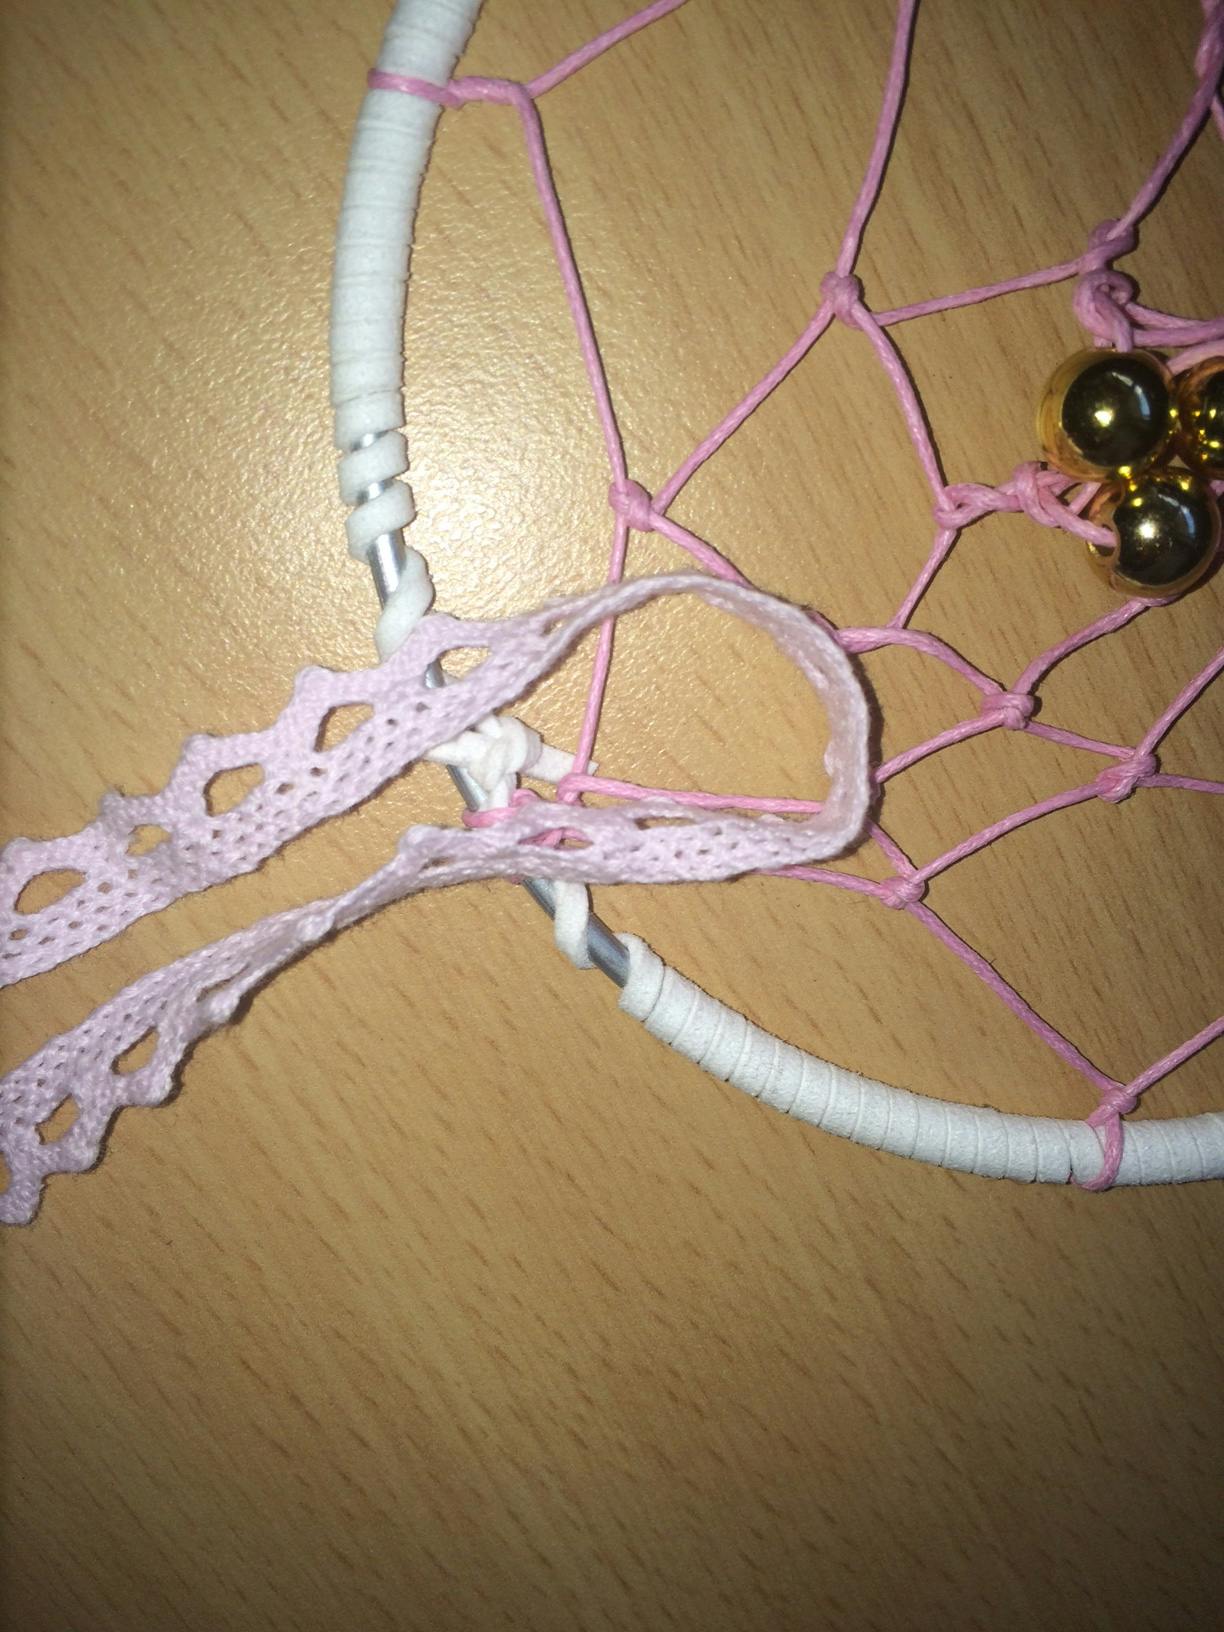
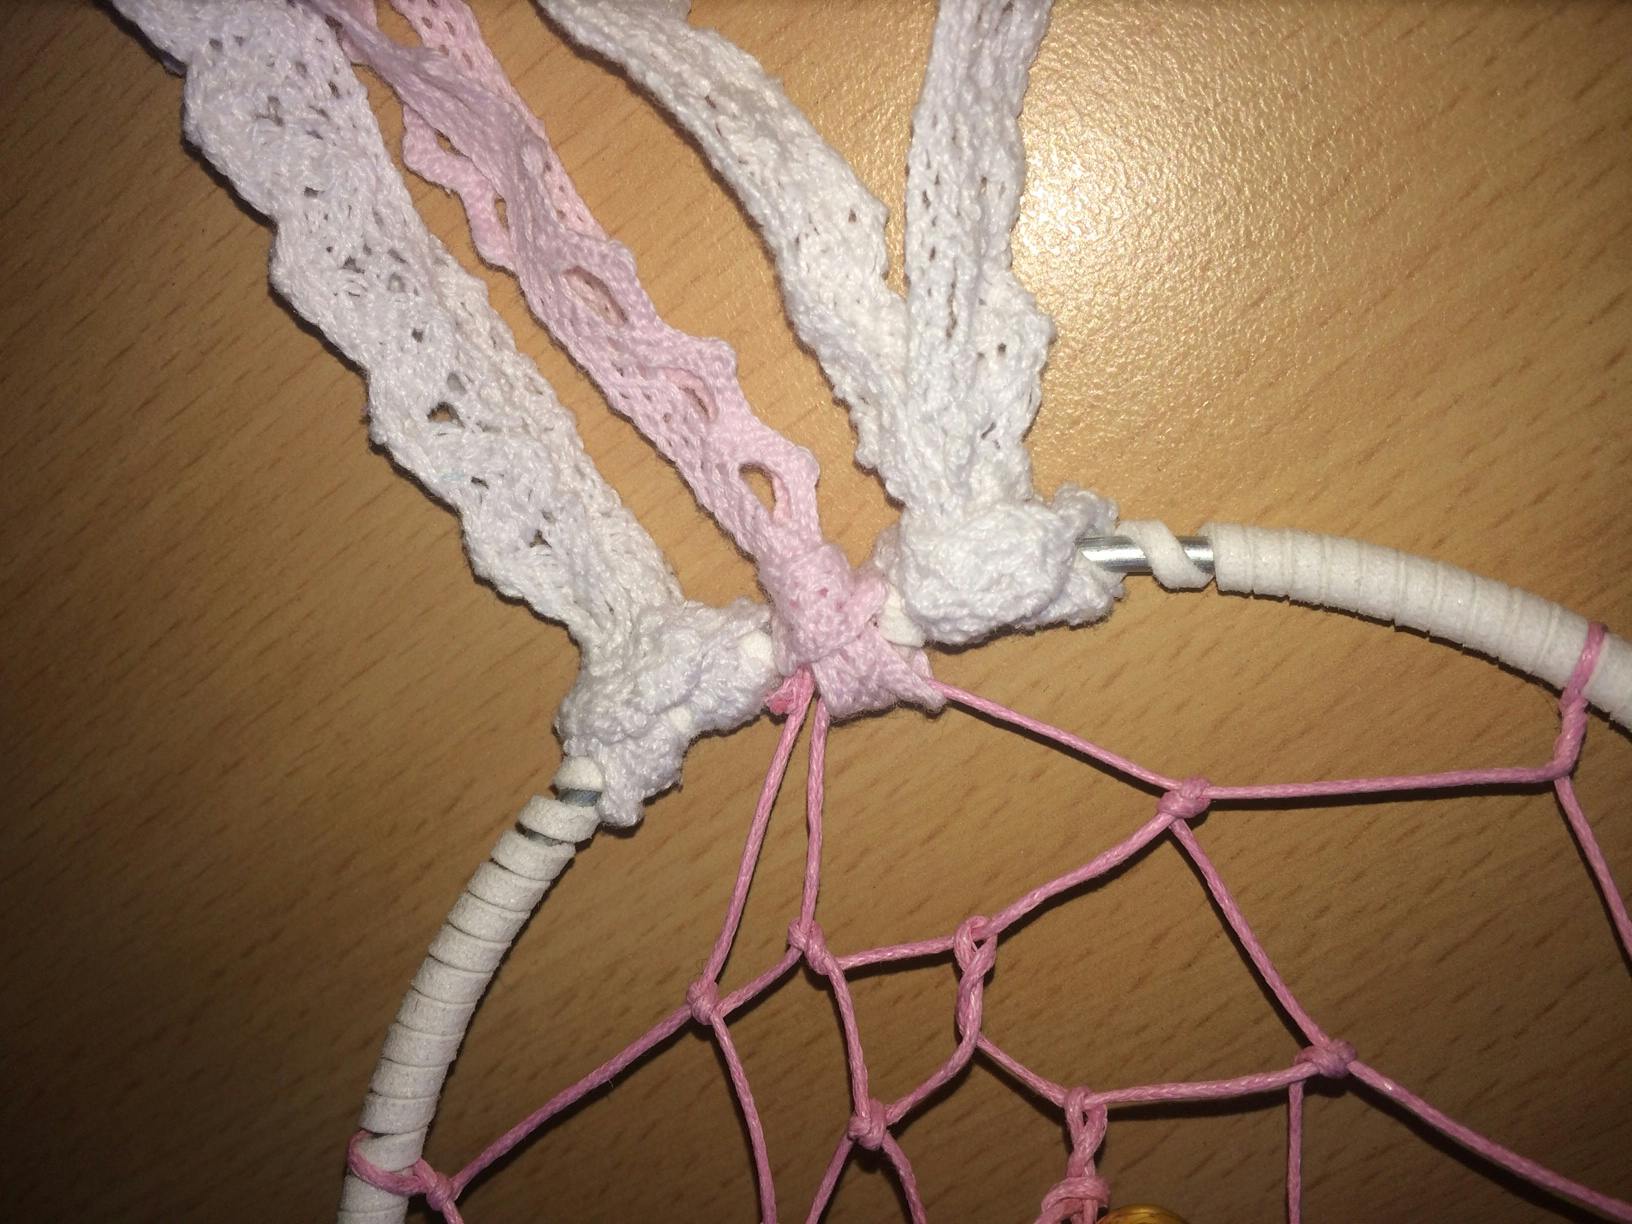
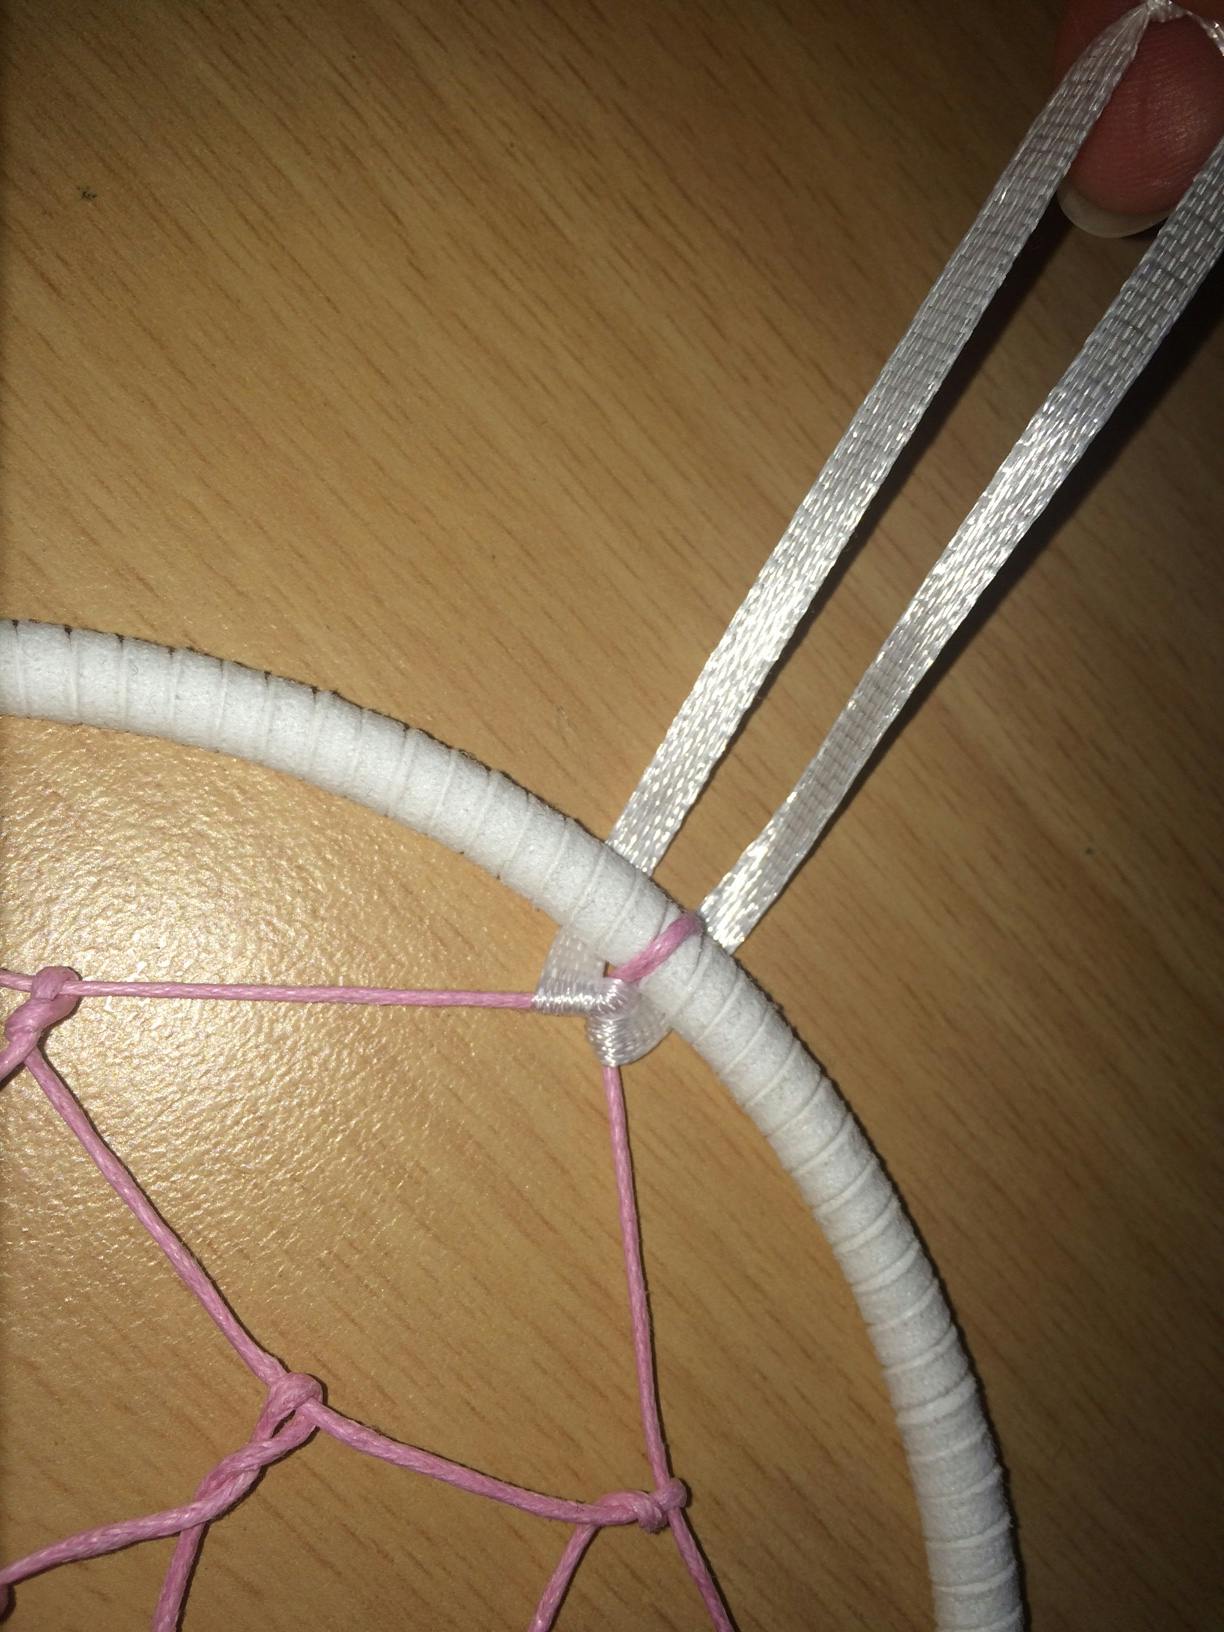
14. Measure out how long you would like the ribbons on your dream catcher to be, and arrange the order you would like them in. Make sure your ribbon is folded in half before measuring, like so. This will make the dreamcatcher look more full
15. Place the folded ribbon over the base of the hoop, and fold over
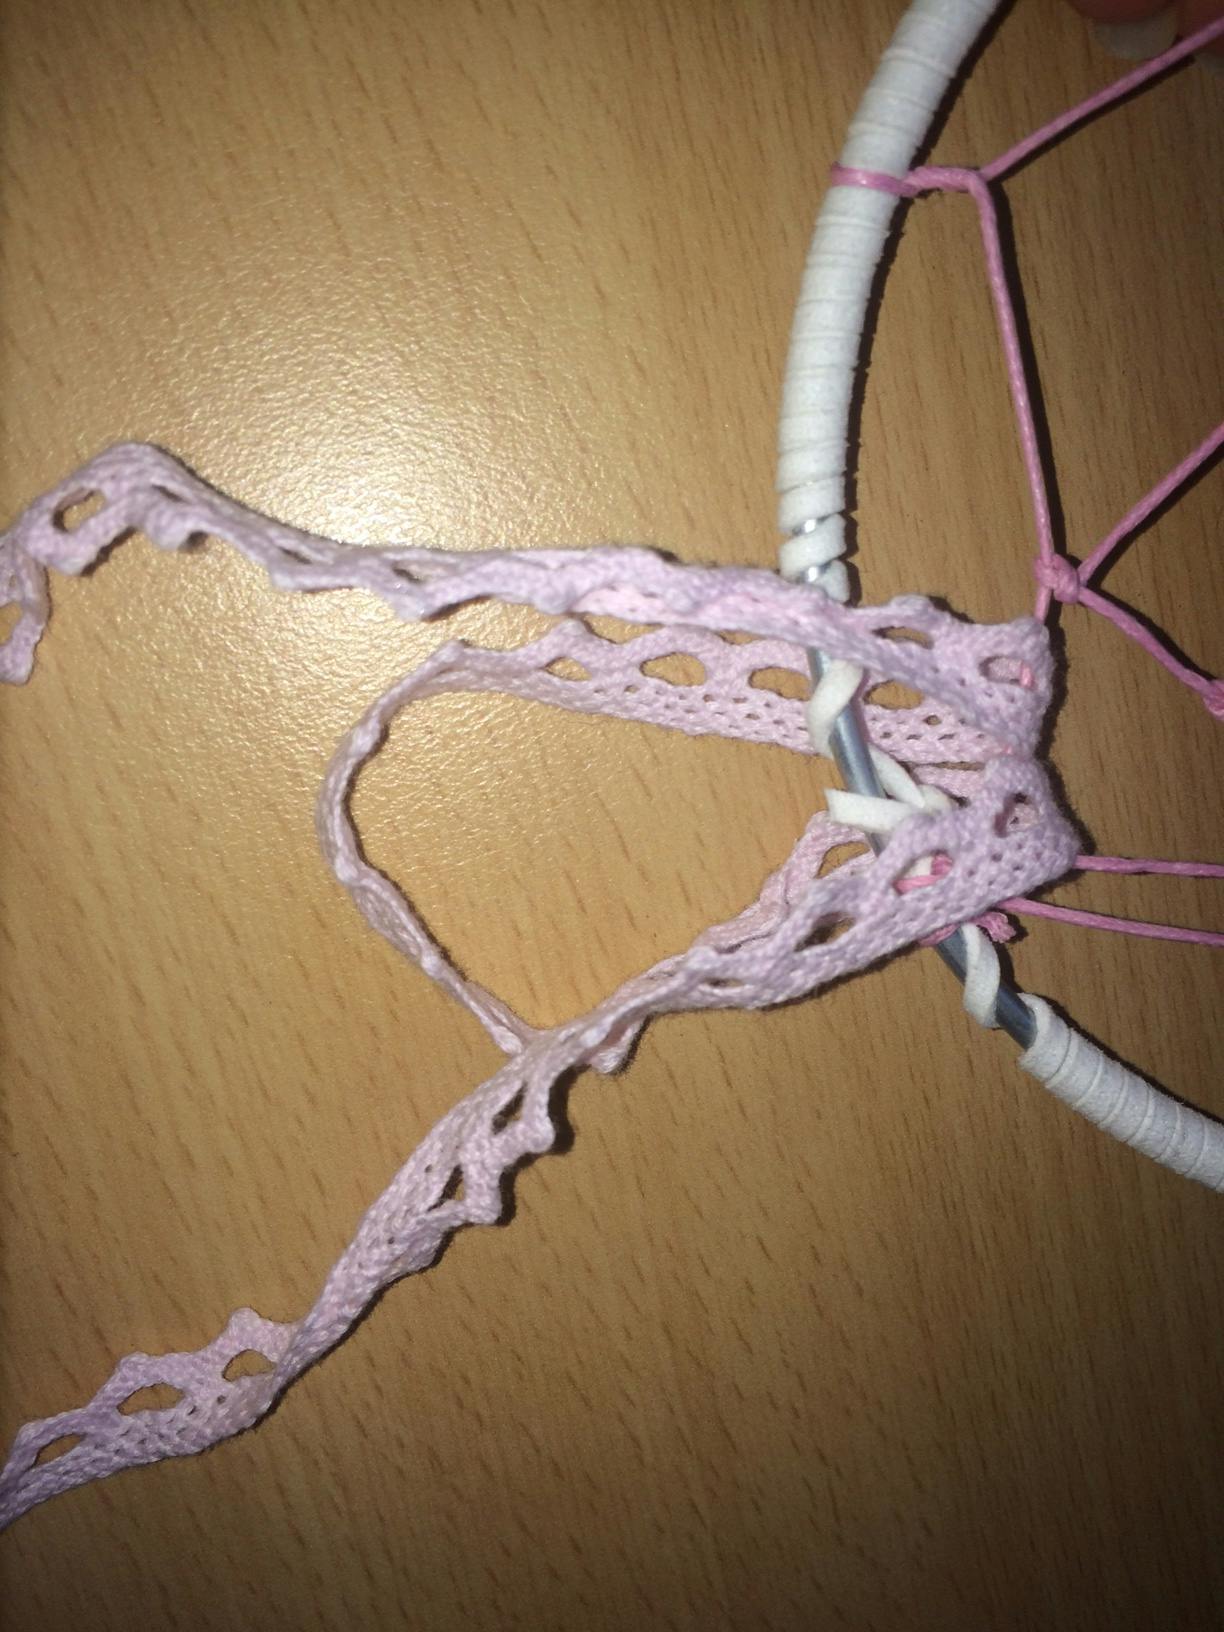
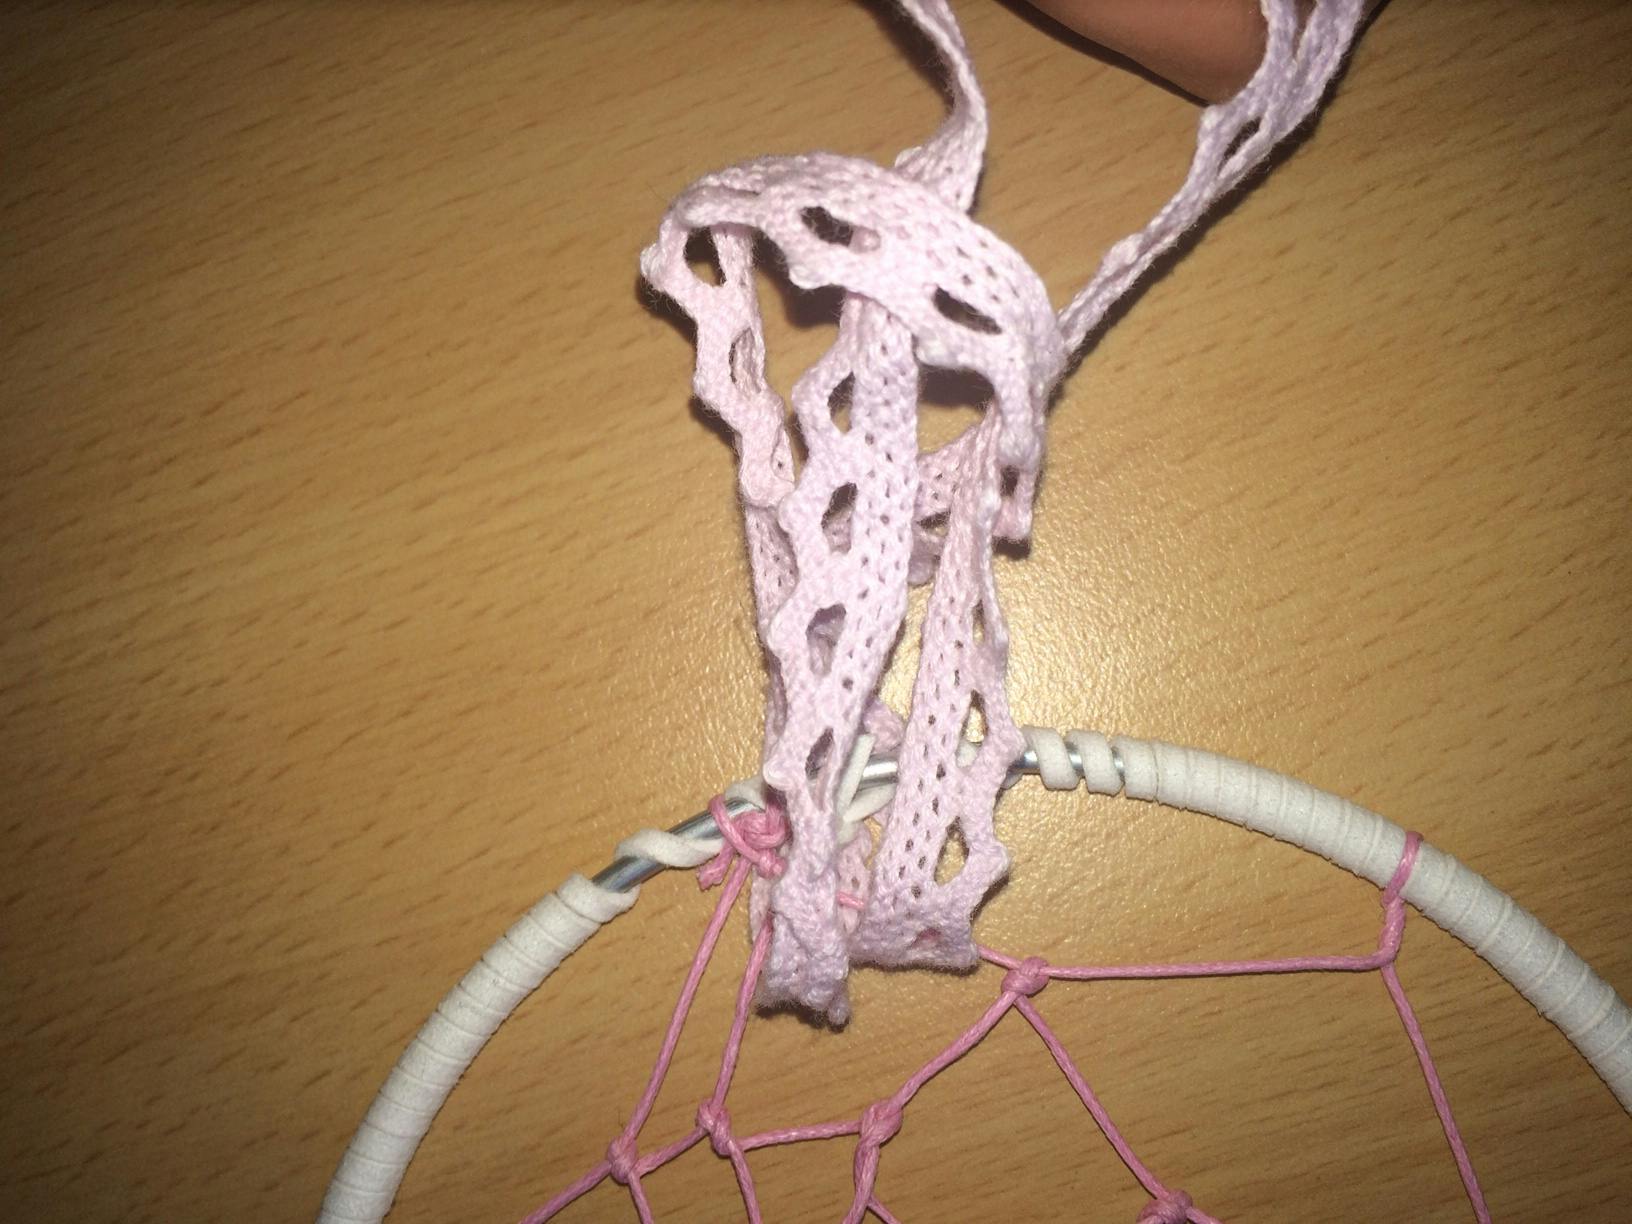
16. Now put the two loose ends of the ribbon through the loop you just created, and pull tight
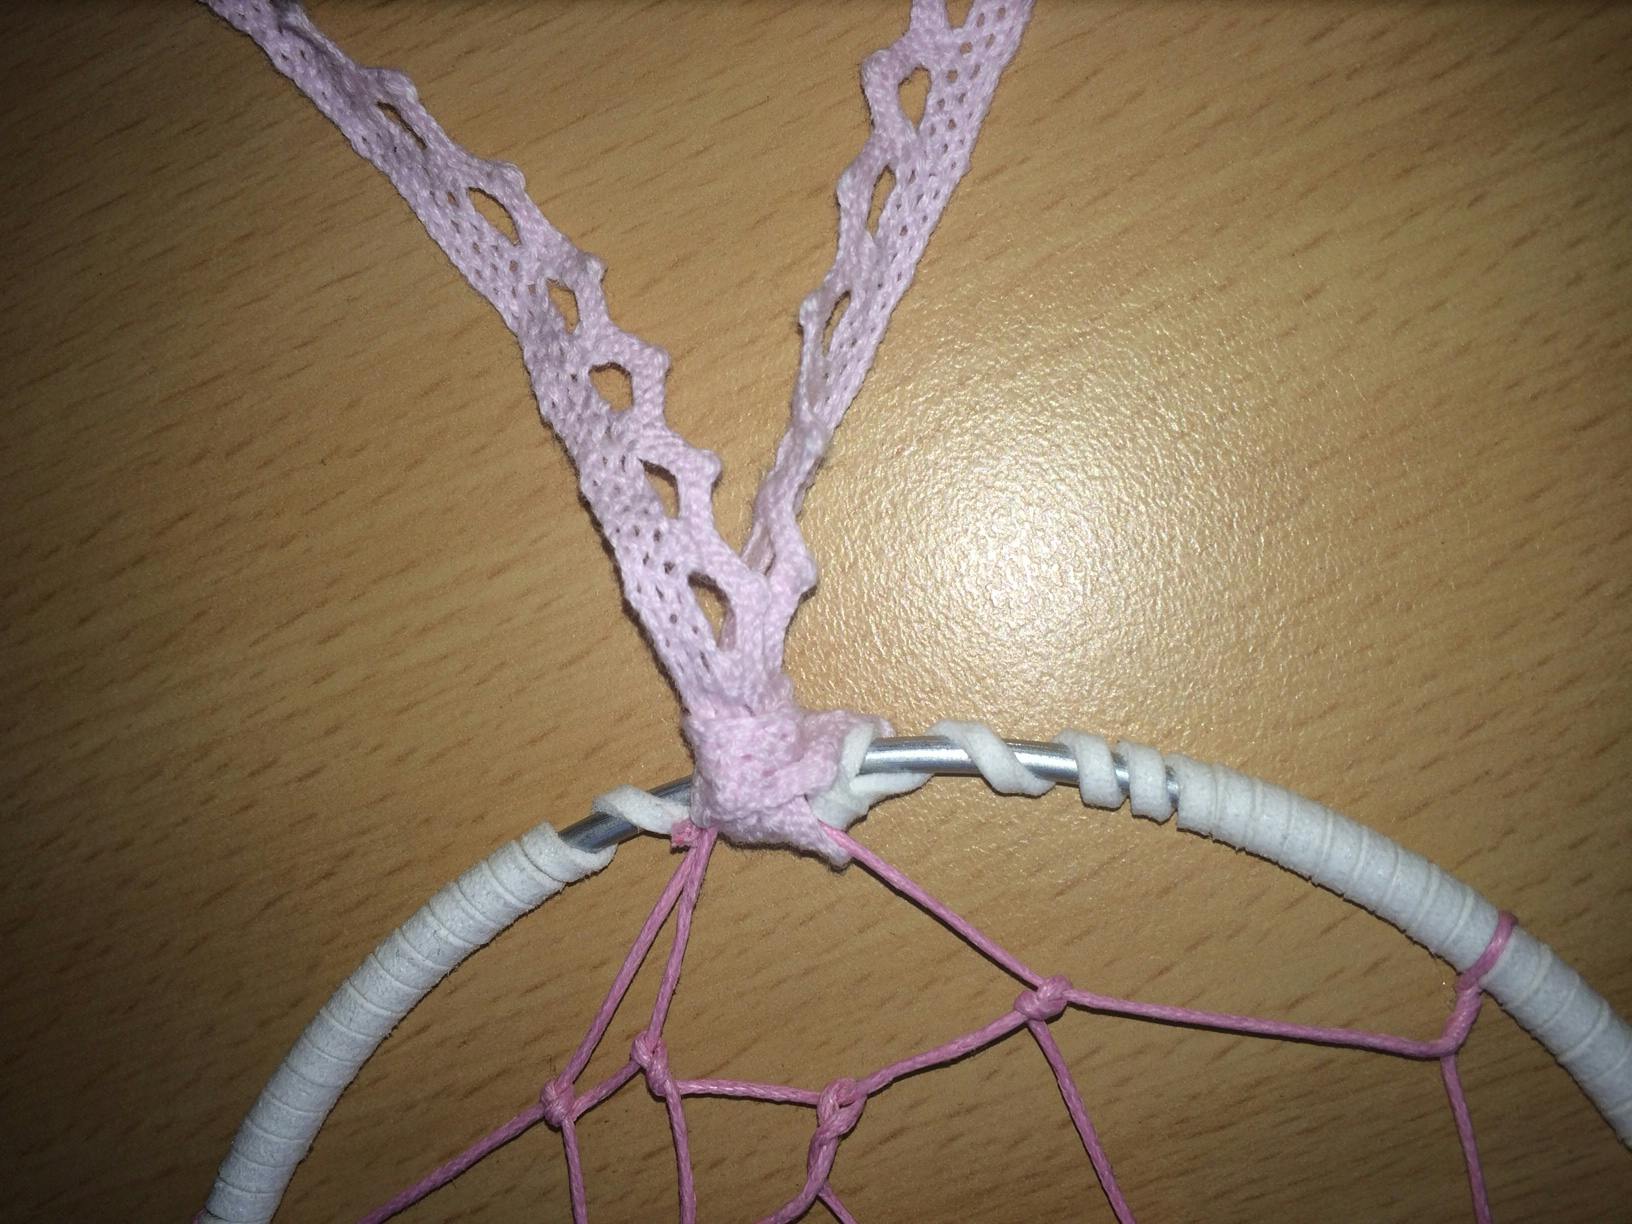
17. Use these steps to tie the rest of the ribbons to the dream catcher. You can also string the rest of the beads onto the ribbon if you wish

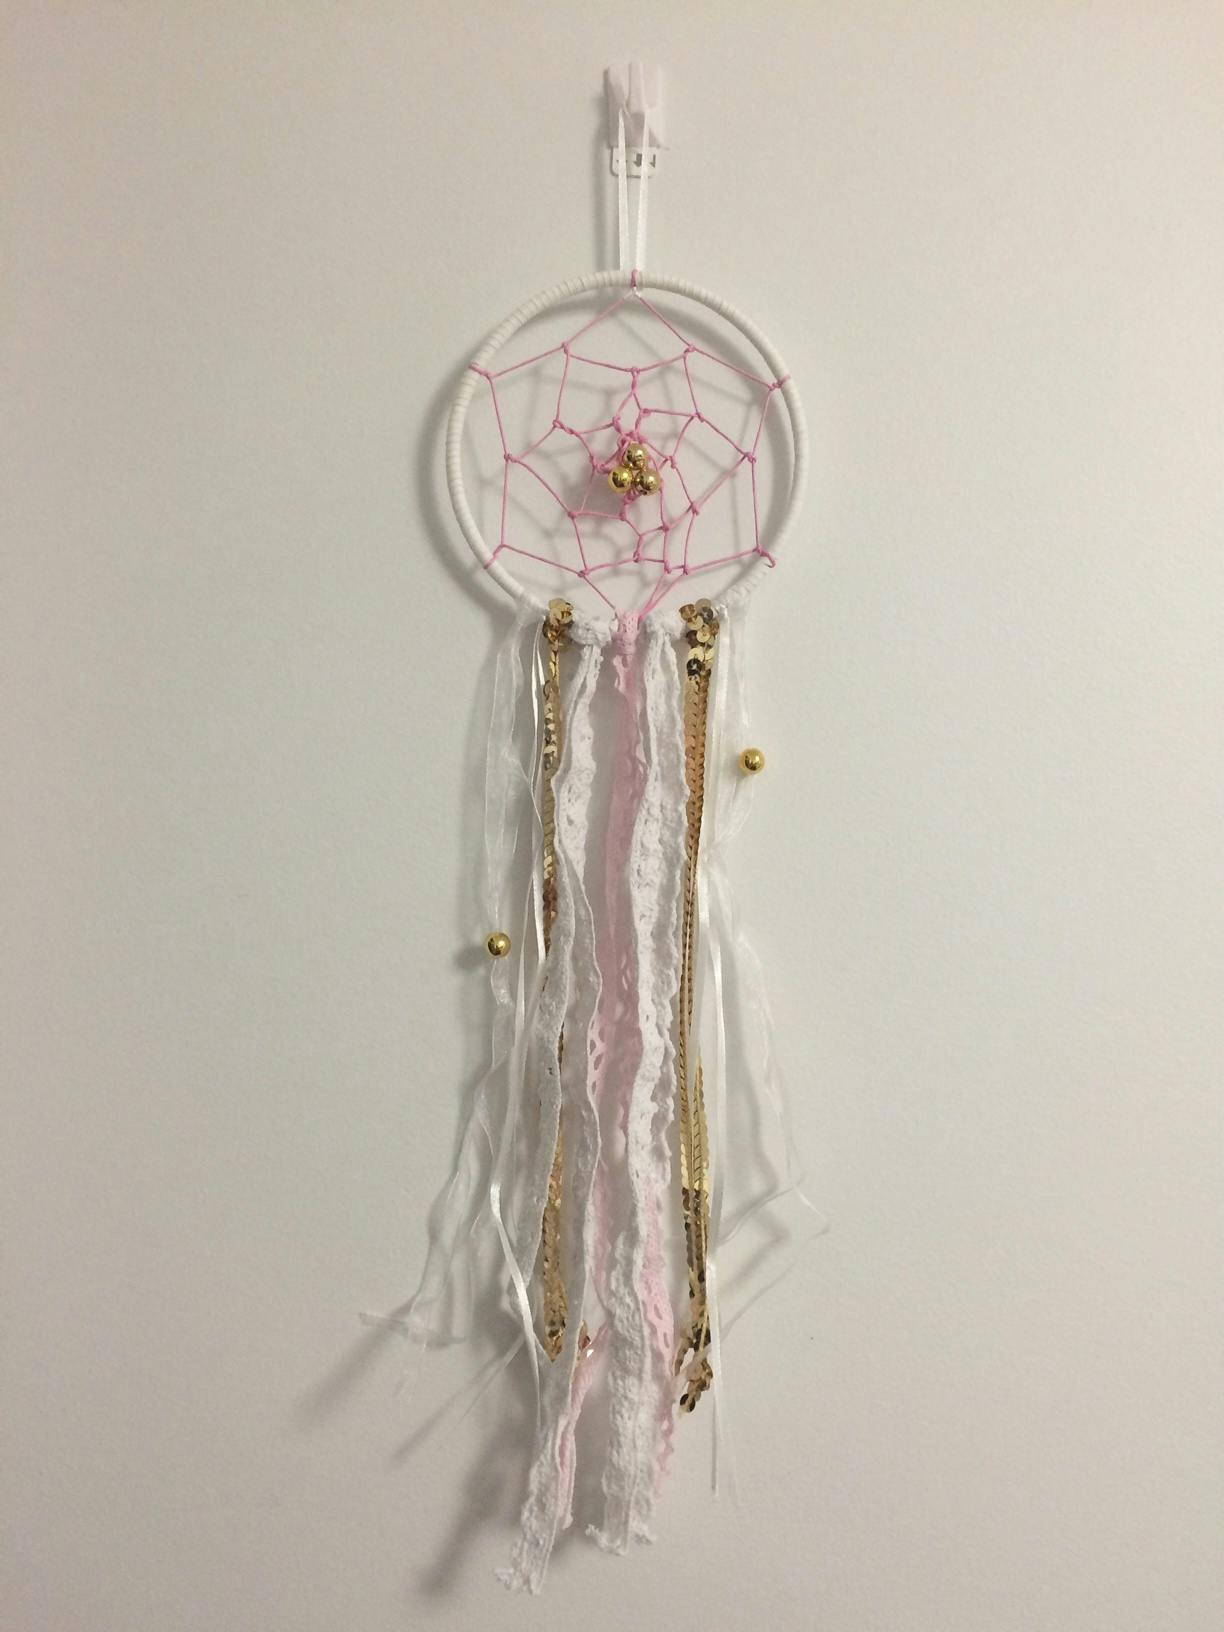
18. For the last step, use some of the excess ribbon to create a loop to hang your dreamcatcher
And you’re done!! You can now hang your dreamcatcher over your bed, or by the window.
We’d love to see your finished results! Post a picture of your creation to our Facebook page – and as I said before, this is only one of many designs so get artsy!
Happy dreaming...
Sign up to receive exclusive offers, VIP invites and all our hints & tips