Easter, Craft
DIY Easter Bonnet
Easter Bonnet Parade's are a time to show off your best Easter hat designs. It represents the tail-end of the tradition to wear new clothes at Easter time, and are certainly a fun way to get creative with the kids over the school holidays. The year is flying by, school holidays are right around the corner and Easter is fast approaching. Do your kids have an Easter Bonnet Parade at school? We’ve got what you need to make them stand out with our easy DIY Easter Bonnet kit!
![featured image for [object Object]](/_next/image?url=https%3A%2F%2Fimages.prismic.io%2Ftrs-storefront%2F510232ac-ca39-4fdd-b7ac-533fbee70300_DIY%2BEaster%2BBonnet1.png%3Fauto%3Dcompress%2Cformat&w=3840&q=75)
The Reject Shop
Last updated
31 Jul 2023
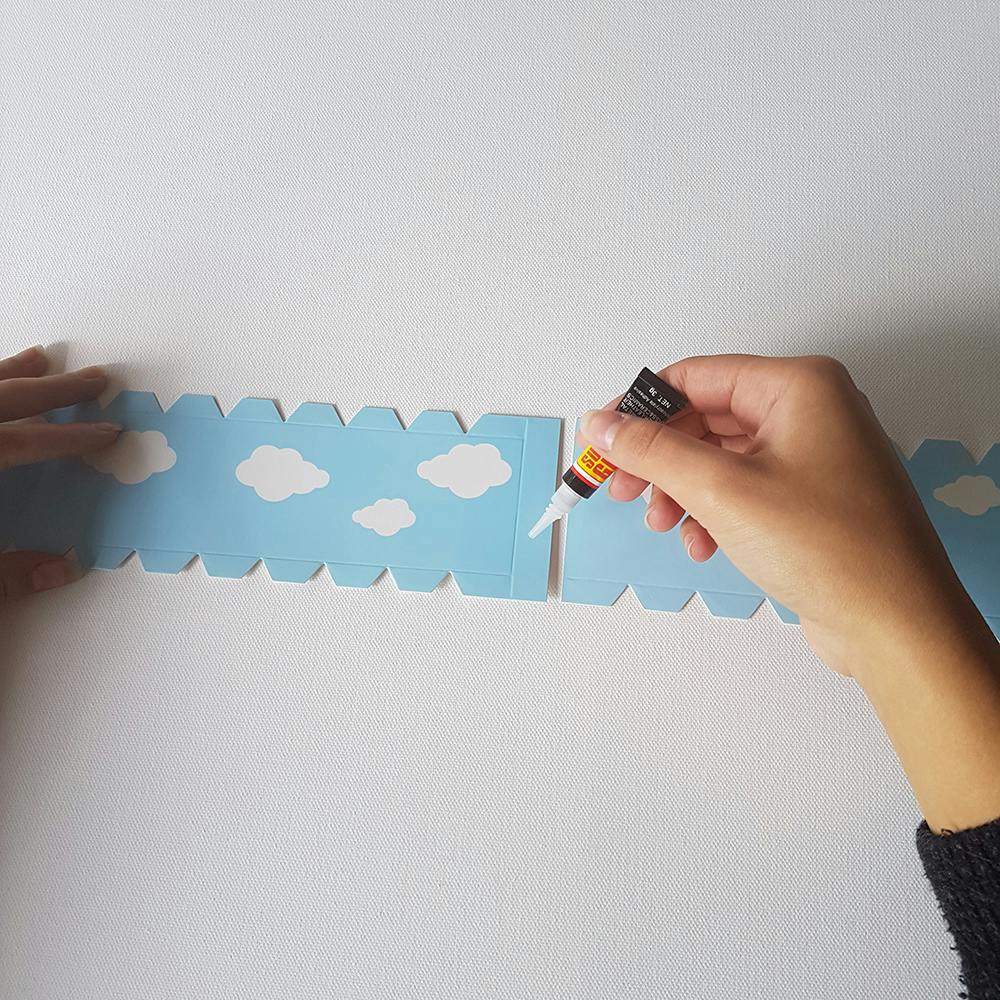
Here are five simple steps to create your bonnet:
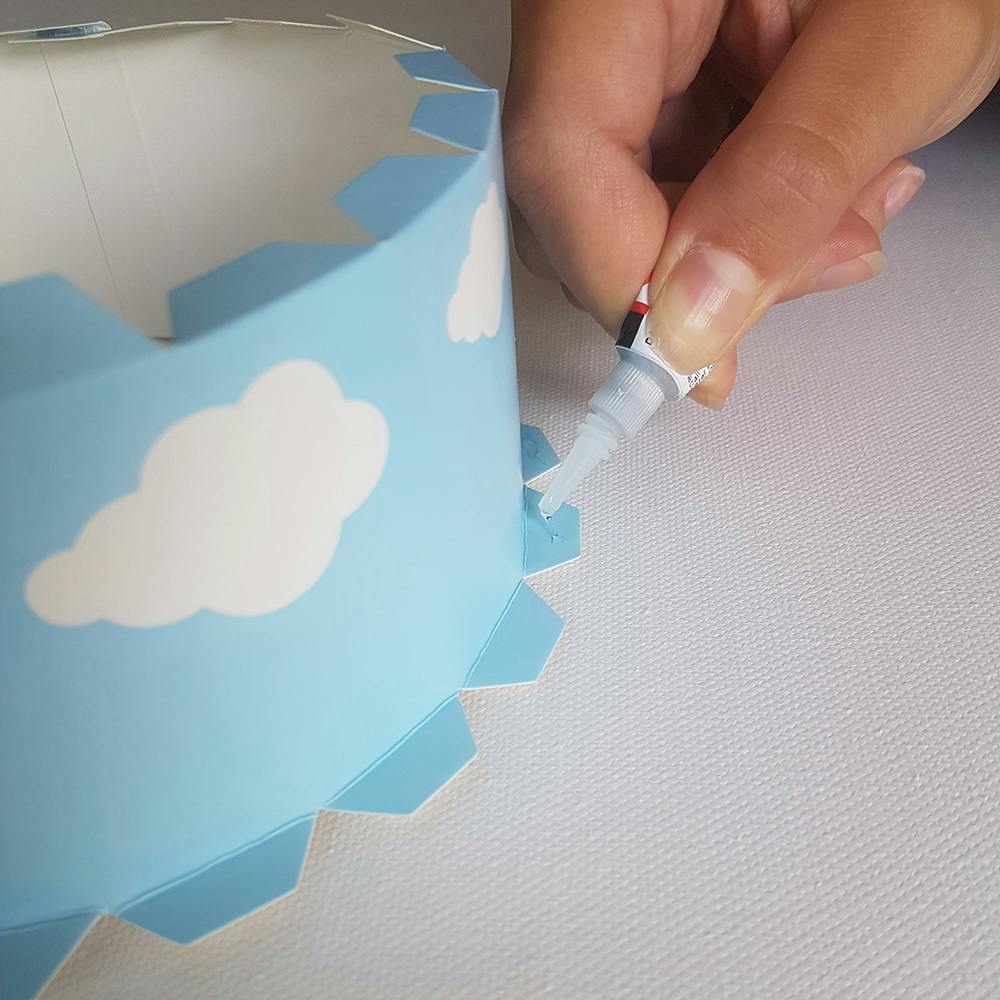
- With glue, stick the band of the bonnet together at both ends. Wait until dry.
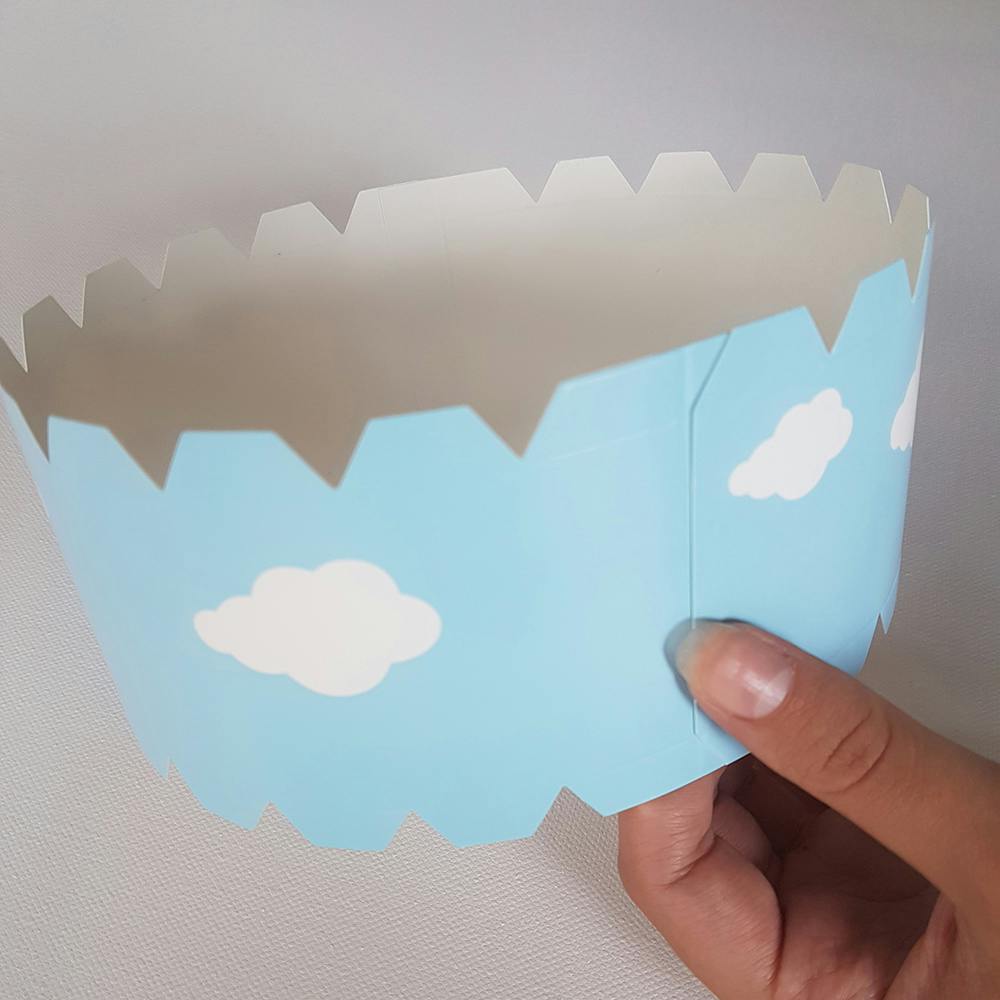
2. Then, fold the top tabs inwards and the bottom tabs outwards.
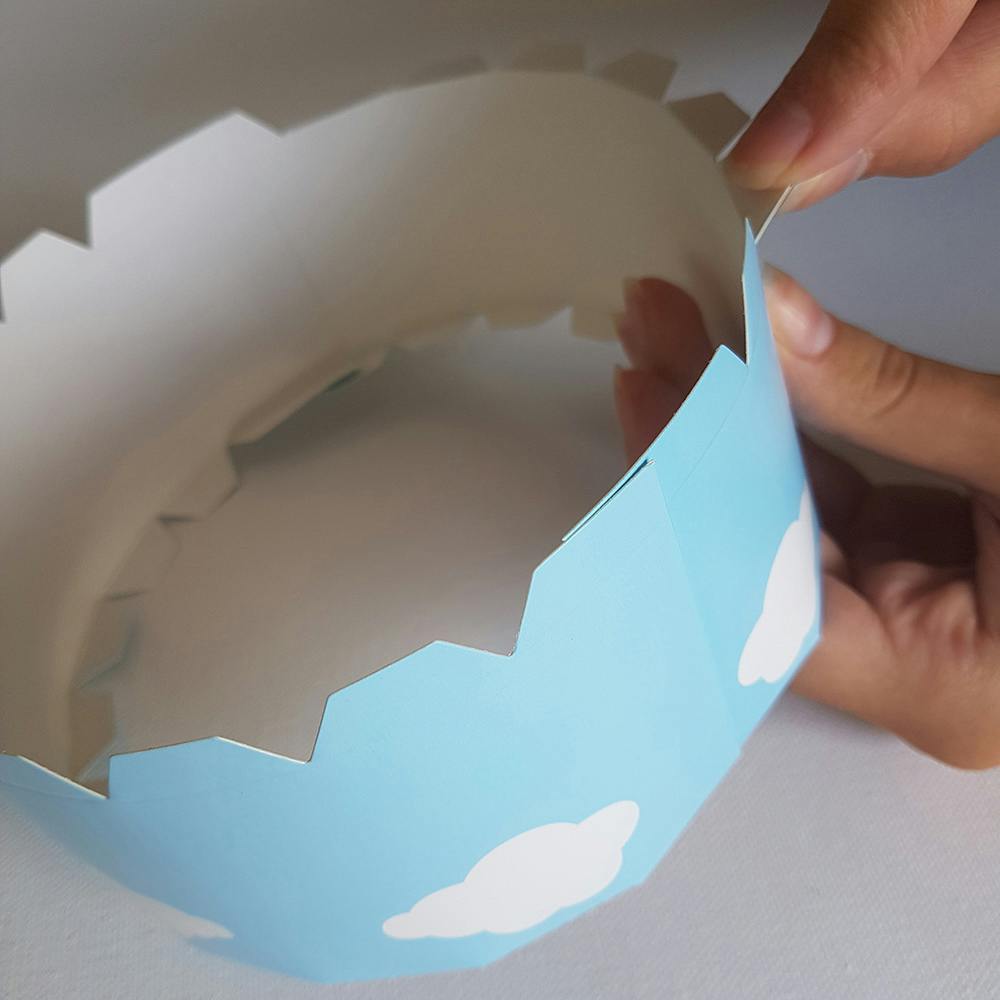
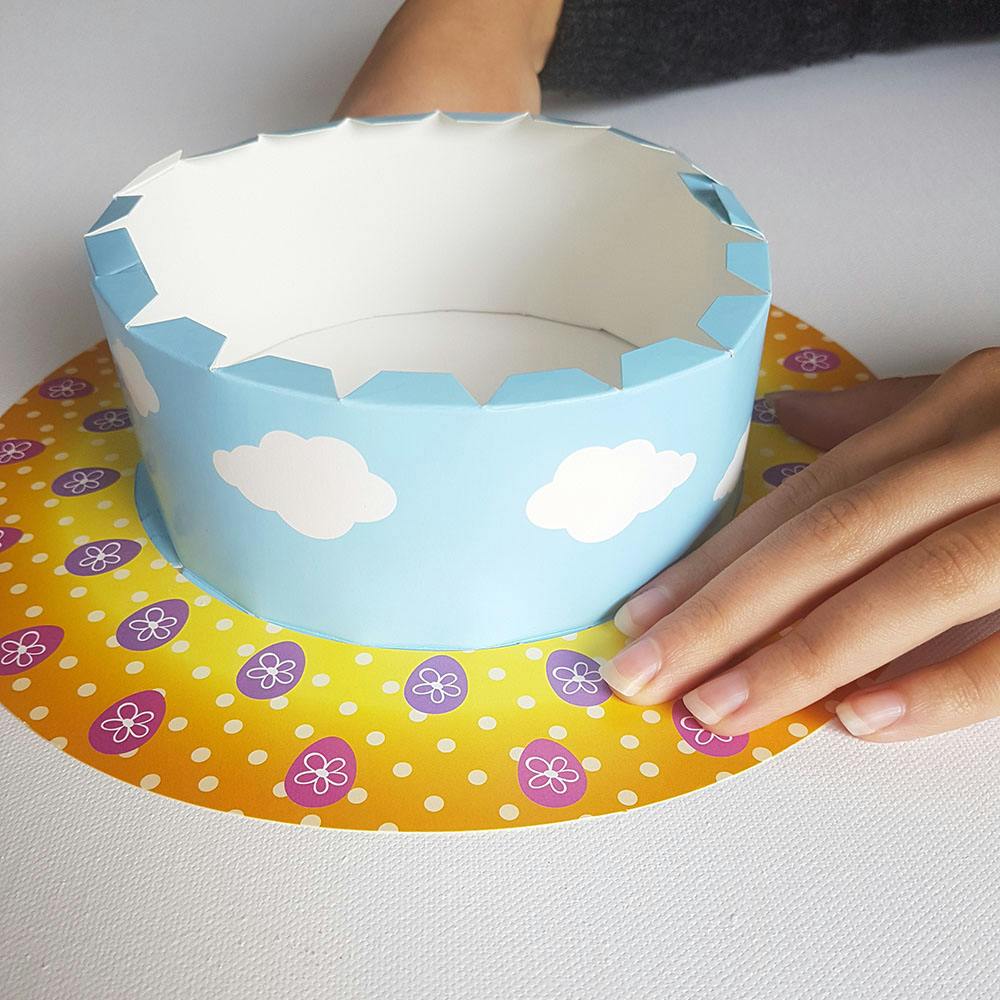
3.Put glue on the bottom tabs and secure the bonnet rim into place.
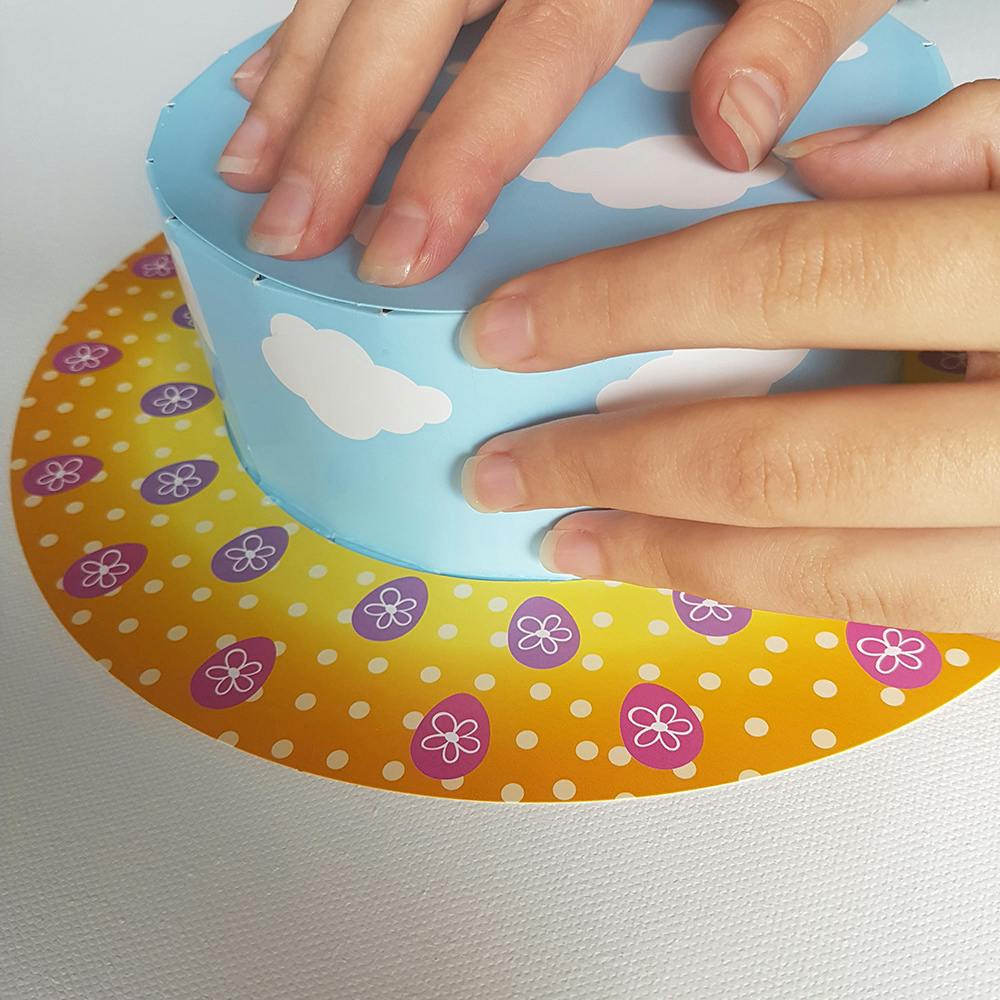
4. Glue the top of the bonnet into place.
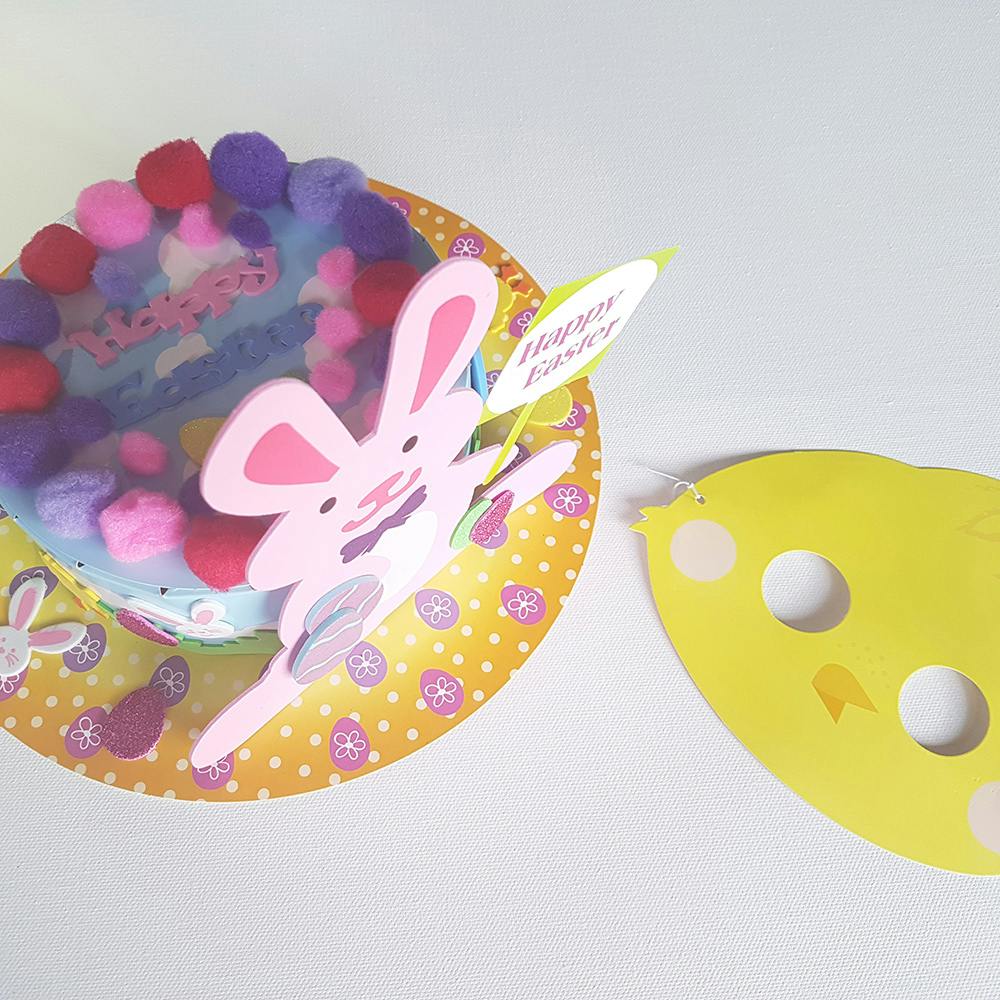
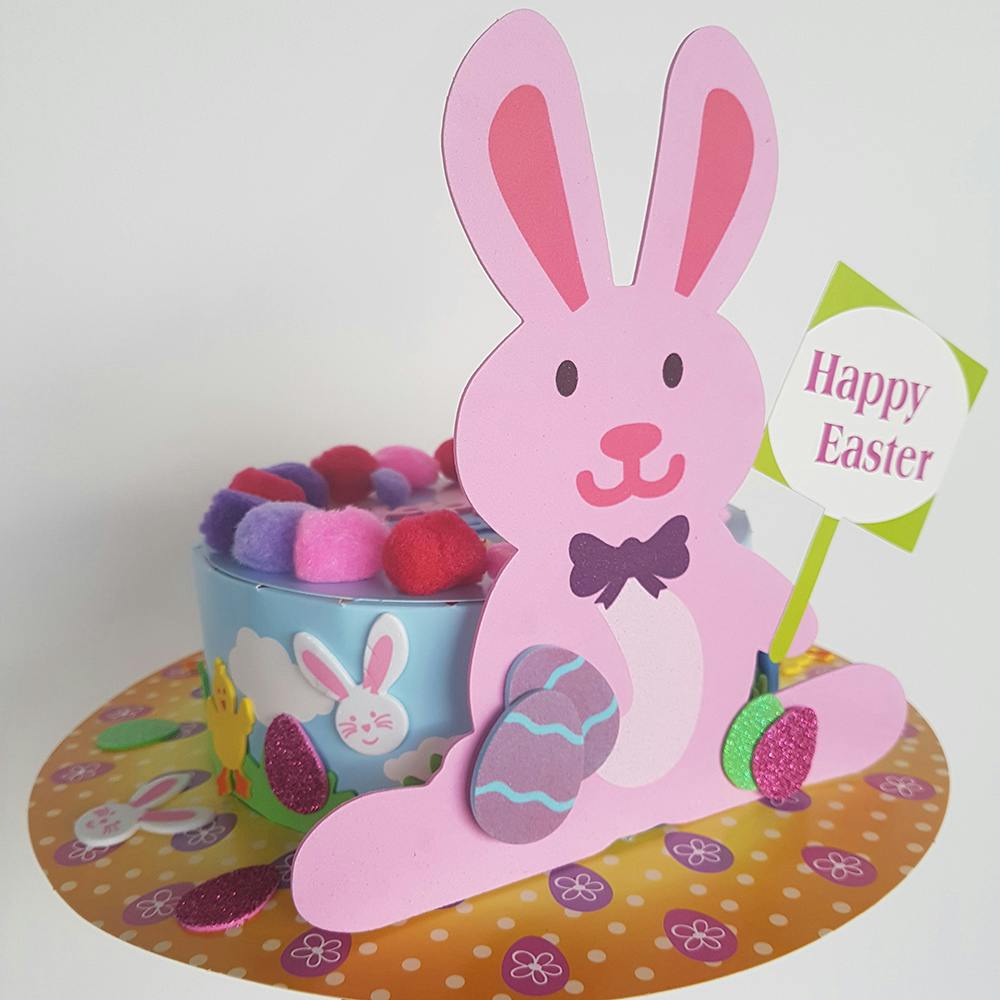
5. Now it’s time to decorate! Place the foam grass strip and colourful eggs onto the bonnet. Add the giant bunny to the side of the hat, and attach the 'Happy Easter' sign to its hand.
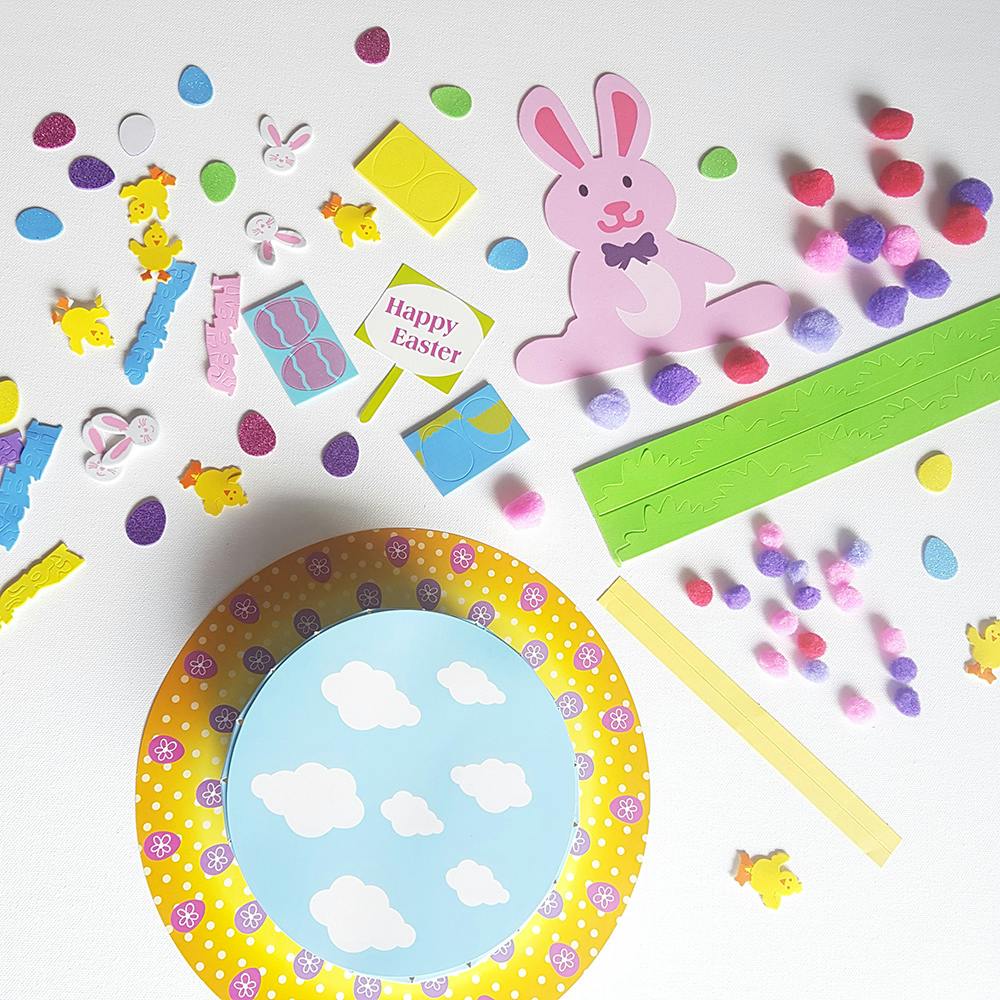
You’re finished! To stand out even more in the parade, add a cute Easter mask and your little one is set to go!
Featured products:
- DIY Easter Bonnet - $2.50
- Paper masks 6pk - $2.50
- Pom poms - $2
- Foam cutouts - $2
Share your Easter Bonnet creations with us on Facebook, Twitter or Instagram, we would love to see them! #getsavvy
Sign up to receive exclusive offers, VIP invites and all our hints & tips