DIY, Knitting
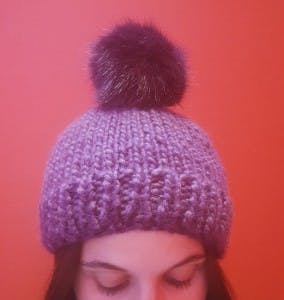
DIY WINTER BEANIE
It may not feel like it, but the cold weather is not too far away. So now is the perfect time to get started on your winter woollen projects. Can’t decide on your project or not sure how much yarn you need? Well, we’ve made things easier for you with our great range of yarn kits and stash packs. This season, we’ve brought in this nifty beanie kit in various colours.
![featured image for [object Object]](/_next/image?url=https%3A%2F%2Fimages.prismic.io%2Ftrs-storefront%2F03e0fb3b-76d8-4d5c-a792-6b9ebc6b0802_diy-winter-beanie.png%3Fauto%3Dcompress%2Cformat%26fit%3Dcrop%26h%3D1280%26w%3D960&w=3840&q=75)
The Reject Shop
Last updated
3 Aug 2023
With such a quick weekend project, you can have a full beanie finished while binge watching the latest season of your favourite show.
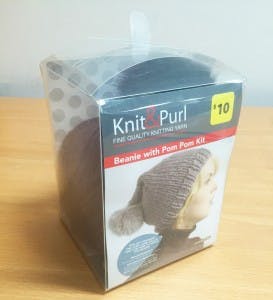
Beanie with Pom Pom Kit*
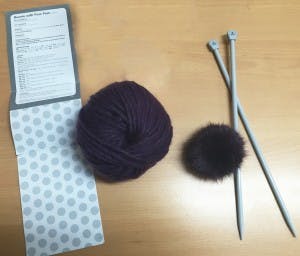
Kit contains:
- Yarn ball, enough to make a beanie to fit a 56cm diameter head
- Pom pom
Other materials required:
- A pair of 8mm knitting needles
- Yarn needle
Step 1
Cast 55 stitches onto your knitting needle.
Step 2
Knit 2 stitches, purl 1 stitch. Repeat to the last stitch. Knit 1 stitch. You’ve just knitted your first row.

Step 3
To get your second row, knit 1 stitch, purl 1 stich and repeat until you get to the end of the needle.
Step 4
Repeat steps 2 and 3 until you get to a length of around 5cm from the needle. Make sure that you end with a row from step 3.
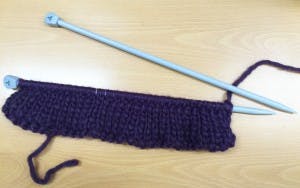
Step 5
Work in a stocking stitch until the length of around 16cm from the needle. What’s a stocking stitch? That’s one row of knit, one row of purl. Make sure to end on a row of purl.
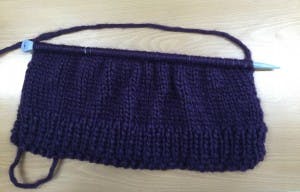
Now for the slightly tricky part – shaping the crown. This involves knitting some stitches together so that the number of stitches decreases with each row. So instead of picking up one stitch, sometimes you will need to pick up 2 and knit them together as if it was only one stitch.
- To start, knit 4 stitches, then knit 2 together (pick up 2 stitches and knit as 1). Knit 3 stitches, then knit 2 together. Knit another 3 stitches then knit 2 together and keep repeating until you reach the end of your needle. The number of stitches you have left should be 45.
- Purl one row.
- Knit 4 stitches. Knit 2 together then knit one and repeat to the end of the needle. You should now have 35 stitches left on your needle.
- Purl one row.
- Knit 3 stitches. Knit 2 together then knit one and repeat to the end. When you get to the last 2 stitches, you would have just finished knitting 2 together. Knit 2 for the last 2 stitches so that you end up with 25 stitches on your needle.
- Purl one row.
- Knit 1 stitch. Knit 2 together and repeat to the end of the needle. You should now have 13 stitches left on your needle.
- Purl one row.
- Repeat steps 12 ( by the end, you should have 7 stitches on your needle) and 13.
- Break off the yarn, leaving a long tail. Run the tail through the remaining stitches and remove from the needle. Draw the tail tight to bunch up the end and fasten securely.
- To finish, use the yarn needle to darn the end of the work.
- Mattress stitches the edges together to form a seam.
- Sew the pom pom on the top of the beanie.

Happy Knitting!
*This kit is available in store but while stocks last.
Sign up to receive exclusive offers, VIP invites and all our hints & tips