New Years Eve, Craft, Party
NYE Party Hats
They say the new year is an opportunity for a fresh start and resolutions are made but let's face it, we are probably still eating that brownie after midnight on New Years Eve. Maybe better luck next year?! Instead New Years Eve is a night where friends get together and exchange stories from the year that was and what better way to bring in the new year than with party hats. Not just ordinary party hats but DIY. Wow how festive are you?!
![featured image for [object Object]](/_next/image?url=https%3A%2F%2Fimages.prismic.io%2Ftrs-storefront%2Fe55984b3-48ef-40b4-b308-d07a518900d2_blog_new-years-eve-party-hats.png%3Fauto%3Dcompress%2Cformat&w=3840&q=75)
The Reject Shop
Last updated
31 Jul 2023
They say the new year is an opportunity for a fresh start and resolutions are made but let's face it, we are probably still eating that brownie after midnight on New Years Eve. Maybe better luck next year?! Instead New Years Eve is a night where friends get together and exchange stories from the year that was and what better way to bring in the new year than with party hats. Not just ordinary party hats but DIY. Wow how festive are you?!
Supplies needed:
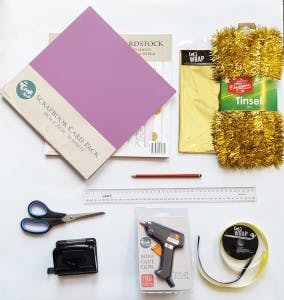
Once you decide on the theme of your party you can choose which colour or pattern you want to use.
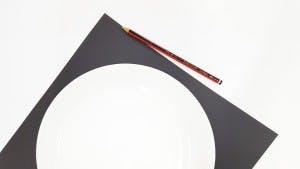
Step 1.
Trace around a big plate onto the stock paper.
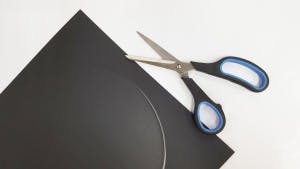
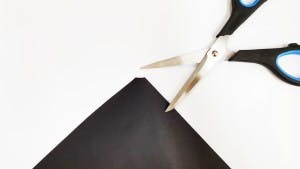
Step 2.
Cut out the traced party hat.
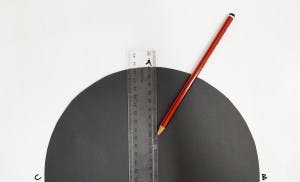
Step 3.
Find the middle point of the circle by having the ruler horizontal. Mark it with a pencil. Keeping the ruler horizontal, mark a point at when the paper starts and ends.

Step 4.
Now flip the ruler vertically and run your ruler to the end of the paper and mark that point.
Step 5.
Cut a straight line from A to B and then from point A to C. The ruler will help you create a straight line to cut. Snip the tip of the hat off so you can insert the decorations.
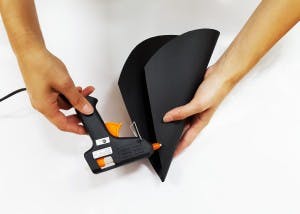
Step 6.
Fold the paper to form a cone shape by overlapping the two cut corners. With caution use the hot glue to dabble some glue along the edge of one side and press down the other to secure the glue.
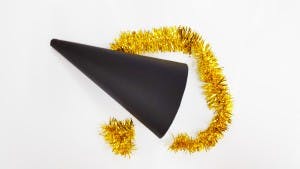
Step 7.
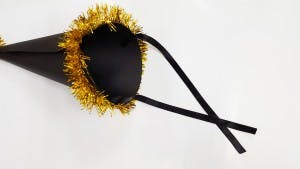
Measure how much tinsel you need by wrapping it around the base of the hat.
Dabble hot glue around the edge of the base of the hat and then wrap the tinsel around.
Step 8.
Cut a small piece of tinsel and add this to the top of the hat with hot glue.

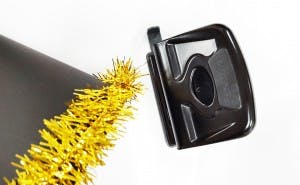
Step 9.
Make a tiny hole with a hole puncher on either sides of the hat to make it easier for the ribbon to be inserted.
Step 10.
Cut 2 pieces of ribbon that equal around 45 cm for adults and 35 cm for children. Feed through the ribbon and make a knot in the inside. Repeat on the other side.

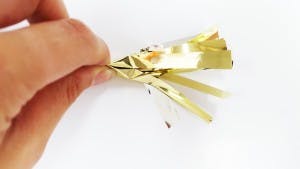
Now repeat steps 1 -6 but instead of tinsel to decorate you could use metallic cellophane. Cut a small piece of cellophane and cut up strips so it looks like a fringe. Dab some hot glue around the tip of the hat and gently place the rolled paper on top.

Now let the festivities begin.

Sign up to receive exclusive offers, VIP invites and all our hints & tips