Craft, Guides
3 Mini Cake Bunting Ideas
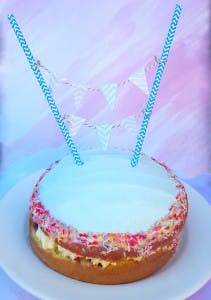
So you have the bite size cupcakes, the pom pom garland and milk bottles, all that is missing to top off the mini party (because let's face it, anything mini is more adorable) is the mini cake bunting to decorate the cake that isn't so mini! Whether it's for a wedding, birthday or because you want to celebrate the fact you can make a mini bunting, below are 3 brilliant ways to enhance the gorgeous cake you’re making/buying that’s sure to impress.
![featured image for [object Object]](/_next/image?url=https%3A%2F%2Fimages.prismic.io%2Ftrs-storefront%2Fc2412557-22f4-4de6-9e0a-844b3016335f_blog_3-mini-cake-bunting-ideas.webp%3Fauto%3Dcompress%2Cformat&w=3840&q=75)
Fiona from Craft Hunter
Last updated
31 Jul 2023
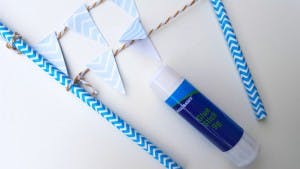
1. Triangle Bunting
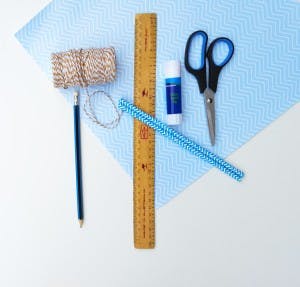
Supplies needed:
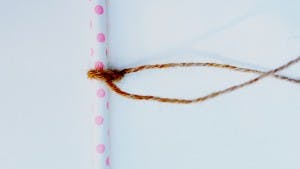
Step 1
Once you know the width of the cake you can determine how long you would like your pieces of twine. Tie a knot around one straw.

Step 2
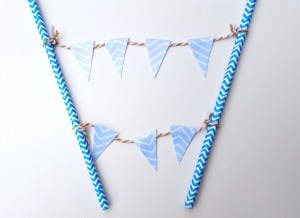
Tie a knot around the second straw.

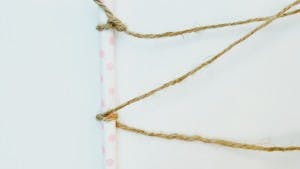
Repeat step 1 and 2 for the second line of bunting.
Step 3
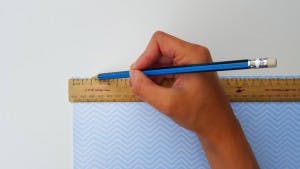
To make your buntings, from the end of the paper with a ruler, mark the paper at 6cm.

Step 4
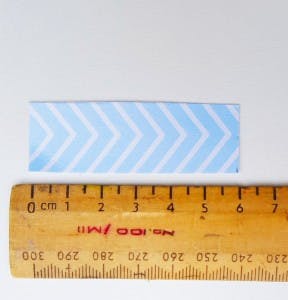
Then turn the paper and measure 2cm and mark this.
Step 5
Join the dots together with a ruler and then cut the rectangle out. Depending how many bunting pieces you want to make you will need to repeat steps 3, 4 and 5.
Mark the middle point of the paper and make a fold so the pattern is facing out.
Step 6
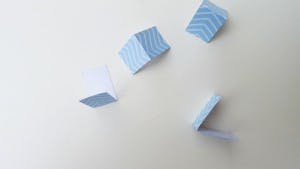
To create a triangle in the bunting piece, find the middle part of the paper and mark this. Cut from point B to C then A to C.


Step 7
Open the triangle so it forms a diamond. Lay this underneath the twine but ensure the twine is resting on the folded part. Glue the insides and fold the diamond in half to create a smooth triangle shape. Repeat this step for the other diamond pieces.
There you have it.
Tip: You can get a nice colour marker and write a letter in each triangle.
2. Bunting With Decoration Balls
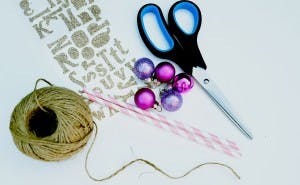
Supplied needed:
- Twine
- Decoration balls
- 2 Straws
- Scissors
- Stickers
Step 1
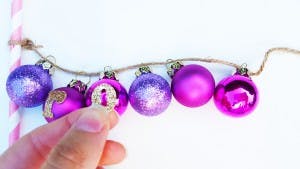
Try something different and make your bunting out of decoration balls. Once you know the width of your cake you can measure how long you want your twine to be. Tie a knot around the straw and then feed the balls through. Tie a knot around another straw.

Step 2
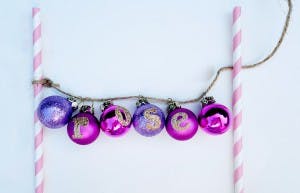
If you have enough balls you can spell out the birthday person’s name or a phase. Using the stickers, stick each letter on each ball.
Step 3
Tie a knot around the second straw and you are done.
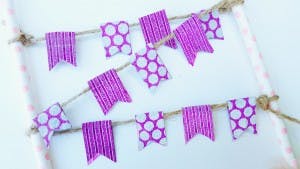
3. Bunting with Washi Tape
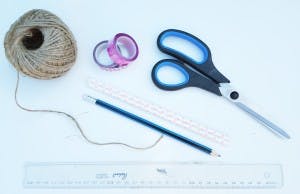
Supplies needed:
- Twine
- Ruler
- Scissors
- Pencil
- 2 Straws
- 2 Different pattern Washi Tapes
Step 1
Cut a long piece of twine and double knot one end to the straw.
Step 2
Place the second straw at a comfortable distance that fits well on the cake. Make another double knot to this straw. Now you want to wrap the twine around the first straw but making sure it is underneath the first knot. This should create a zip zap pattern. Knot this and wrap the last part to the second straw. Again ensure this is underneath the knot above on the second straw. Secure the twine.
Tip: You may need to snip off some hanging ends.
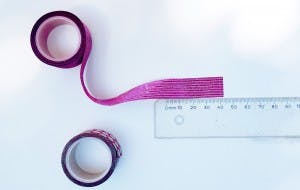
Step 3
Determine how many pieces of wash tape you require. Then measure how long you would like them to be.
Step 4
Wrap each piece of washi tape around the twine ensure the ends meet. Alternative the pattern. Secure each piece with your finger.
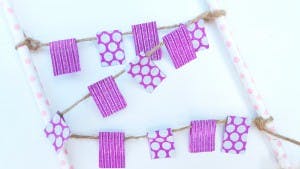
Step 5
Cut each tip of the washi tape into a v shape.

What other bunting ideas can you think of?
All products or variations featured can be found in store.
Hero image Photo by Toa Heftiba on Unsplash
Sign up to receive exclusive offers, VIP invites and all our hints & tips