Easter, Craft
DIY Easter Wall Art
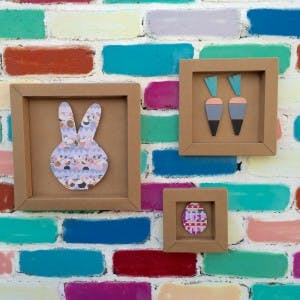
Here’s a different way to lure the Easter bunny this year! Make a collection of paper art collages in frames (or even cardboard frames as used here) with your child to add festive flavour to your home this Easter.
![featured image for [object Object]](/_next/image?url=https%3A%2F%2Fimages.prismic.io%2Ftrs-storefront%2Fecdcf941-2ed1-4977-a155-df8ca2ca63df_blog_diy-easter-wall-art.jpg%3Fauto%3Dcompress%2Cformat&w=3840&q=75)
The Reject Shop
Last updated
31 Jul 2023
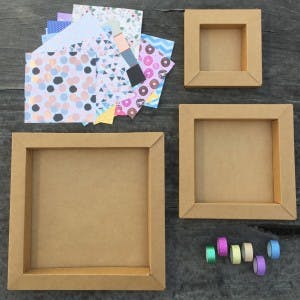
Supplies needed:
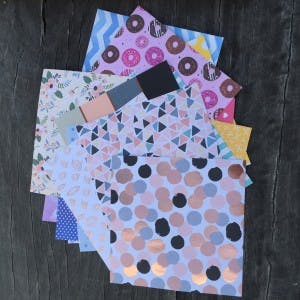
Assorted Patterned Paper
Glitter Washi Tape
Cardboard Frames (they come in a pack of 3)
Double Sided Squares
Glue Stick
Scissors
Pencil
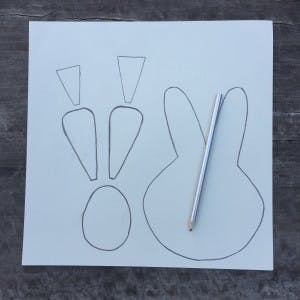
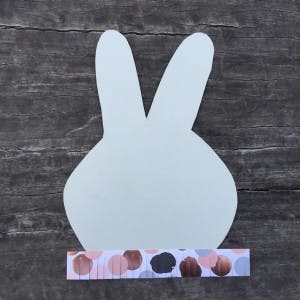
Step 1
Look at your cardboard frames and the space inside each frame to determine how large or small to make your outlines. Draw an outline of a rabbit head, an egg and two carrots. I have drawn the stalks of the carrots separately as I want them to stand out. Alternatively you could draw half of each shape and fold your paper, as all the shapes are symmetrical.
Tip: If you are super stuck, visit Google and search for the silhouette of each shape.
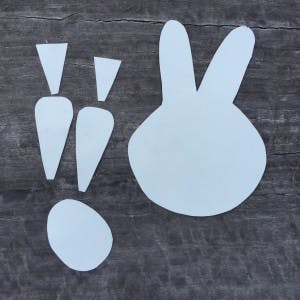
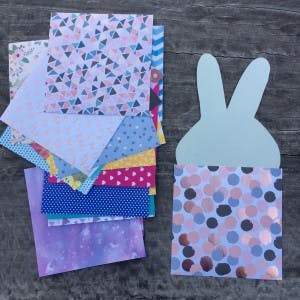
Step 2
Cut out your rabbit head, egg and carrots. Place each shape inside your frames to make sure they fit. I like to leave some space between the top and bottom of the frame and the shape.
Select which papers you will use for each shape. I used similar tones as a basis for each of my shapes but you can mix and match depending on your personal preference. I also thought about whether I would hang my frames altogether or on separate walls.
Tip: The width of my shape doesn’t exceed the width of my paper squares. This makes the placement and cutting of the paper much easier.
Step 3
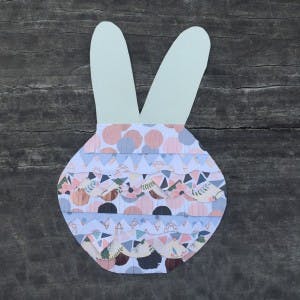
Cut out your first strip of paper, keeping it roughly two centimeters wide. I used different paper cutting techniques to make my collage stand out. For my first strip, I used fringing. You can cut different edges including; scalloped, small or large zig-zag or wavy.
I used five different edges on five different types of patterned paper. Now, glue down each strip until you reach the bottom of the ears on the rabbit’s head. Then flip the whole shape over and cut around the edge of the head.
Use the same technique for the ears.

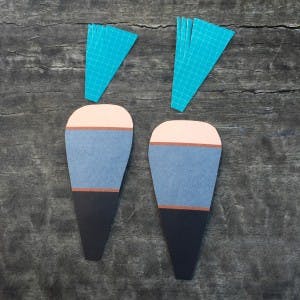
Step 4
Pop your rabbit head aside and start working on your carrots. I decided to cover the carrots using one piece of patterned paper and I covered the stalks in another colour.
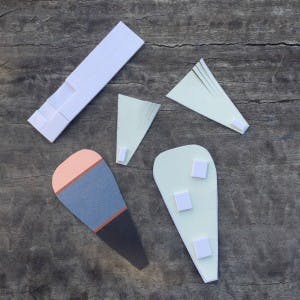
I then fringed the top of my stalks to give them more depth when they sit in the frame.
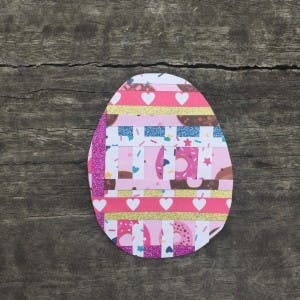
Step 5
Place your carrots aside and get to work on your egg! Use glitter tape this time by placing strips of the tape across the egg. I then selected some bright paper to cut up into different sized strips to paste on to the egg shape. Place your paper horizontally and vertically to give your collage a checkered effect.
Flip your egg shape over and cut around the edge.
Step 6
Flip all of your shapes collage side down and attach double-sided squares to the back of each shape.
I stacked five squares on top of each other to attach my rabbit shape to my frame. This makes the collage pop out inside your frame. I used four double-sided squares to attach my egg and three to attach the carrots.
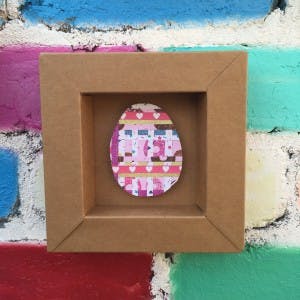
You can hang all your frames together or place them on separate walls throughout your home. You could even make up a story about your pictures with your child and discuss the different patterns, textures and shapes you have used to create your collaborative poptastic artwork.
Now it's your turn to do your DIY Easter Art Wall!
This post is sponsored by us. All images, opinions and words are from Fran from See Make Play
For more exciting activities you can do with the kids, check out her blog: http://seemakeplay.com.au/
All products or variations are found in store.
Sign up to receive exclusive offers, VIP invites and all our hints & tips