Guides
DIY Herbarium under $15!
Herbariums are trending in interiors right now as a stylish wall art idea, and Style Curator shows us how to easily bring these elements of nature into the home with this step-by-step DIY.
![featured image for [object Object]](/_next/image?url=https%3A%2F%2Fimages.prismic.io%2Ftrs-storefront%2Fabbb5858-3fdd-48b3-bf33-1c5e4b1ae431_blog_diy-herbarium.jpg%3Fauto%3Dcompress%2Cformat&w=3840&q=75)
The Reject Shop
Last updated
3 Aug 2023
What is a herbarium you may be wondering? It’s a pressed and/or dried sample of a plant or fungus that’s stored for future reference – for example universities and botanical gardens use these for research purposes.
Two things set herbariums apart from pressed flowers or leaves: the sample size is usually much larger so you can see how a plant branches or blooms, and they are labeled with important information including the species name, collector(s) name, date it was collected, and locality (place name where it was collected). For an accurate label, it should also include a unique collecting number and the geocode of where it was collected but for the purposes of this DIY we’re not going into that much detail!
The idea of creating your own herbarium has spilled into the interiors space and today I’m going to show you 3 easy techniques you could use to make your own.
I sourced all of the items for this DIY from The Reject Shop and depending on the size frame you purchase, you could make your own herbarium for as little as $15!
Watch this quick DIY video to see how easy it is or continue reading for step-by-step instructions below.
https://www.youtube.com/watch?v=2MlbaBfskFo
Items you will need:
- Freshly picked plant or flower cuttings (these should be significant in size and not just the flowers, see the tips section below)
- Frames (all of ours are from The Reject Shop)
- Several sheets of clean blank paper
- Sheet of white cardboard large enough to fit the frame
- Large hardcover books or other weights
- Craft glue
- Paintbrush
- White tape and pen for handwritten labels, or computer and printer for printed labels
Steps:
Technique 1 – Pressed and framed in glass
- Carefully press your cuttings in between two sheets of white paper and place heavy books or other weights on top. Leave to dry out for 3-7 days depending on your climate.
- Once dry, place your specimens in between the two sheets of glass, being sure to leave enough space for your label (ideally this should be in the bottom right corner).
- Secure your label in between the sheets of glass. You may need to use glue to ensure it doesn’t move, as the paper will be thinner than your plant sample.
- Slide the glass sheets back into the frame and display your herbarium in your home!
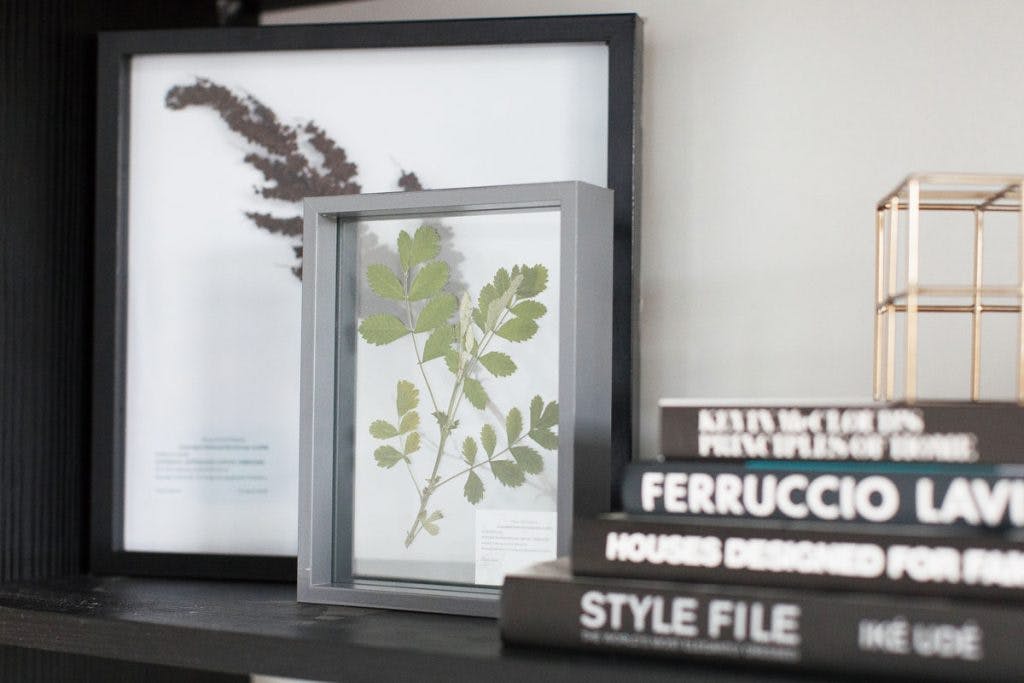
[caption id="attachment_3547" align="aligncenter" width="1025"] Herbarium in glass[/caption]
Technique 2 – Dried and placed in box frame
- This technique is ideal for plants with berries or seeds that you want to keep intact. Simply allow the cutting to dry out fully, which could take up to several weeks.
- Once dry, it will become brittle so handle with care. Place it inside your box frame and secure your label. I didn’t use any glue to keep the dried branch in place but you may need to use a few spots of glue depending on the size of your sample and frame.
- Mount your artwork in your home and appreciate the depth and detail of this beautiful herbarium.
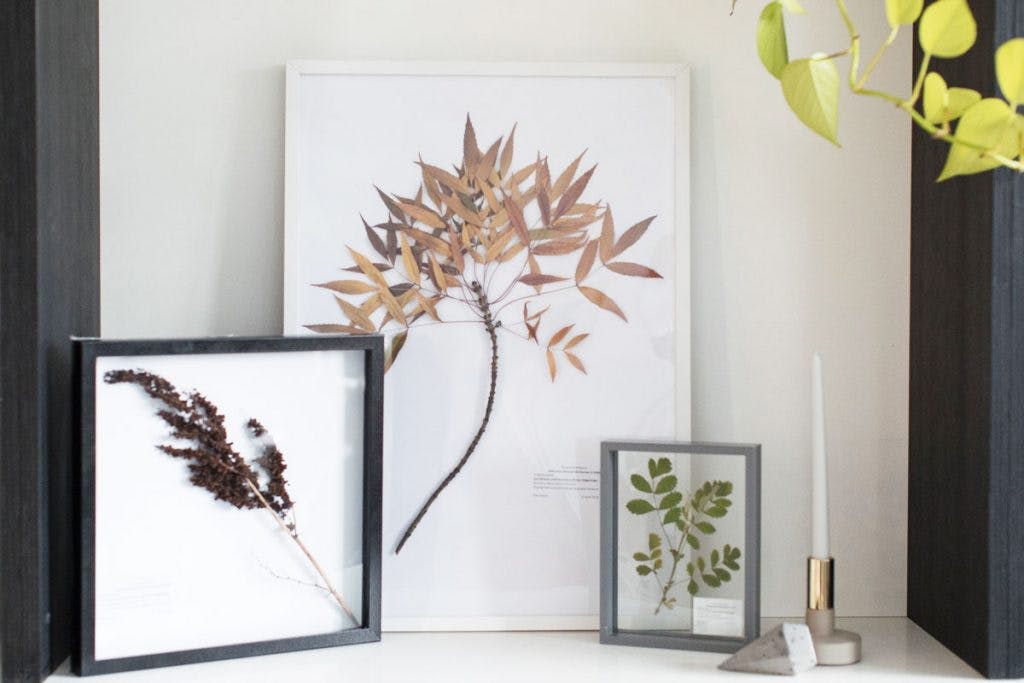
[caption id="attachment_3546" align="aligncenter" width="1025"] Herbarium dried out[/caption]
Technique 3 – Pressed and framed on white cardboard
- Carefully press your cuttings in between two sheets of white paper and place heavy books or other weights on top. Leave to dry out for 3-7 days depending on your climate.
- Arrange your specimens on the A3 sheet of cardboard. If you are placing several specimens in the one frame, it looks best when the bottoms of the stems line up but you can arrange these however you like.
- Carefully glue all the specimens in place using the craft glue and a paintbrush.
- Glue your label/s in place.
- Mount your artwork in your home and appreciate how the specimens change colour over time.

[caption id="attachment_3545" align="aligncenter" width="1024"] Herbarium against white card[/caption]
Tips:
- Unlike pressed flowers, a herbarium is supposed to be a large enough cutting (sample) that you can see what type of plant it is, its manner of growth, branching, and so on. So be sure to take a significant cutting size that includes several branches.
- For the best sample, it’s important to press your specimens as quickly as possible.
- Be mindful that you may need to seek permission before collecting samples, so check the rules in your local area.
What do you think of this inexpensive wall art idea? Are you tempted to create your own or have you already made a herbarium? Tell us in the comments below or show us via Facebook, or Instagram . Be sure to tag us + #getsavvy
You can find more savvy home decorating and DIY ideas on The Reject Shop blog here.
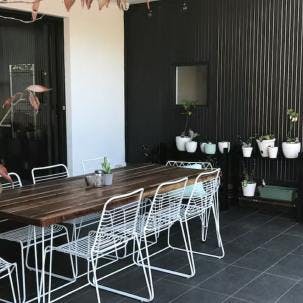
[caption id="attachment_3548" align="aligncenter" width="1024"] DIY Herbariums framed[/caption]
Sign up to receive exclusive offers, VIP invites and all our hints & tips