Guides, DIY
DIY Serving Tray In 4 Steps
Tired of eating baked beans so you can purchase that beautiful serving tray you have bookmarked in your magazine over 3 months ago? Well no need to do either as we can show you how to put a personal spill on a serving tray and friends will be asking you where you purchased it from.
![featured image for [object Object]](/_next/image?url=https%3A%2F%2Fimages.prismic.io%2Ftrs-storefront%2F65b5c284-fcc1-4468-818e-c185e0c1bbb0_blog_diy-serving-tray-in-4-steps.jpg%3Fauto%3Dcompress%2Cformat&w=3840&q=75)
The Reject Shop
Last updated
31 Jul 2023
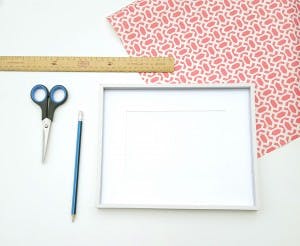
Supplies needed:
- Unused or new large photo frame (without a stand)
- Pencil
- Wrapping Paper / fabric
- Scissors
- Ruler
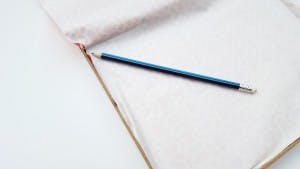
Step 1
Take apart the frame, removing all unnecessary paper out from the frame and pencil each corner so you know where to cut.
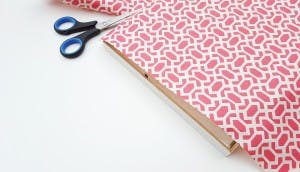
Step 2
Use the ruler to help create a straight line for you to cut the wrapping paper to the size of the glass frame.
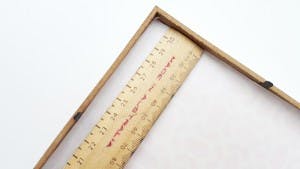
Step 3
Use the ruler to smooth out the paper to ensure it fits in nicely. You may need to snip off any excess paper.
Step 4
Insert the backing of the frame and secure it down.
Flip it over so you see your stylish new serving tray.
And hey presto, you’re done.
Now go get the kids to make you a cuppa while you bask in your glory and sheer fabulousness.

All products or variations featured can be found in store.
Sign up to receive exclusive offers, VIP invites and all our hints & tips