Beauty, Guides
How to Use Makeup Blending Sponges for a Flawless Finish
Makeup blending sponges have been all the rage in the beauty scene recently. As with many innovative accessories in the world of makeup - blending sponges can come with a hefty price tag. We've brought in a range of affordable beauty sponges for foundation, concealer, blush - you name it. Put aside your everyday makeup brushes and give the blending sponge a go. You'll soon understand why they're a cult favourite in the beauty scene. Not sure what the deal is with makeup blending sponges or how to use them? Not to worry, we'll fill you in - just keep reading and you'll be blending flawlessly in no time.
![featured image for [object Object]](/_next/image?url=https%3A%2F%2Fimages.prismic.io%2Ftrs-storefront%2Fe001293d-eeb2-4a97-bde4-b8751694dcbb_makeup-blending-sponges.webp%3Fauto%3Dcompress%2Cformat&w=3840&q=75)
The Reject Shop
Last updated
1 Aug 2023
Why use makeup blending sponges over brushes?
Have you ever spent way too much time in the morning applying foundation, only to be left with streaks, clumps or patches? This can happen with liquid makeup products when applied with a brush or your hands. Blending with a sponge gives you more control and allows you to blur out edges, giving you a smoother, even finish - and saves you time; we could all do with some extra time in the mornings.
When the sponge is wet, it fills up with water. This essentially allows for the makeup sponge to pick up the perfect amount of makeup, without absorbing inside the sponge. The sponge will also expand to the ideal size, allowing for more bounce upon application and streak-free results.
Tip: When purchasing your makeup blending sponge, make sure they're latex-free. You'll get the best results with a latex-free sponge as it will allow the sponge to expand to its full potential and apply your makeup flawlessly. Not to mention, they will absorb less product, so you're saving money and unnecessary wastage on your beloved makeup collection.

Types of makeup blending sponges
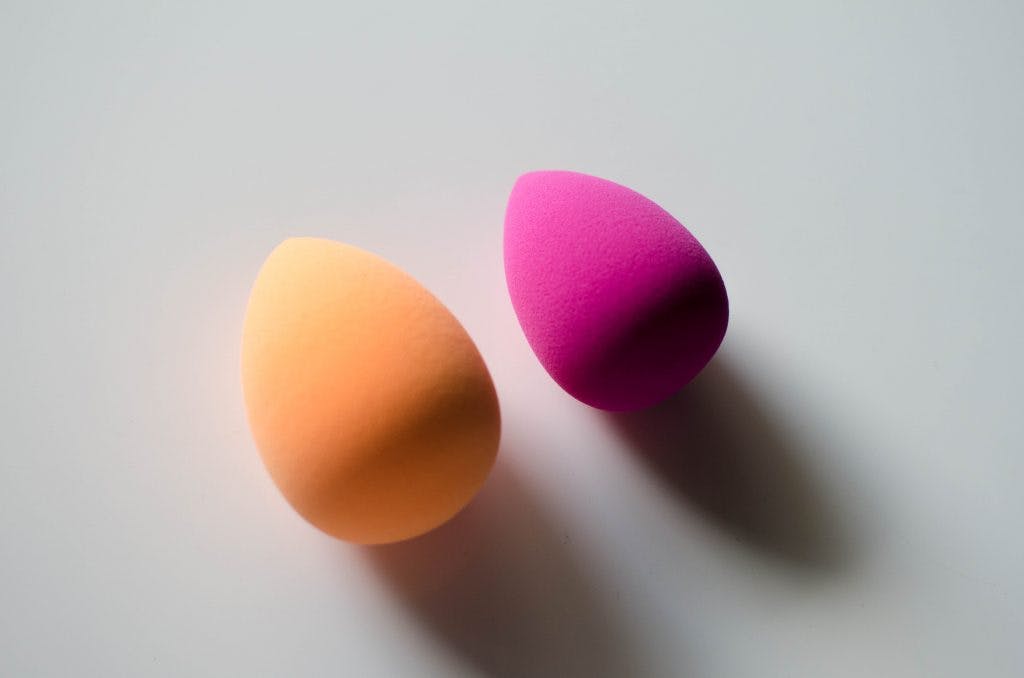
We have a great range of latex-free makeup blending sponges in various shapes and sizes, including the one that started it all - the egg-shaped sponge. Below is a simple guide for the uses of each makeup blending sponge.
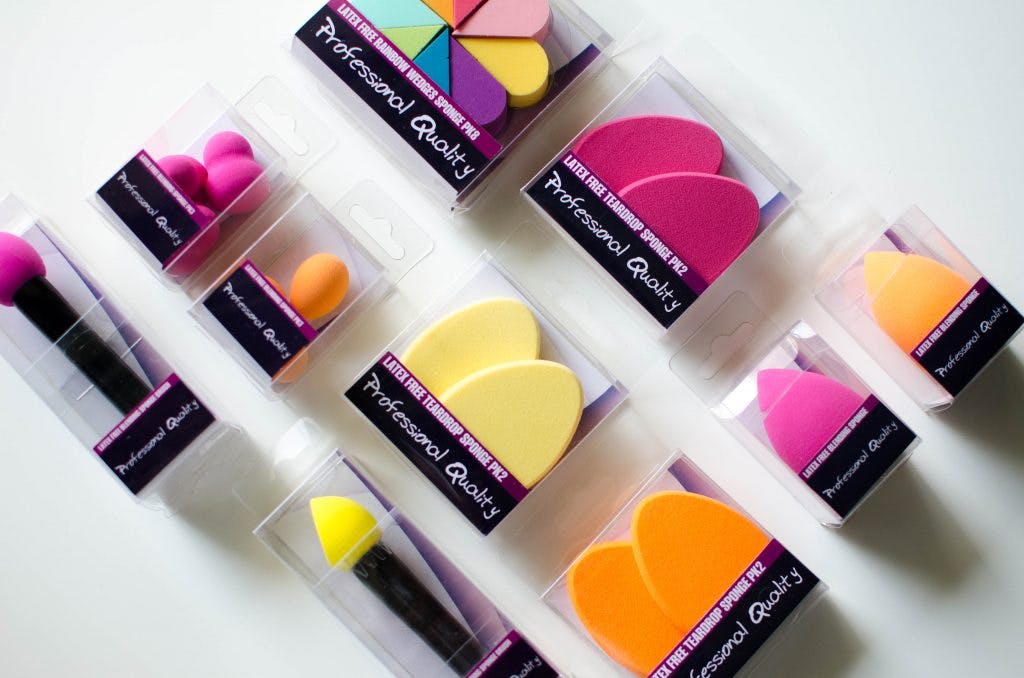
Professional Quality Blending Sponges available at The Reject Shop from $3 to $4 each. While stocks last.[/caption]
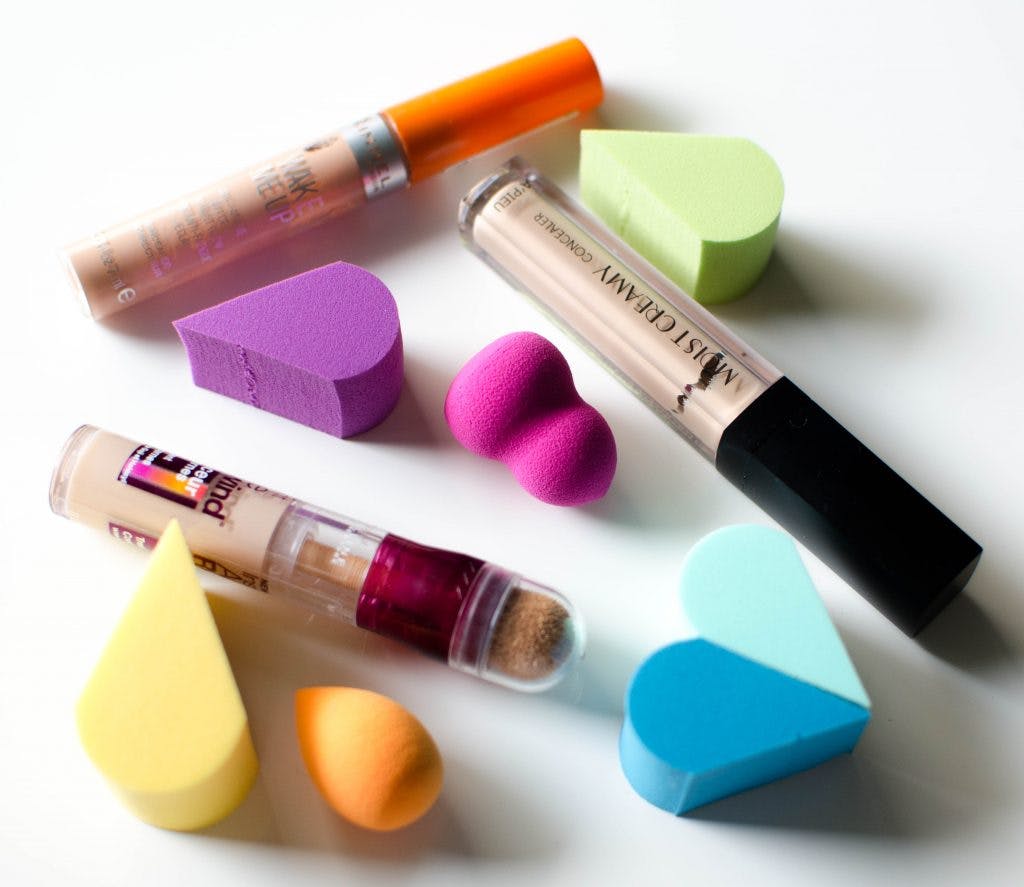
Egg-shaped blenders
This shape is a favourite among makeup artists and beauty bloggers due to its unique multipurpose shape. The rounded-bottom end is great for blending large areas of the face, for example - applying foundation, cream bronzer or blush; whereas the smaller pointed tip is the perfect size for covering imperfections and getting into the smaller angles of your face.
Flat sponge
The multi-purpose flat sponge can do pretty much everything. Apply the sponge flat or wrap around your middle finger for more control. This doubles up as an oil-blotter when dry - simply blot away as you would with blotting paper.
Can't find your cushion foundation sponge? Not to worry - this flat sponge is the perfect size and shape for applying cushion foundation.
Keep this handy sponge in your makeup bag for touch-ups and keeping the shine away.
Mini blenders
Looking for more control? Use the mini egg-shaped blender for precise application of concealer around smaller hard-to-reach areas. We love to use this around the eyes and nose. Mini blenders are also great for precise application of cream contour, especially nose contouring. And let's not forget highlighting - cheekbones, down the centre of the nose, cupid's bow, tearducts and browbone.
Mini blenders are just that - Mini! They're handbag friendly for touch-ups on the go. You can find a range of fun and vibrant colours, making them easy to find amongst your makeup collection or in your makeup bag.
We have mini blenders available in egg, cone and curve shapes. They all do essentially the same job, however, the curve-shape allows for a more comfortable, ergonomic grip.
How to use a makeup blending sponge
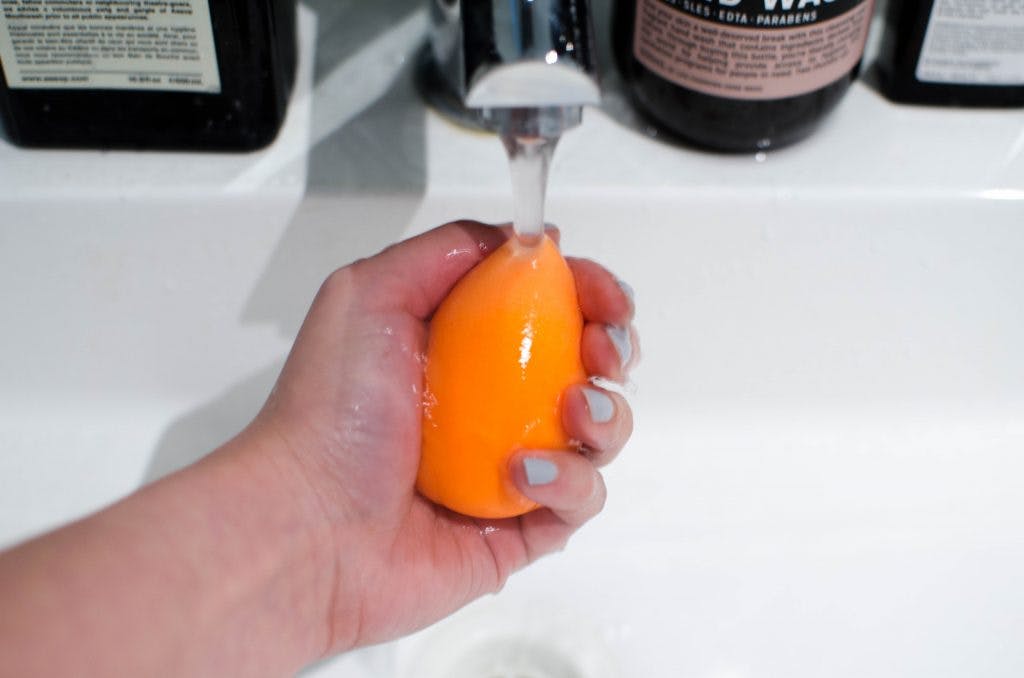
Step 1 - Wet the sponge
Place the sponge under warm water, squeeze two to three times and let it absorb the water. The latex-free sponge should feel heavier and almost double the size of its original dry state.
Step 2 - Dry the sponge
Remove the sponge from running water and squeeze out as much water as possible, four to five squeezes should do the trick. Just to be sure, place the makeup blending sponge in a clean dry towel and squeeze. This will ensure the towel absorbs any excess water whilst keeping the sponge damp.
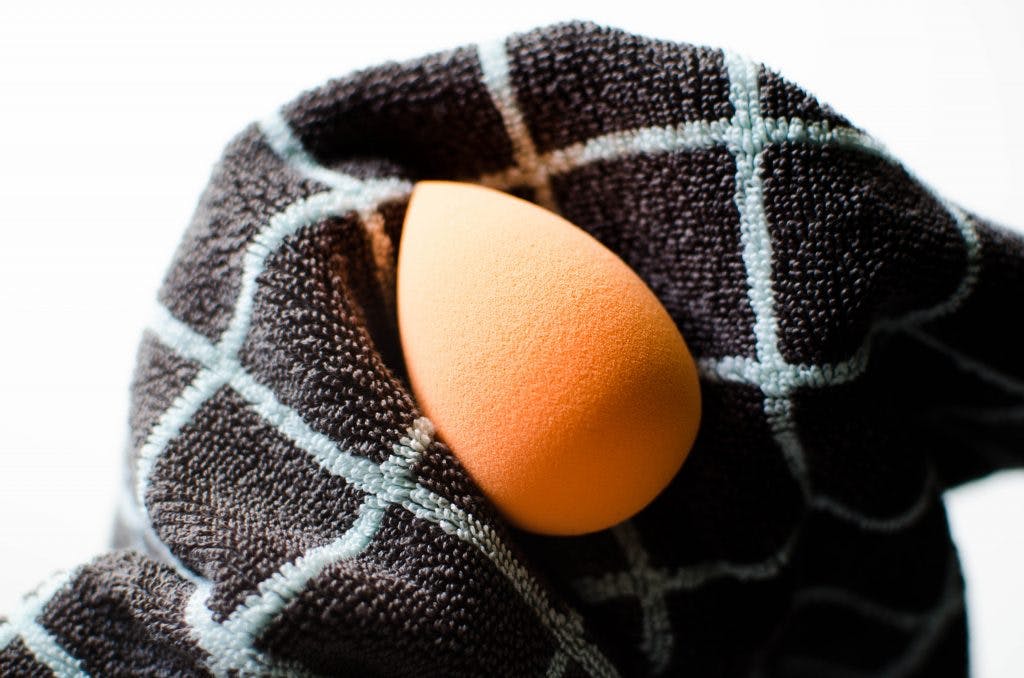
The makeup blending sponge almost doubles in size when damp[/caption]
Step 3 - Blend away!
Dip the makeup blending sponge in your foundation and apply to your face in stippling motions. Be sure not to apply too much pressure, just lightly dabbing around the face until the foundation is evenly distributed. The sponge works best when stippled and dabbed - so as tempting as it is, try not to rub, smear or apply in sweeping motions.
Step 4 - Conceal and spot treatment
Apply concealer as you normally would - under the eyes and any areas that need some extra attention. Use the pointed end of the sponge to blend in hard-to-reach corners.
Step 5 - Contour or add colour
Add some colour to your final look with your favourite cream contour and blush. Just apply to your face and blend away.
We hope this post covers all your questions about these makeup blending sponge. Just keep in mind - this is only a guide, you can use the sponges however it works for you. At $3 to $4 each, why not give them all a try?
Hero image Photo by Ashley Piszek on Unsplash
Sign up to receive exclusive offers, VIP invites and all our hints & tips